Libraries don’t affect how Policy Passport works. They don’t change who can see which files. The basic rule is still the same: files are part of a group, and users in that group can view the files.
Libraries are a way to group important files. They appear at the top of a user's task list so new employees see these key files first. Users will only see the files assigned to their own group(s) in their library.
Video:
Steps:
1. Log in to your Policy Passport profile
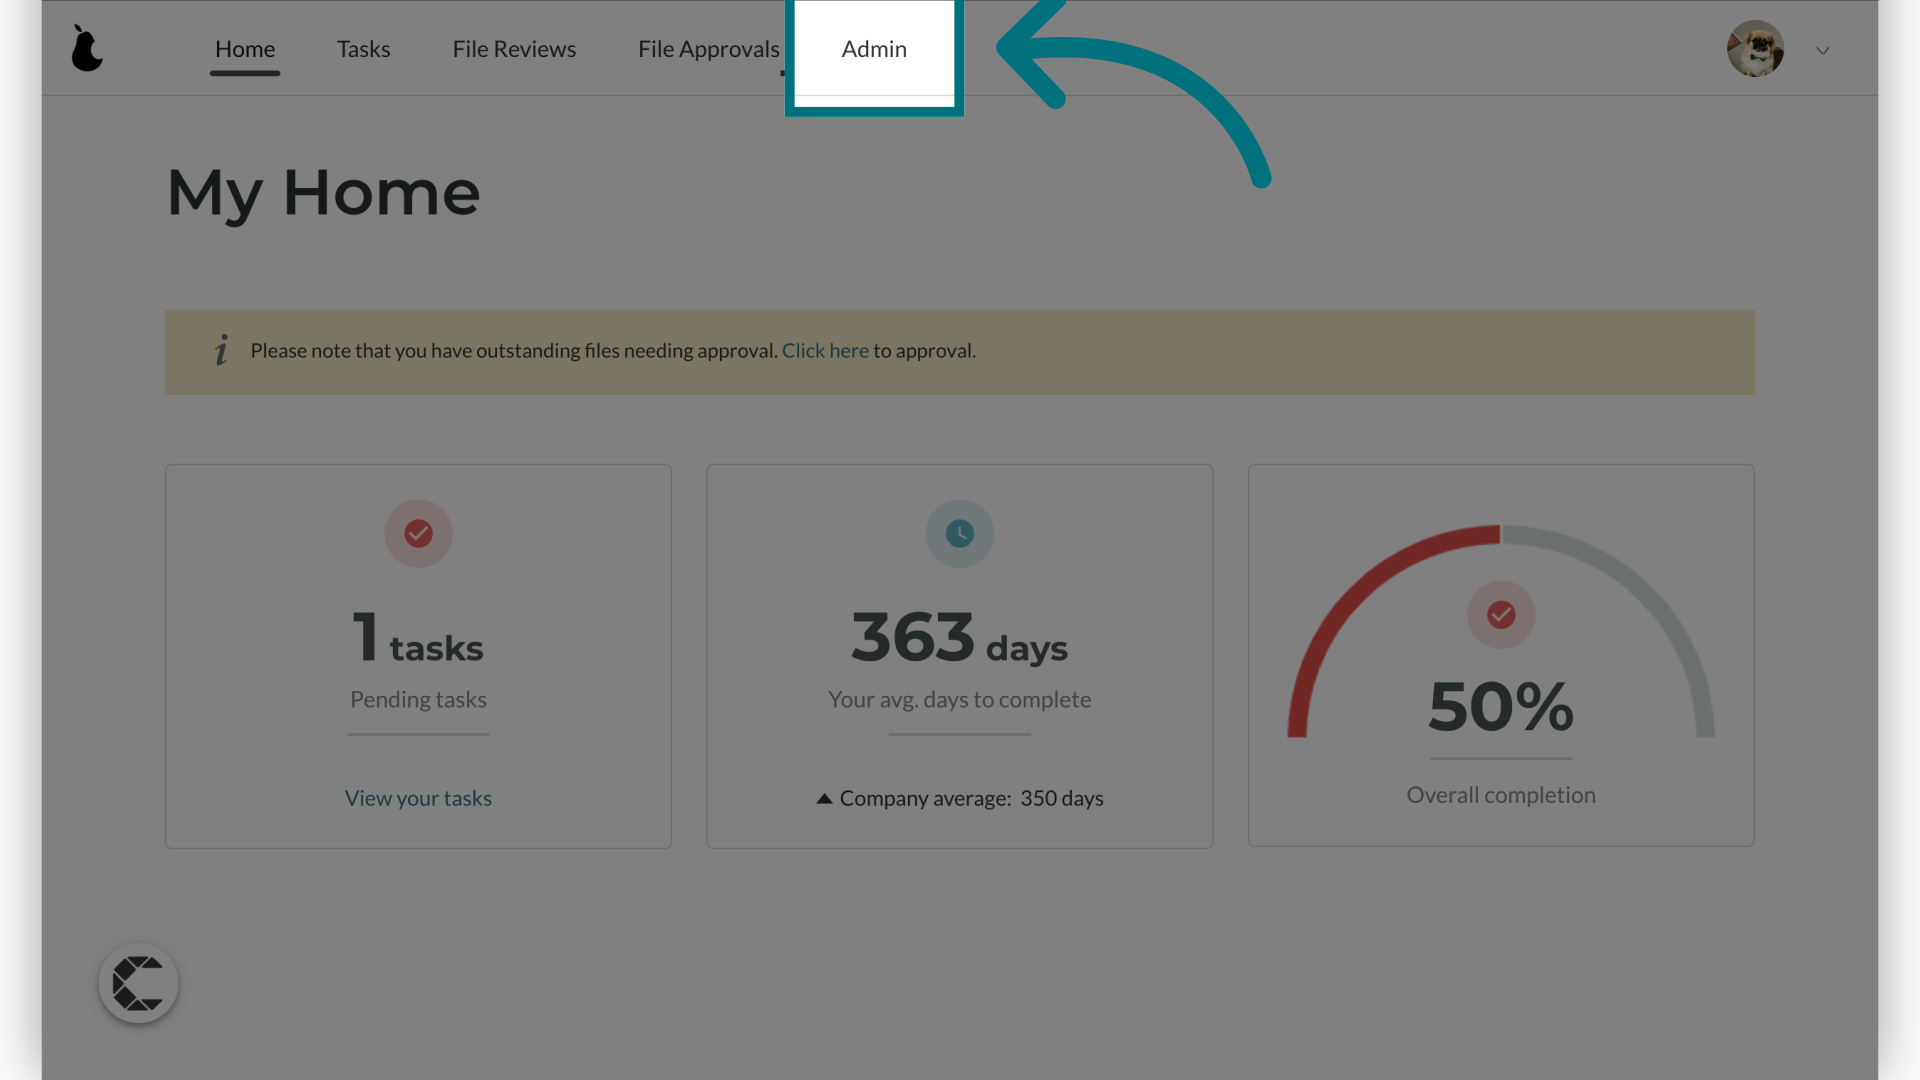
2. Click "Admin"
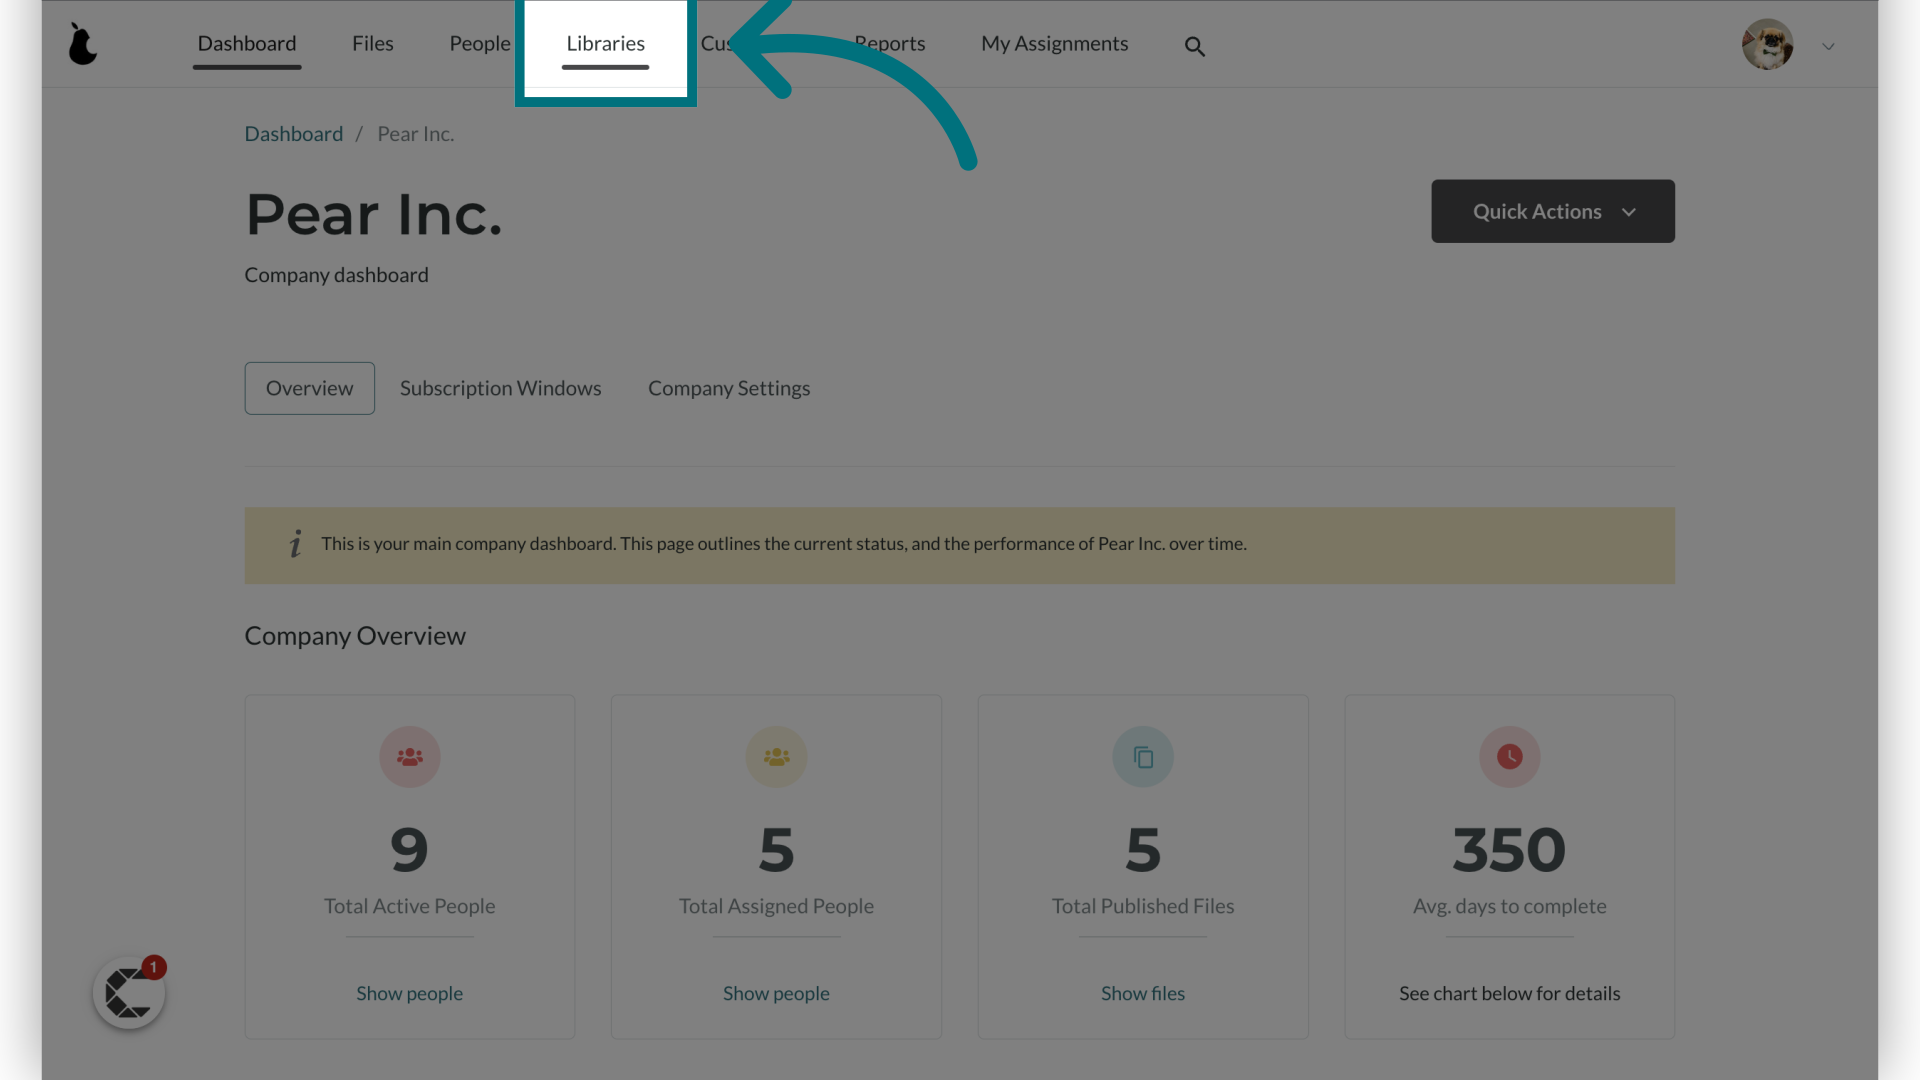
3. Click "Libraries"
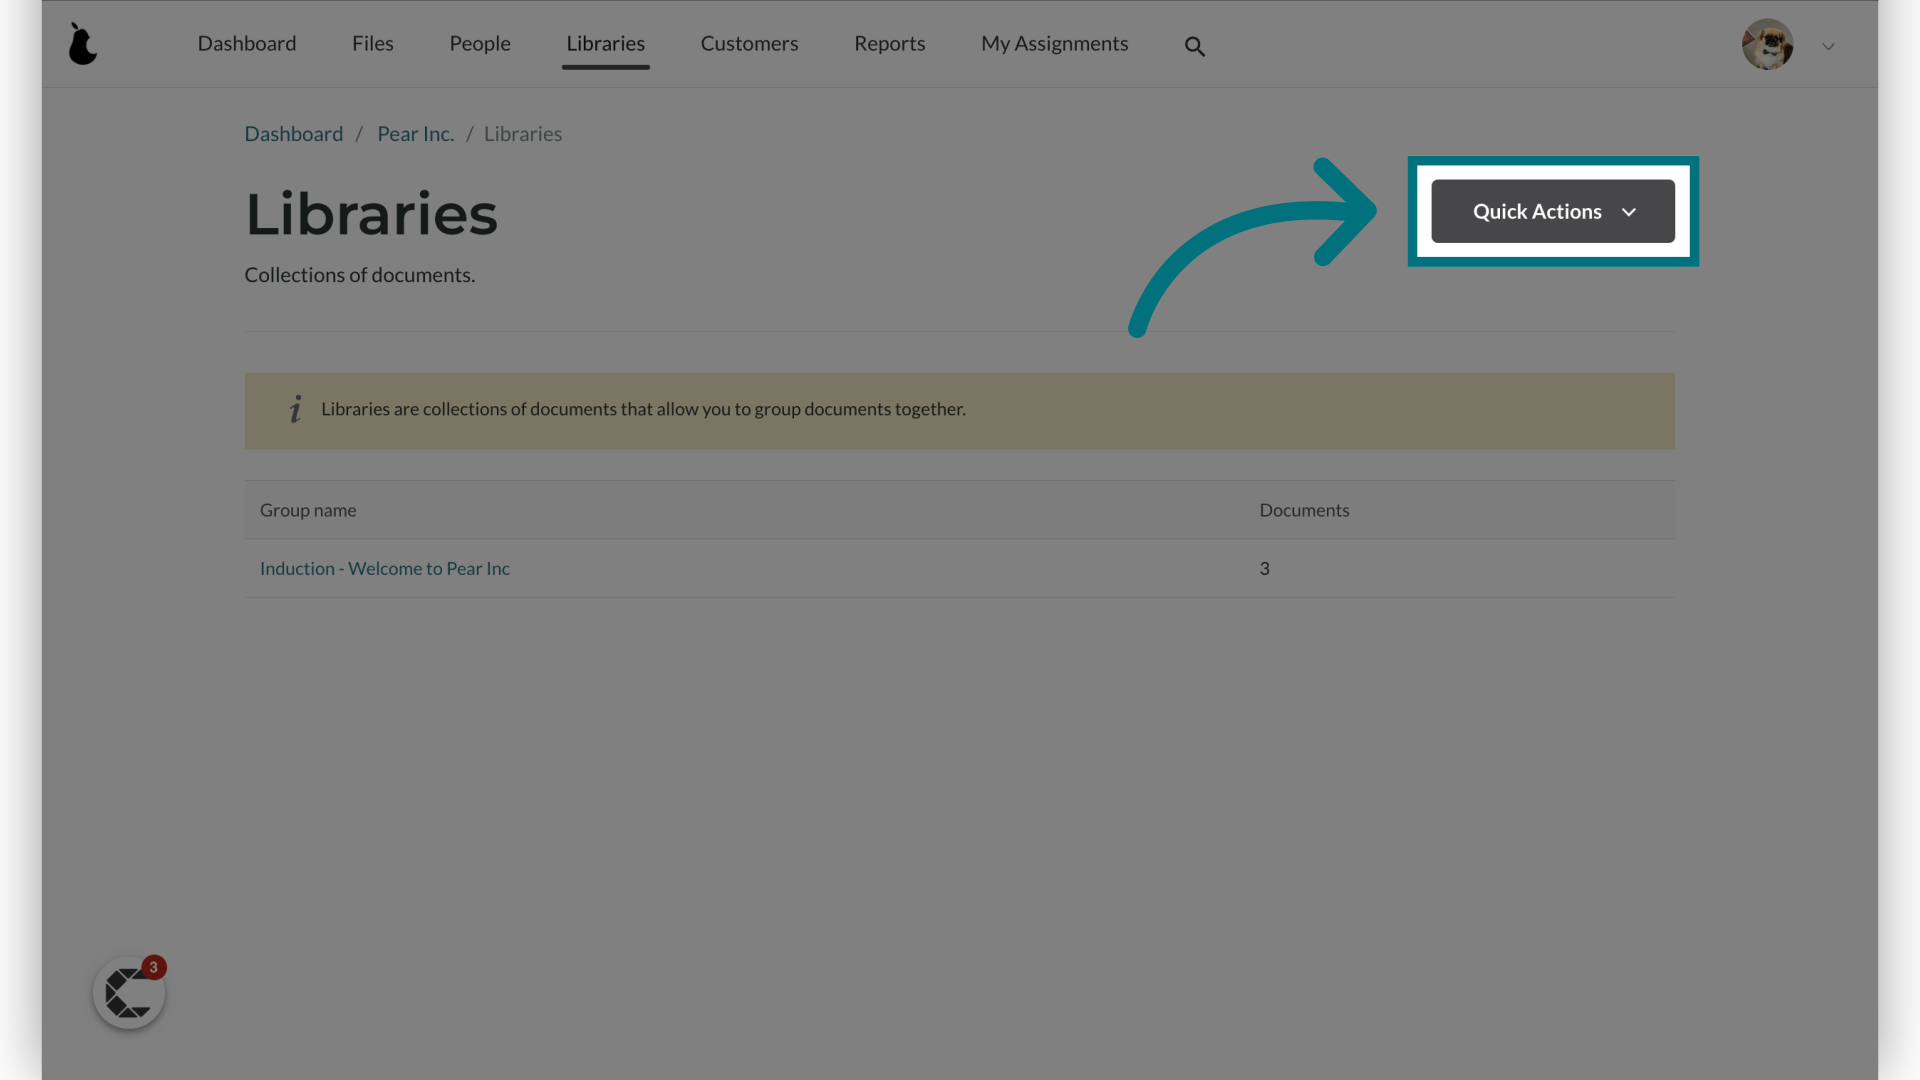
4. Click "Quick Actions"
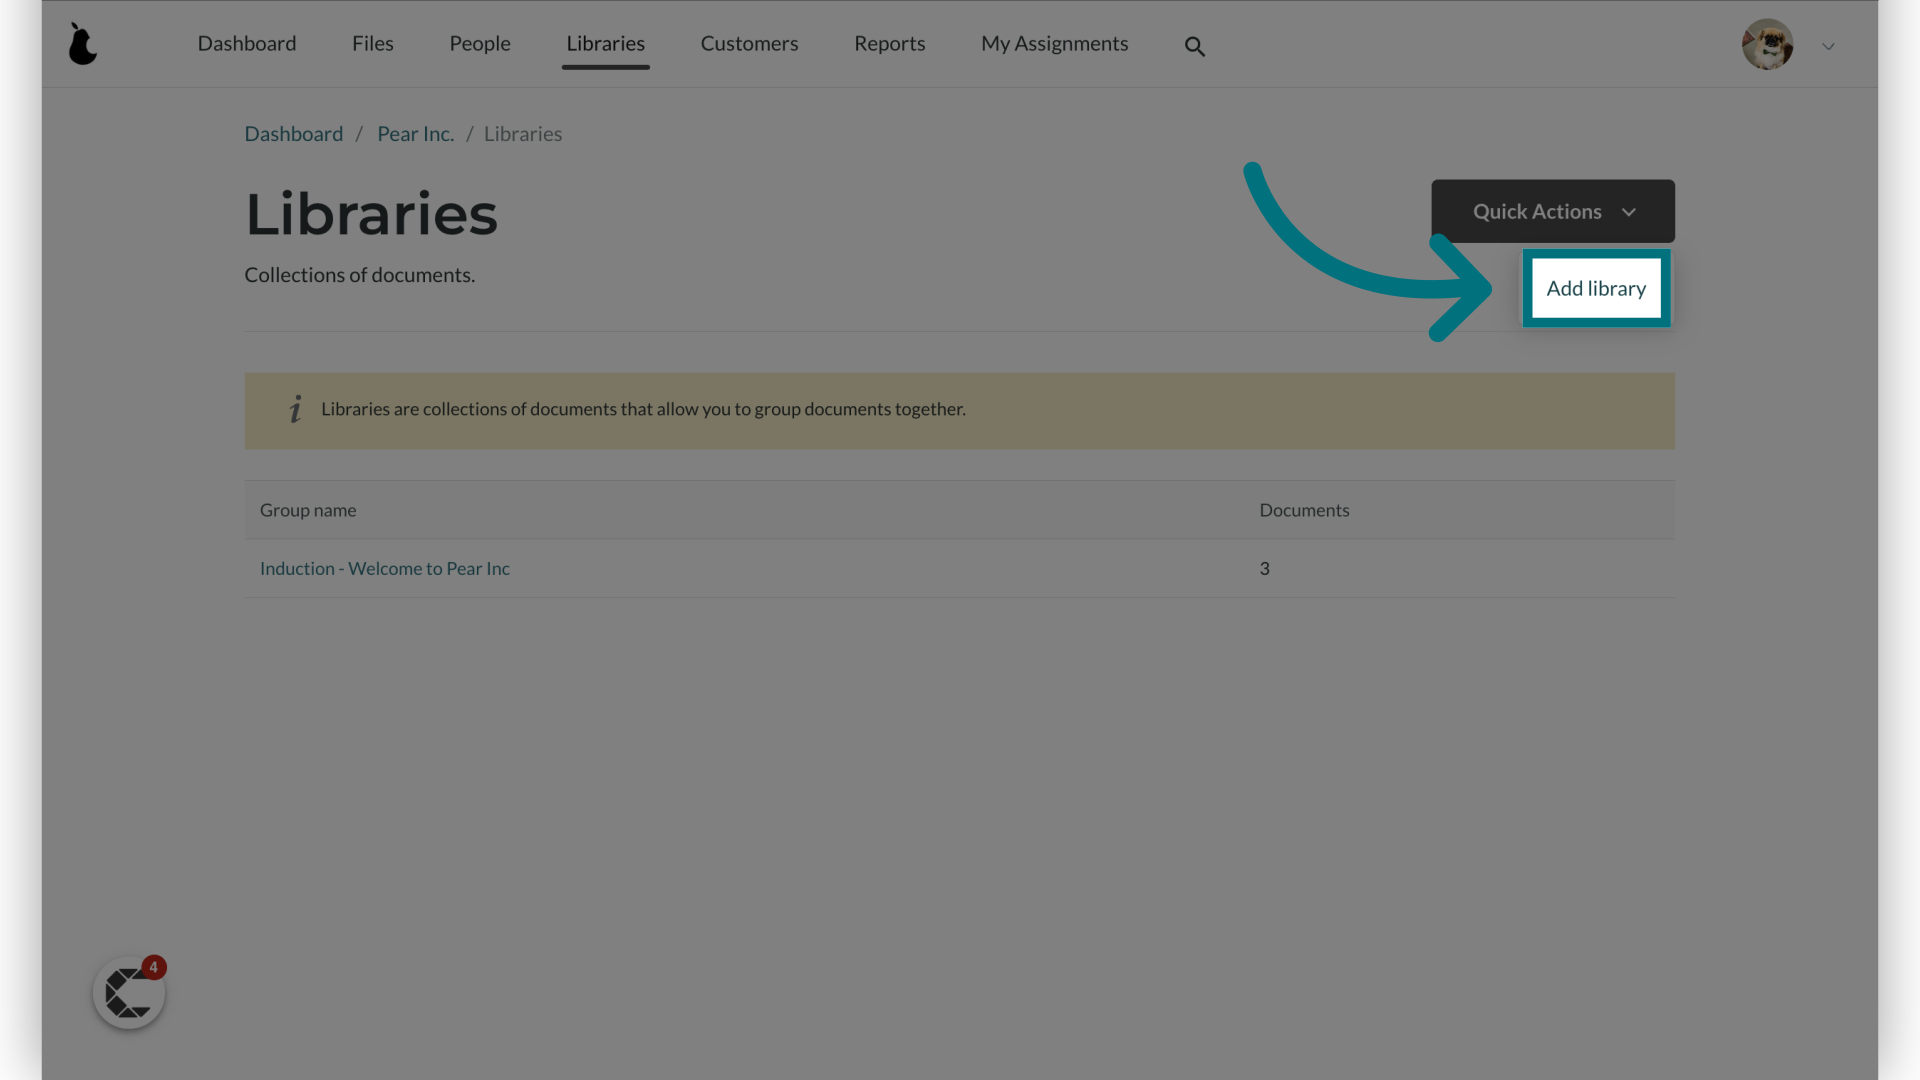
5. Click "Add library"
6. Provide a name for the library
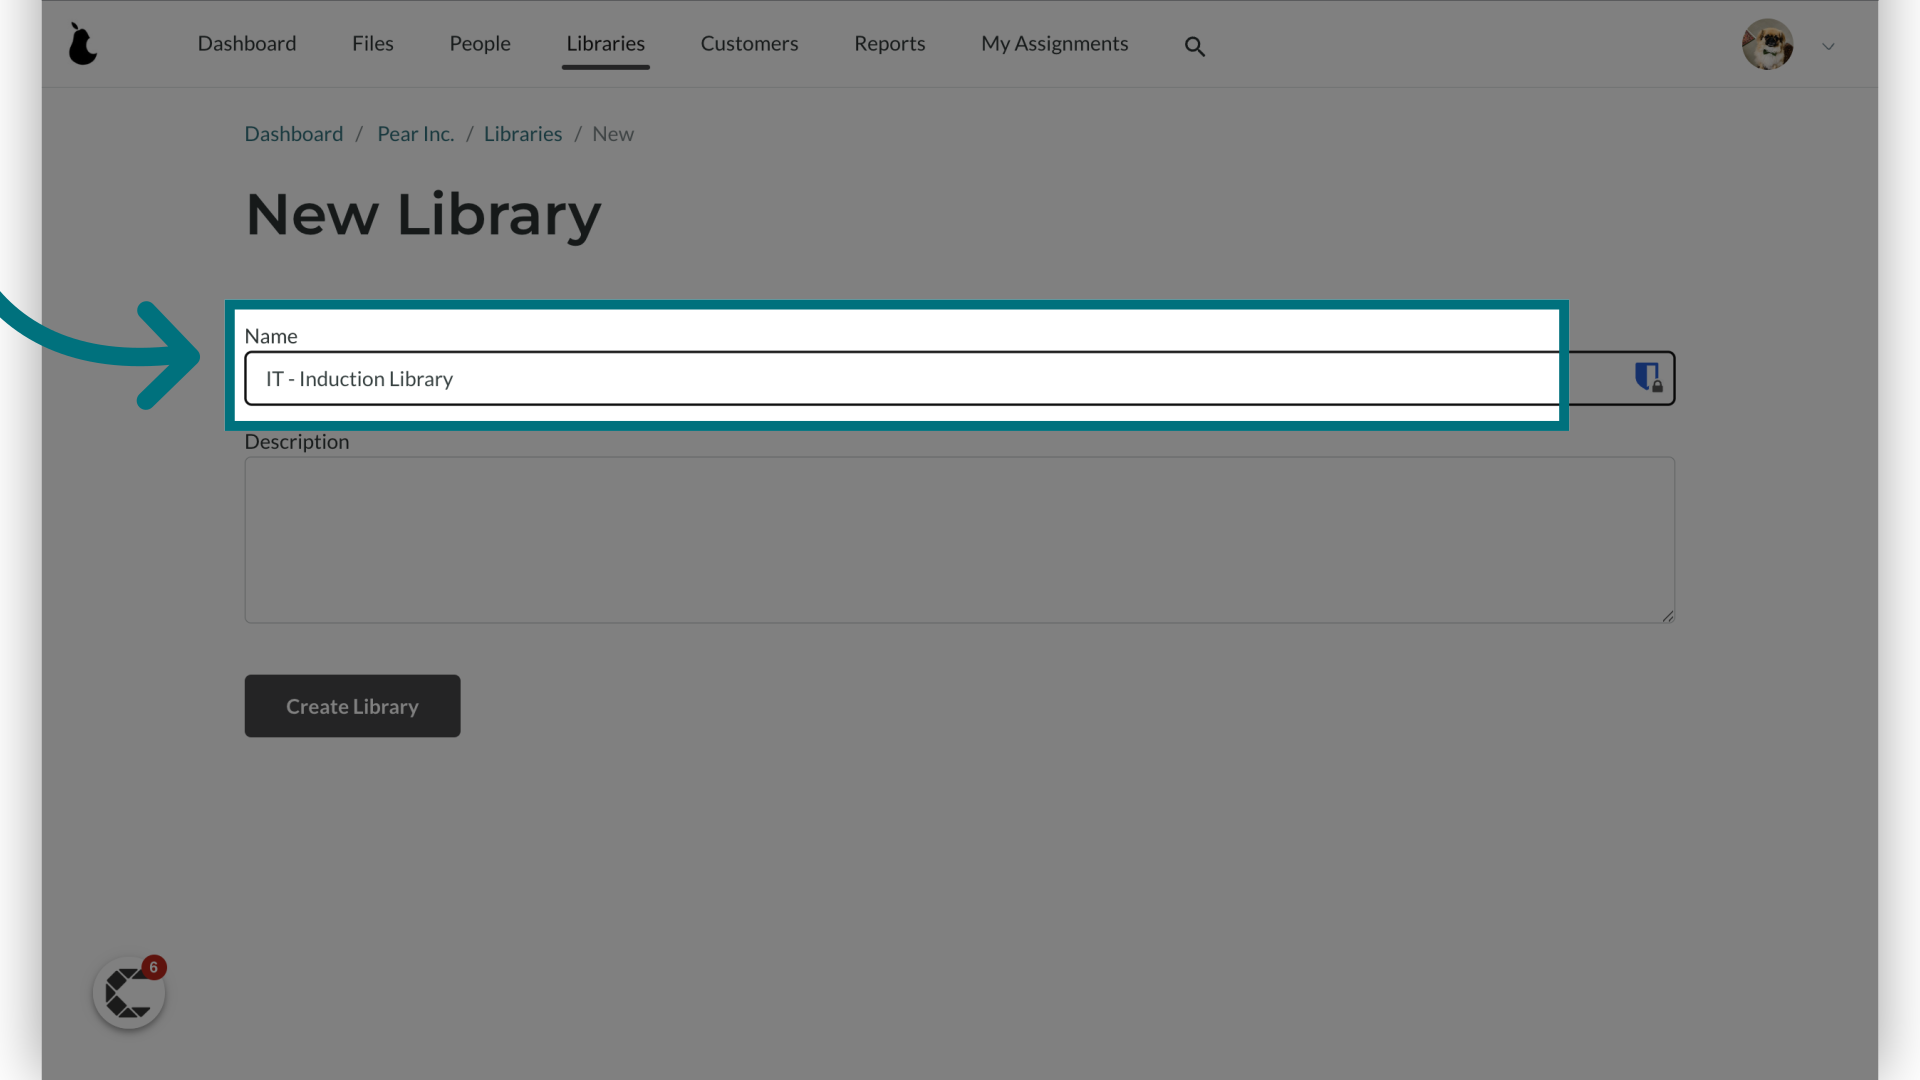
7. Provide an optional description of your library
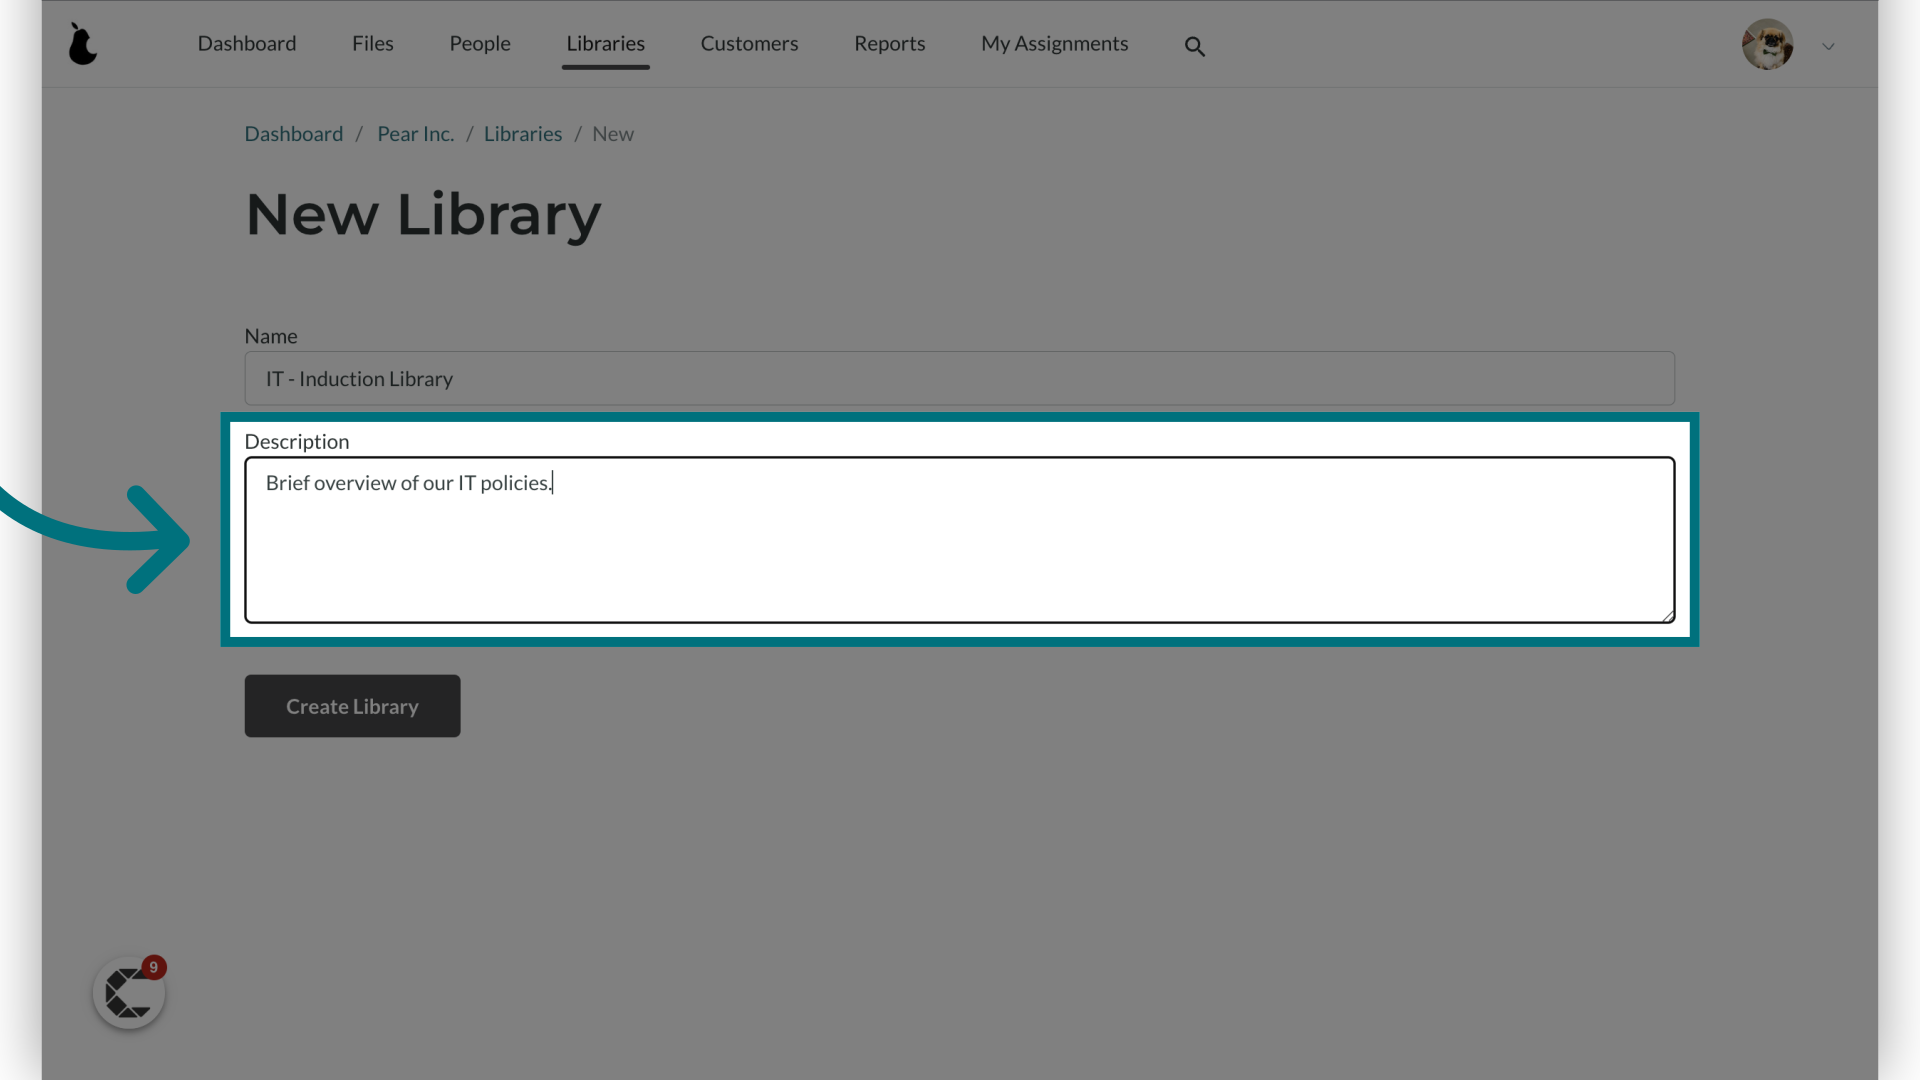
8. Click "Create Library"
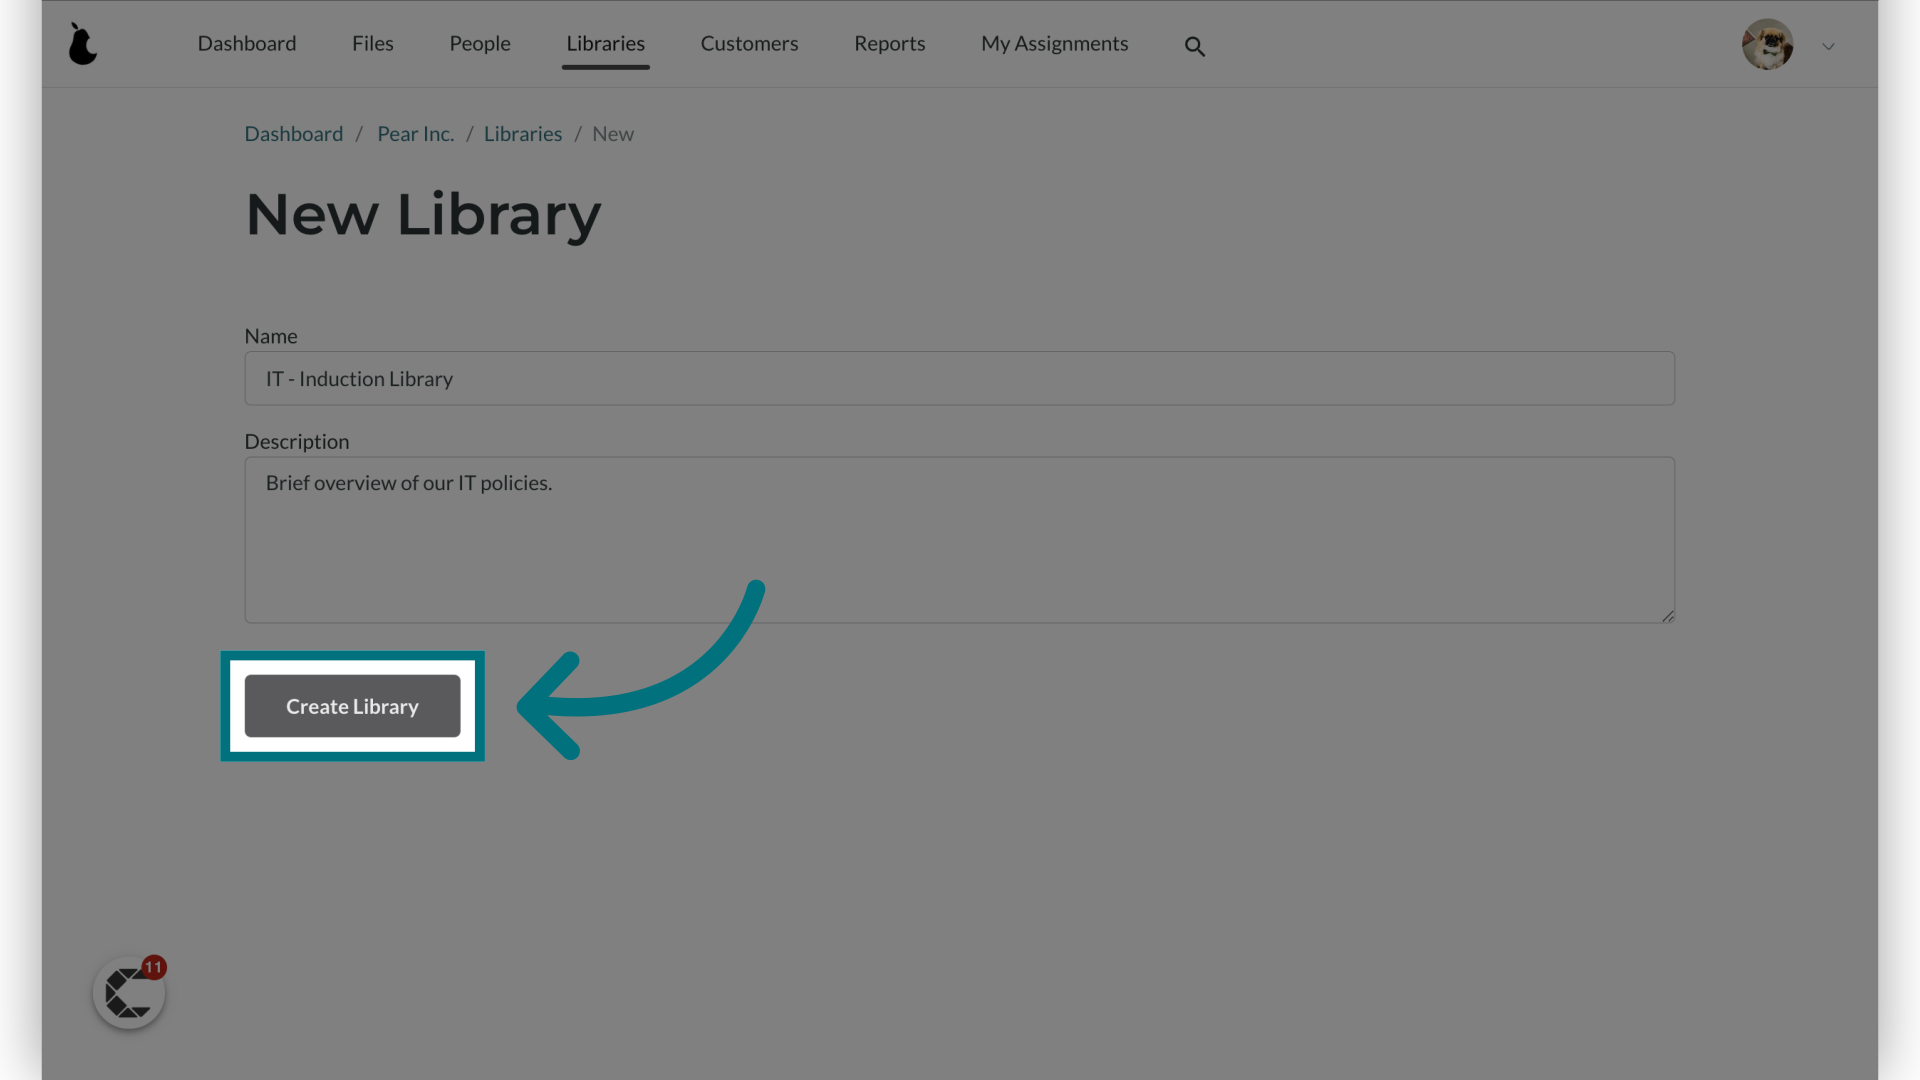
9. Click "+ Add file"
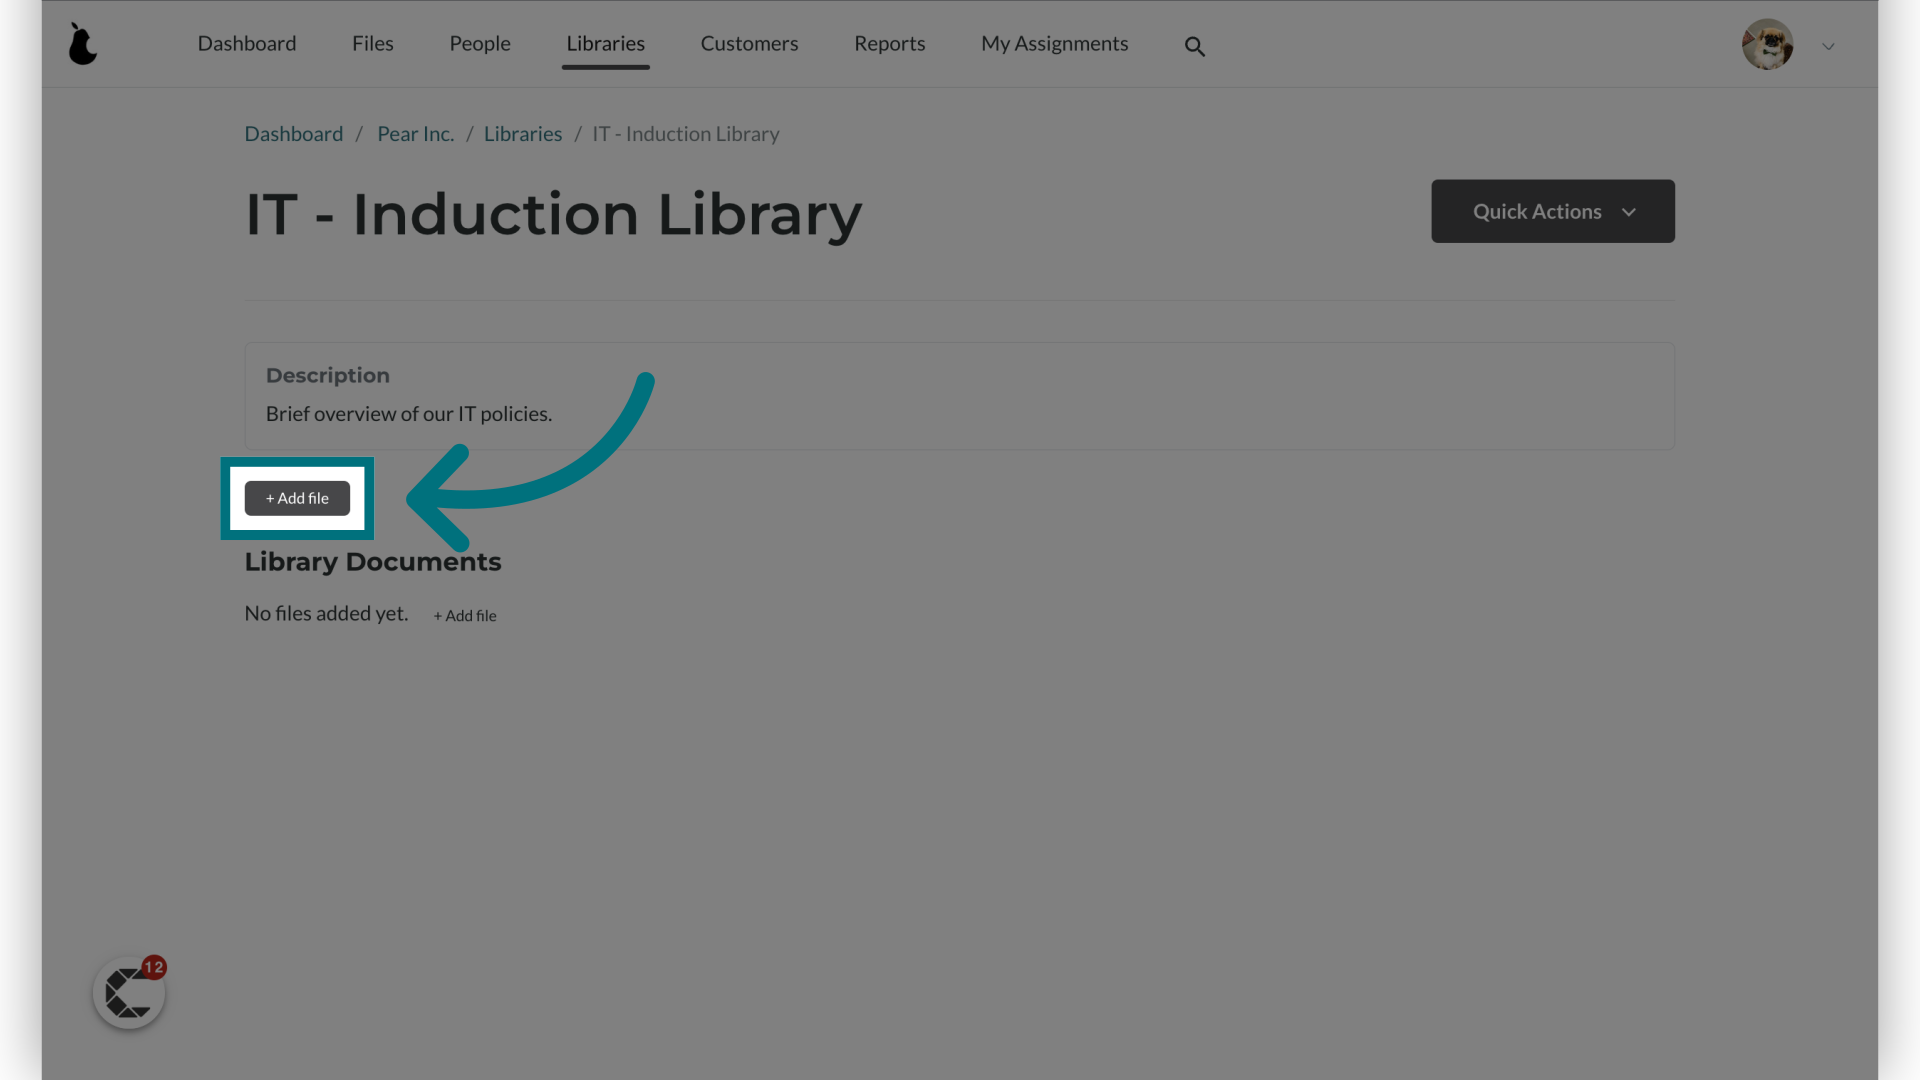
10. Click the '+' icon next to each file you'd like to add to the library
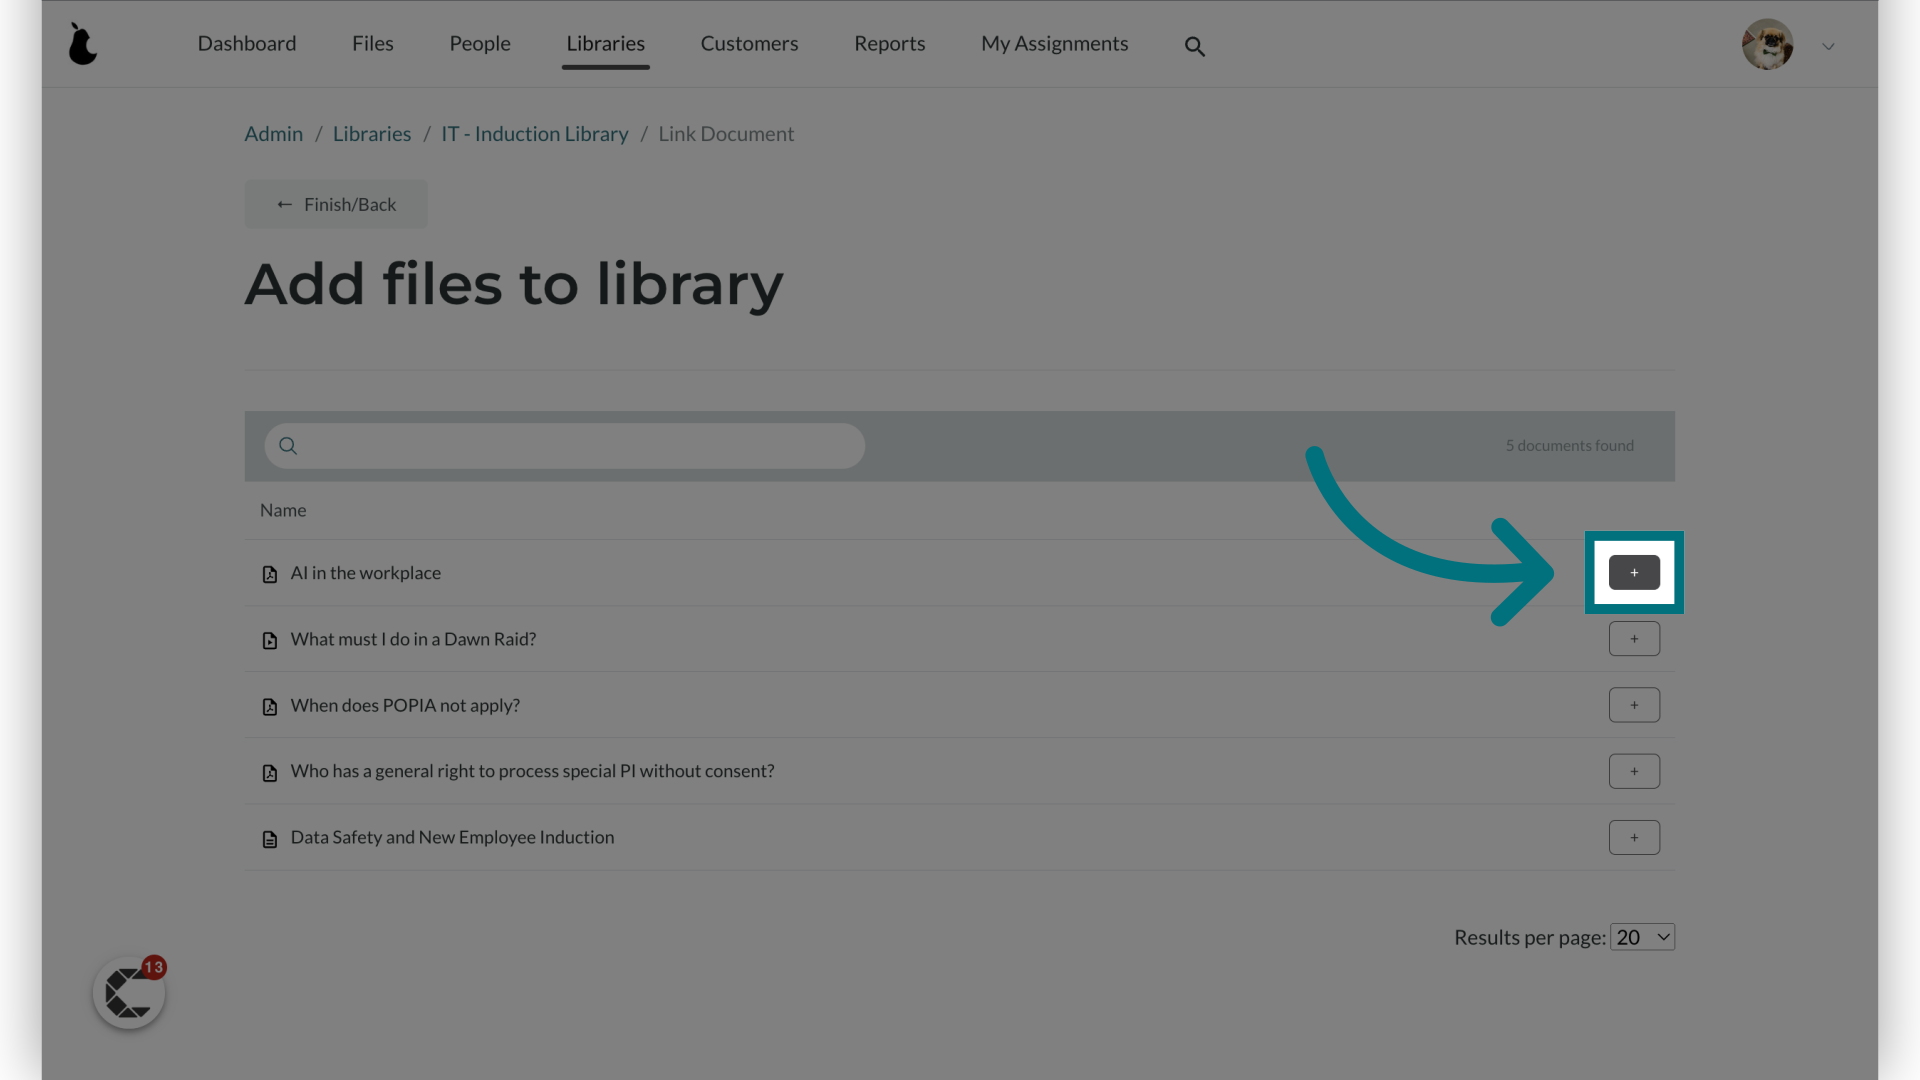
11. Click "+"
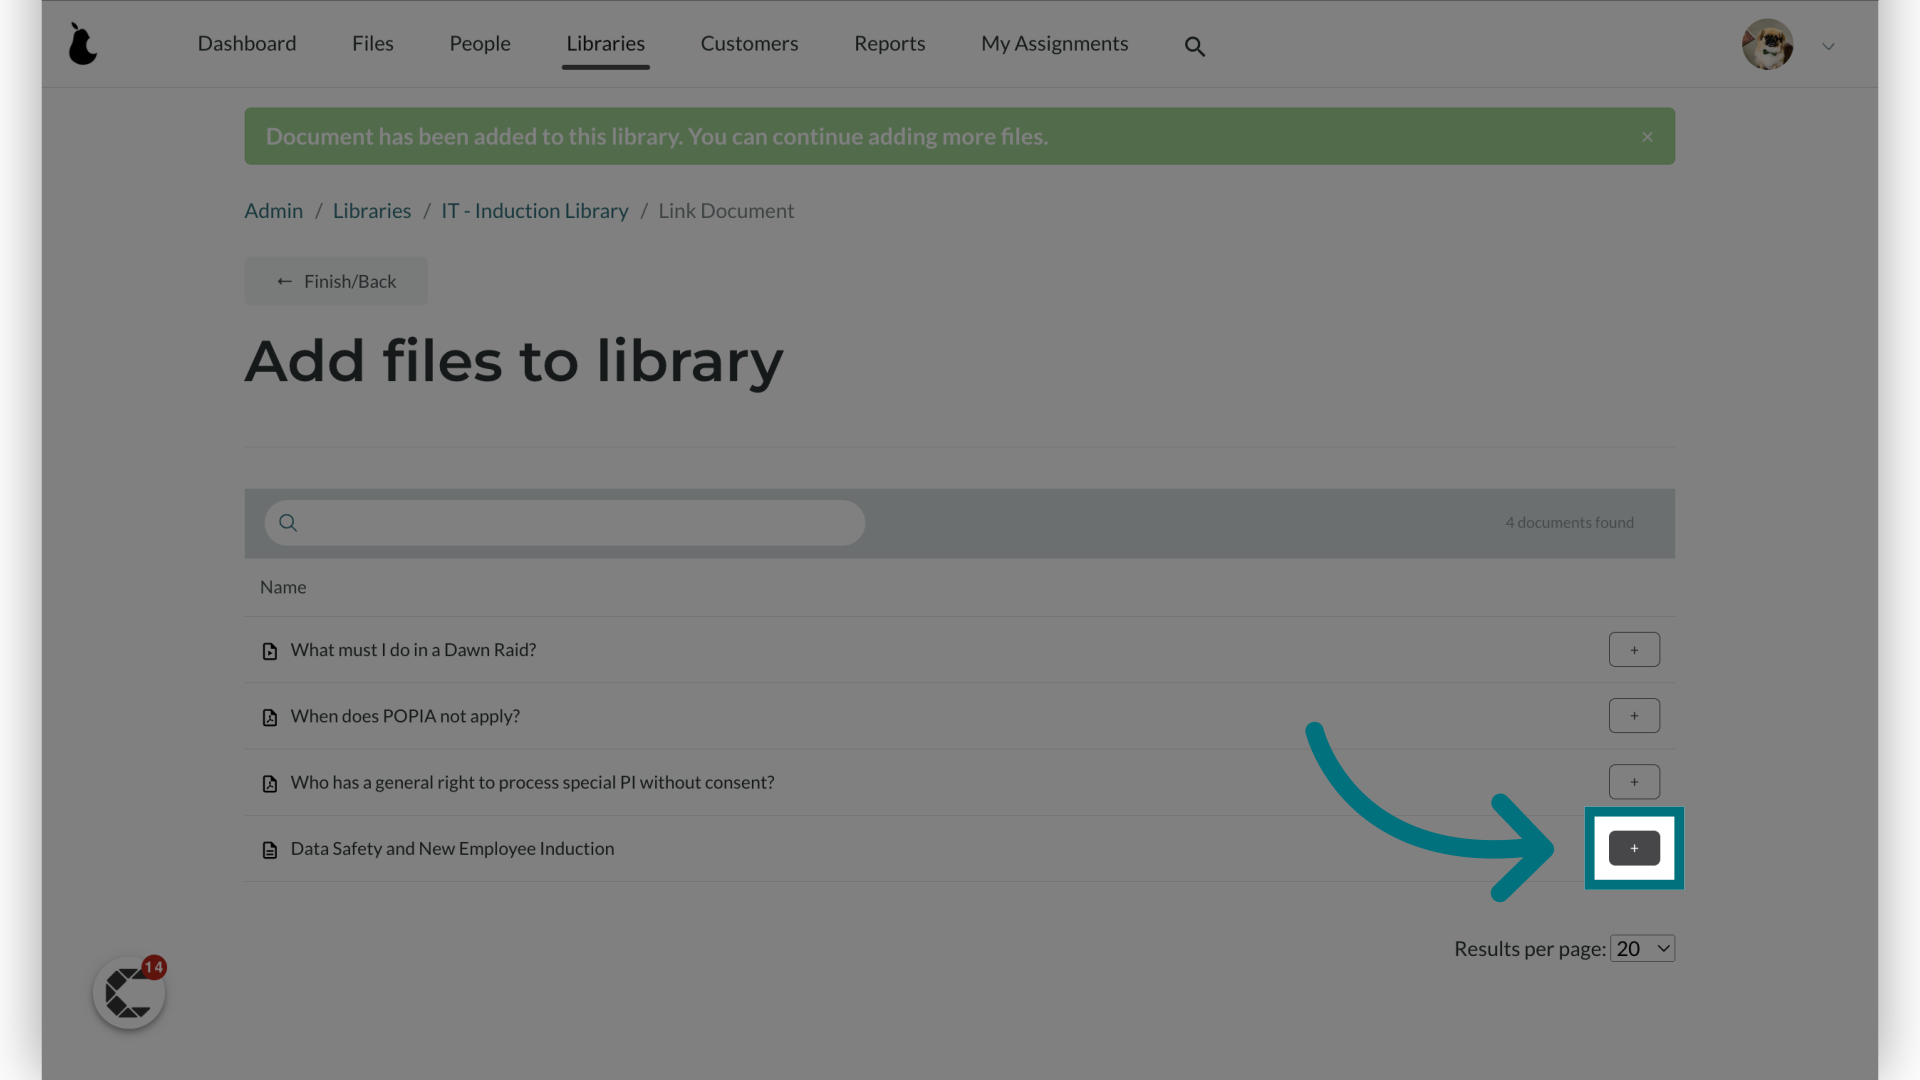
12. Click "← Finish/Back"
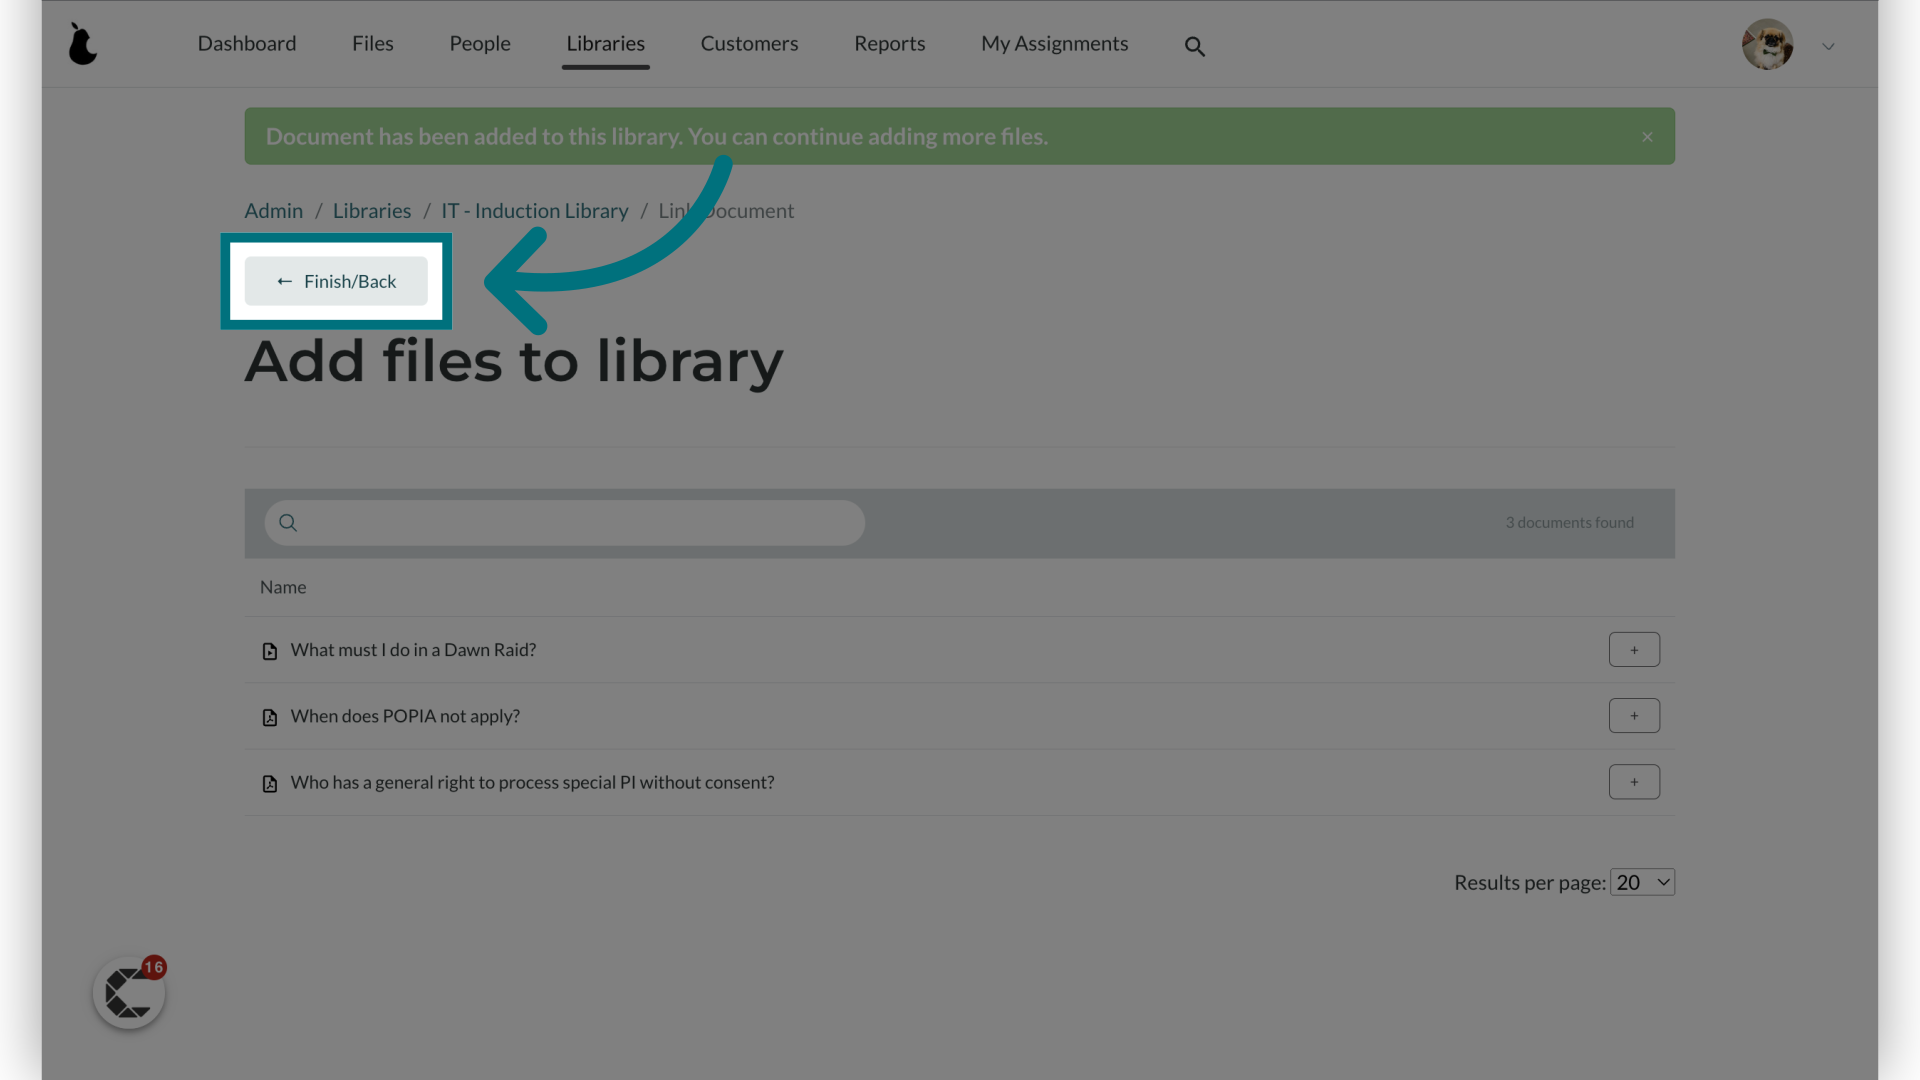
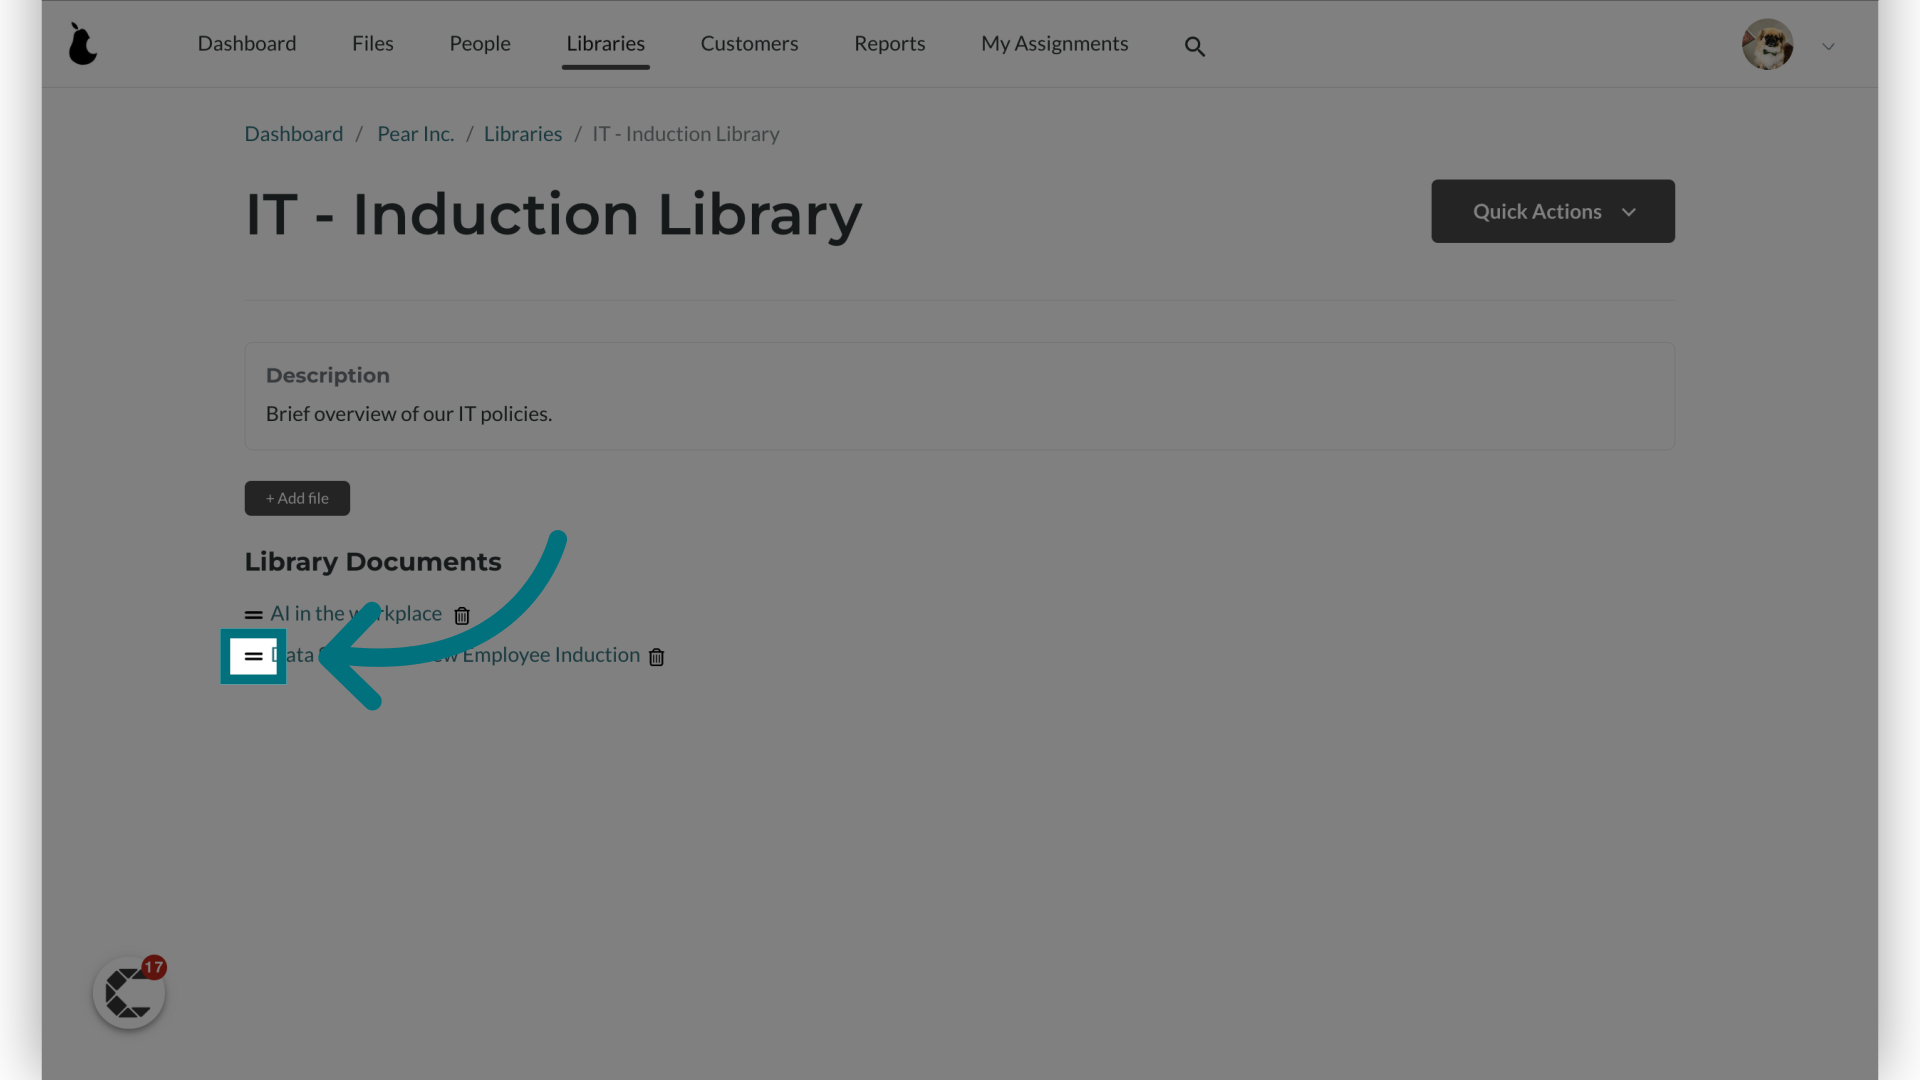
13. Click and drag the handle to reorder the files should you wish for certain items to appear at the top of the list. Should you wish to remove a file from a Library, click on the delete icon.
How are libraries displayed to end users?
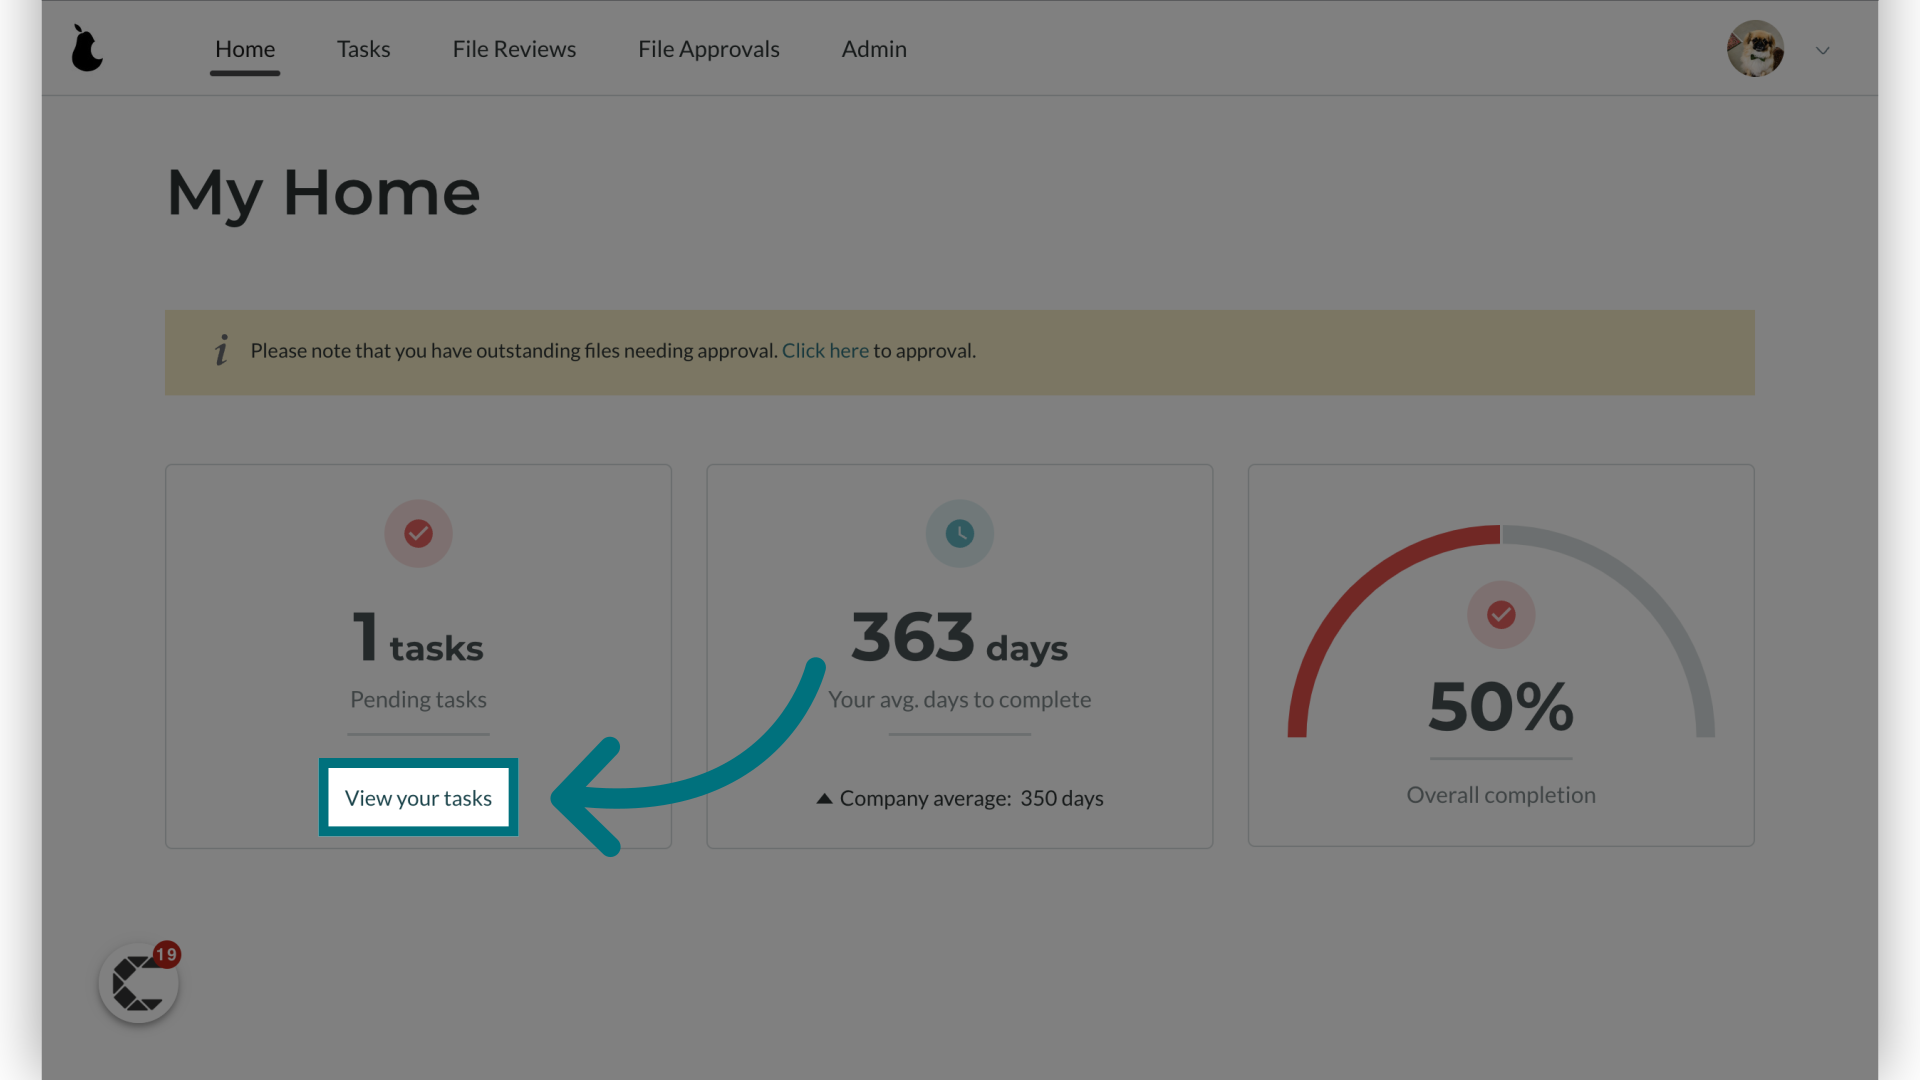
1. Click "View your tasks"
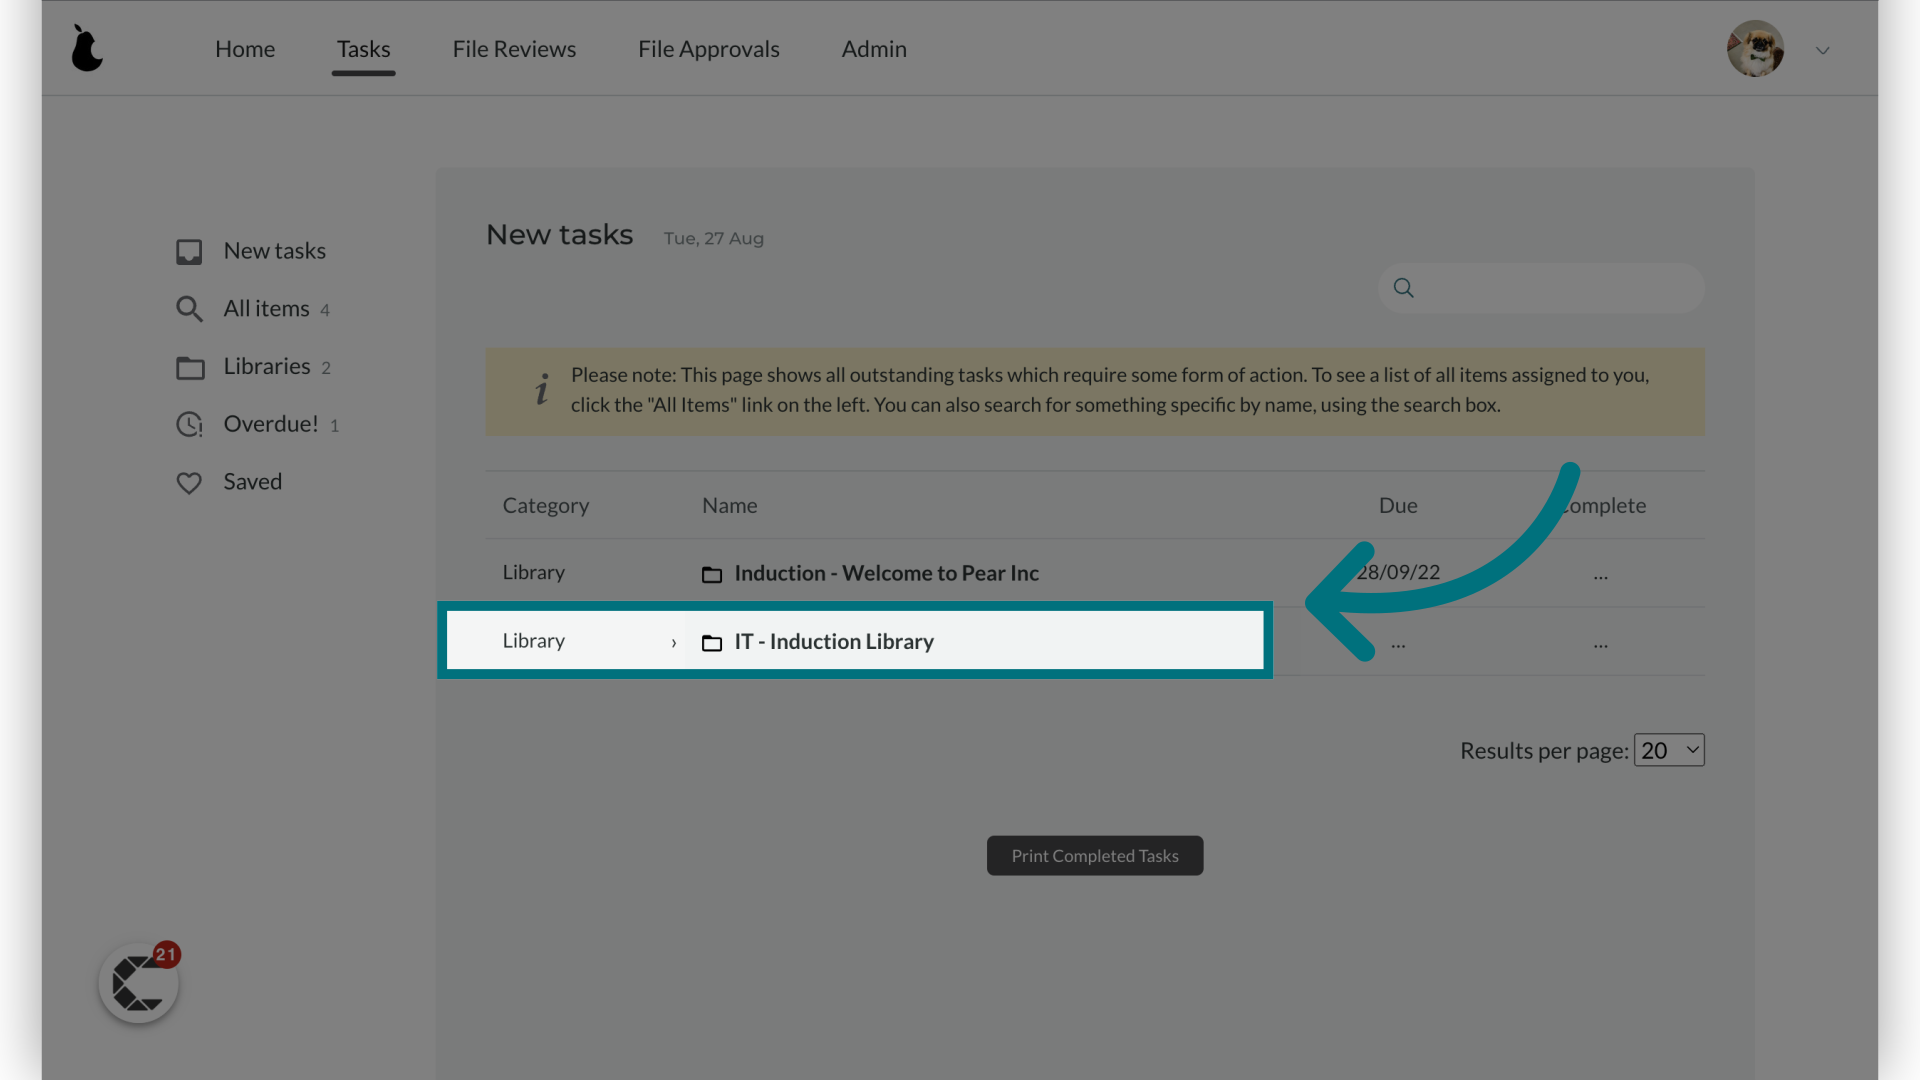
Libraries will appear on top of the user's tasks.
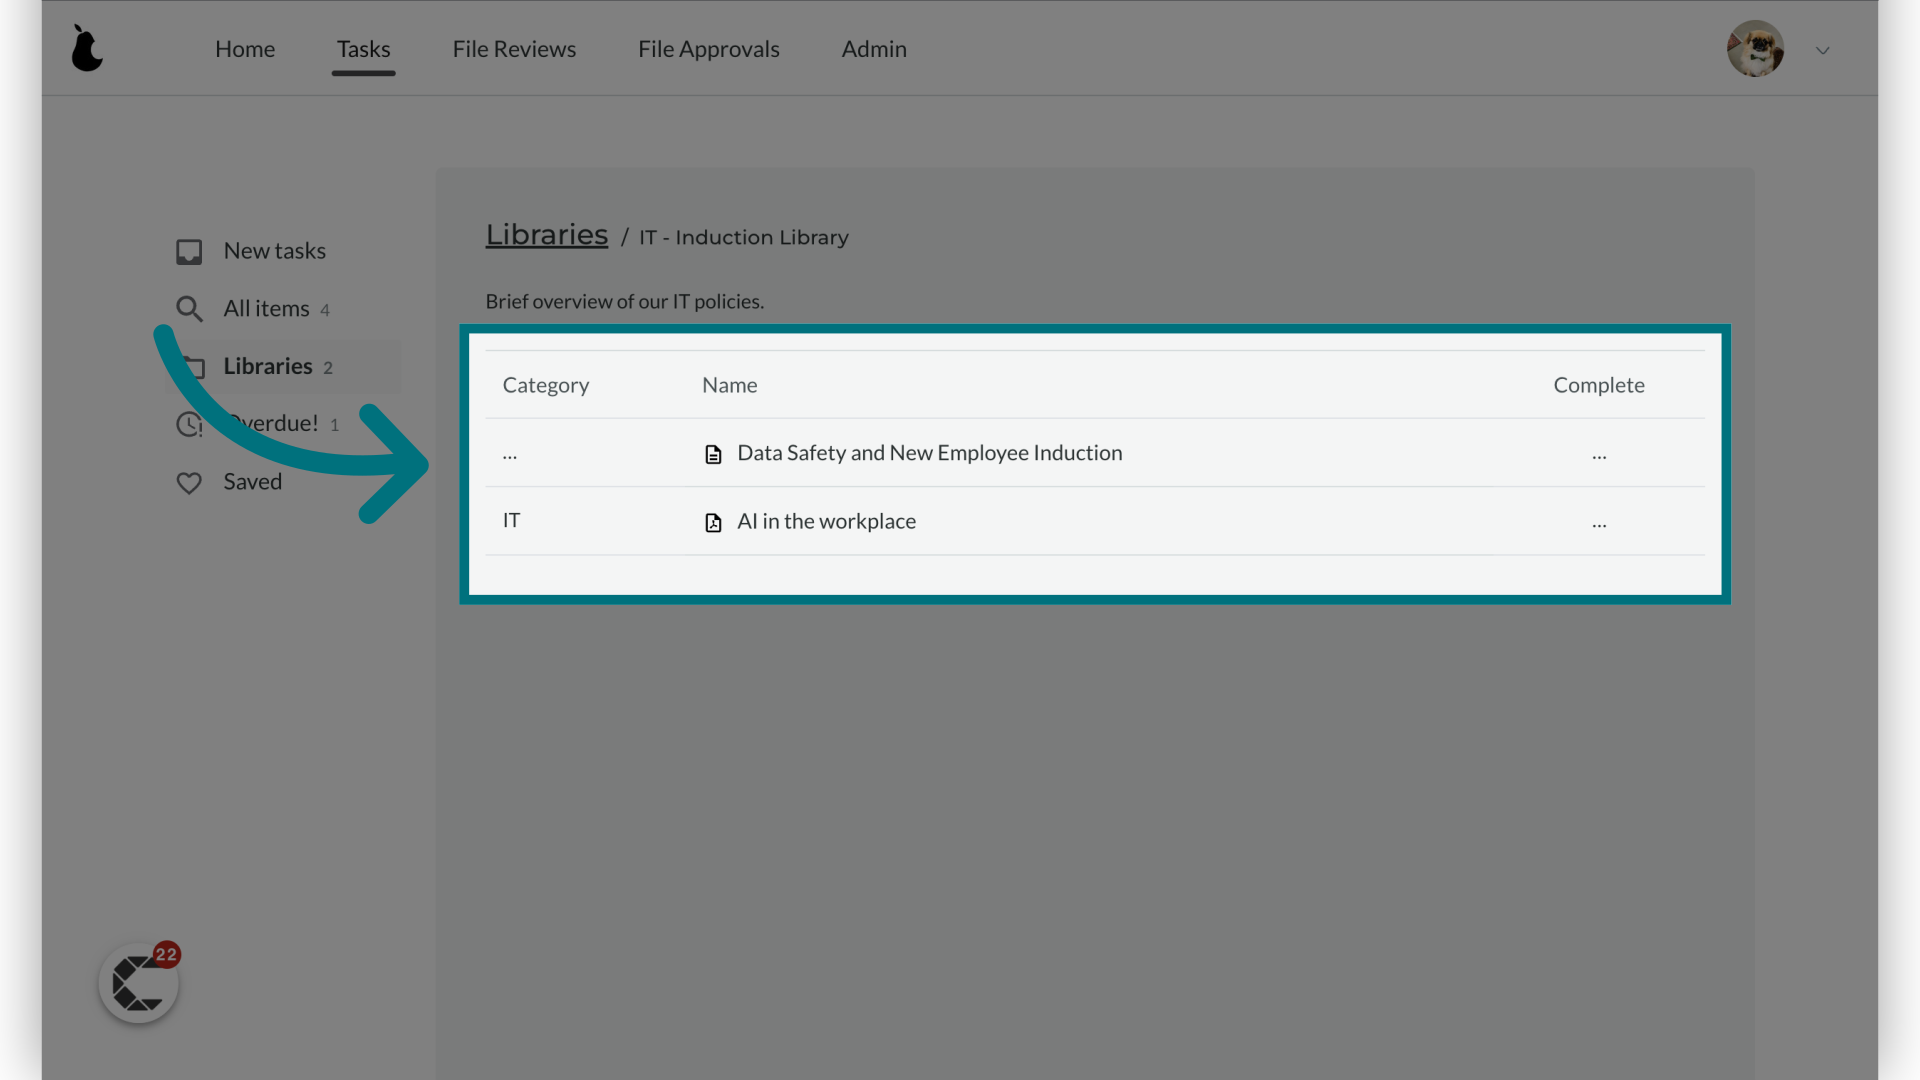
Once a user has clicked on the name of the Library the files will be displayed in the sequence in which the administrator added them to the Library.
Was this article helpful?
That’s Great!
Thank you for your feedback
Sorry! We couldn't be helpful
Thank you for your feedback
Feedback sent
We appreciate your effort and will try to fix the article