This guide will walk you through the process of uploading a video to Policy Passport using a video ID/token from Vimeo or YouTube.
Video:
Steps:
1. Log in to your Policy Passport profile
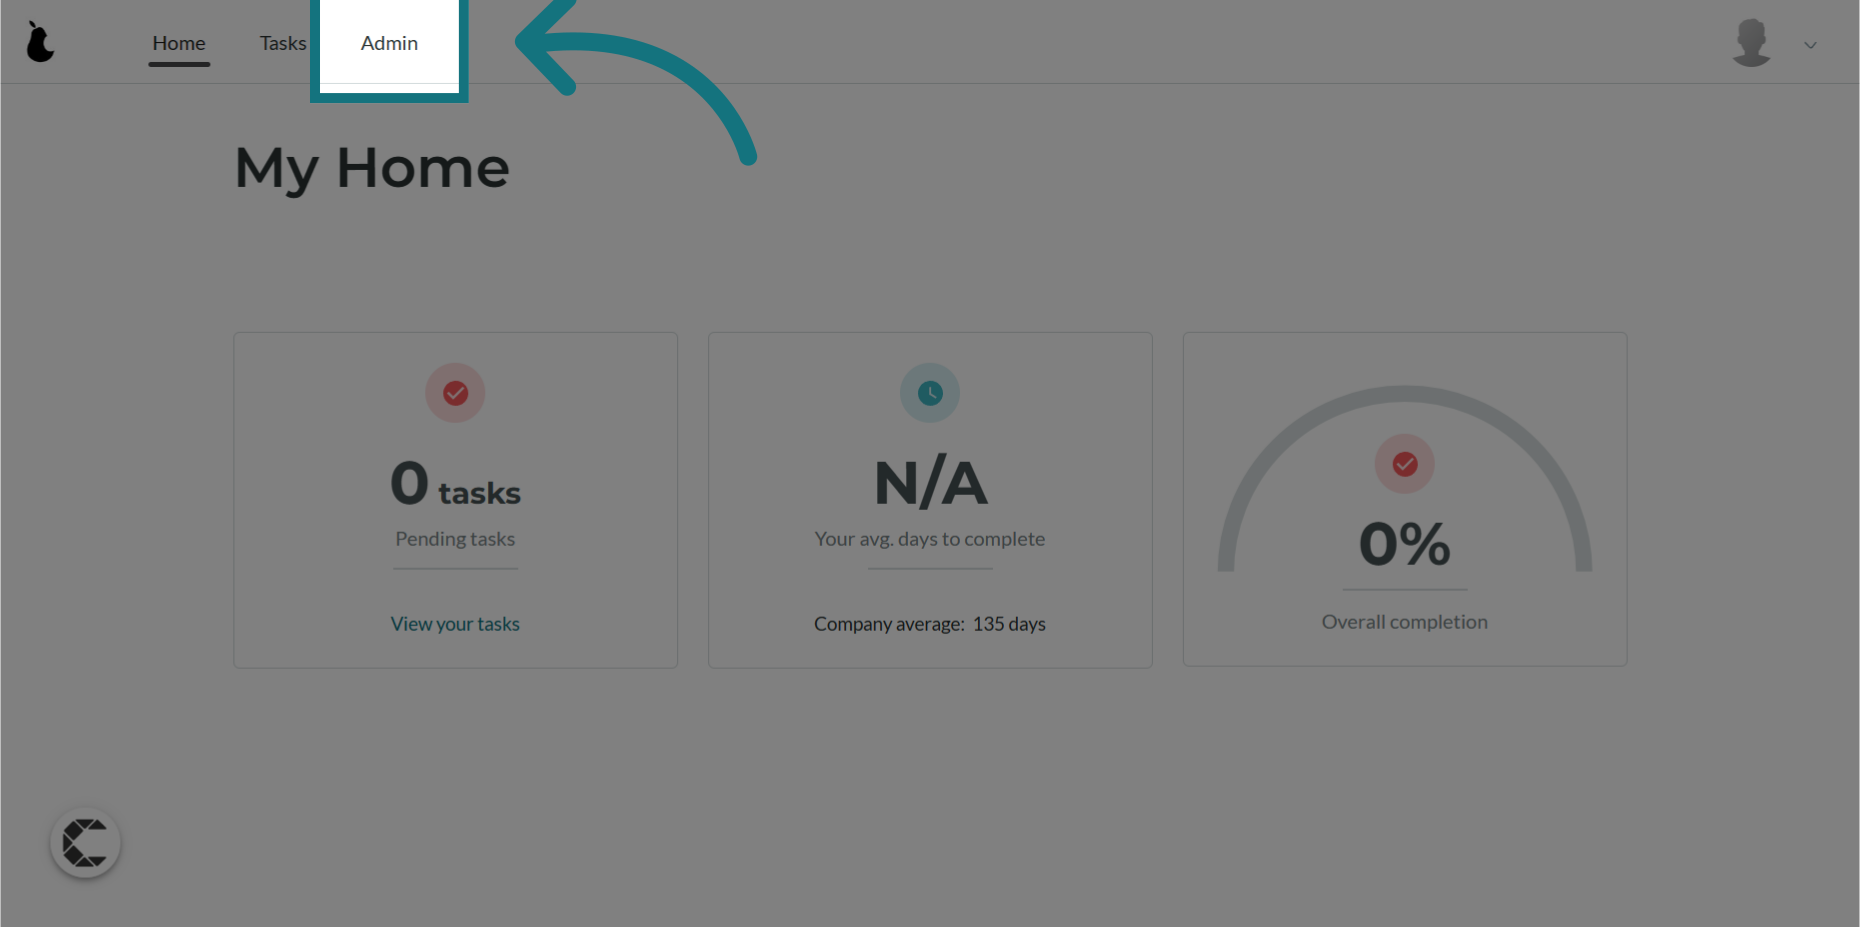
2. Click "Admin"
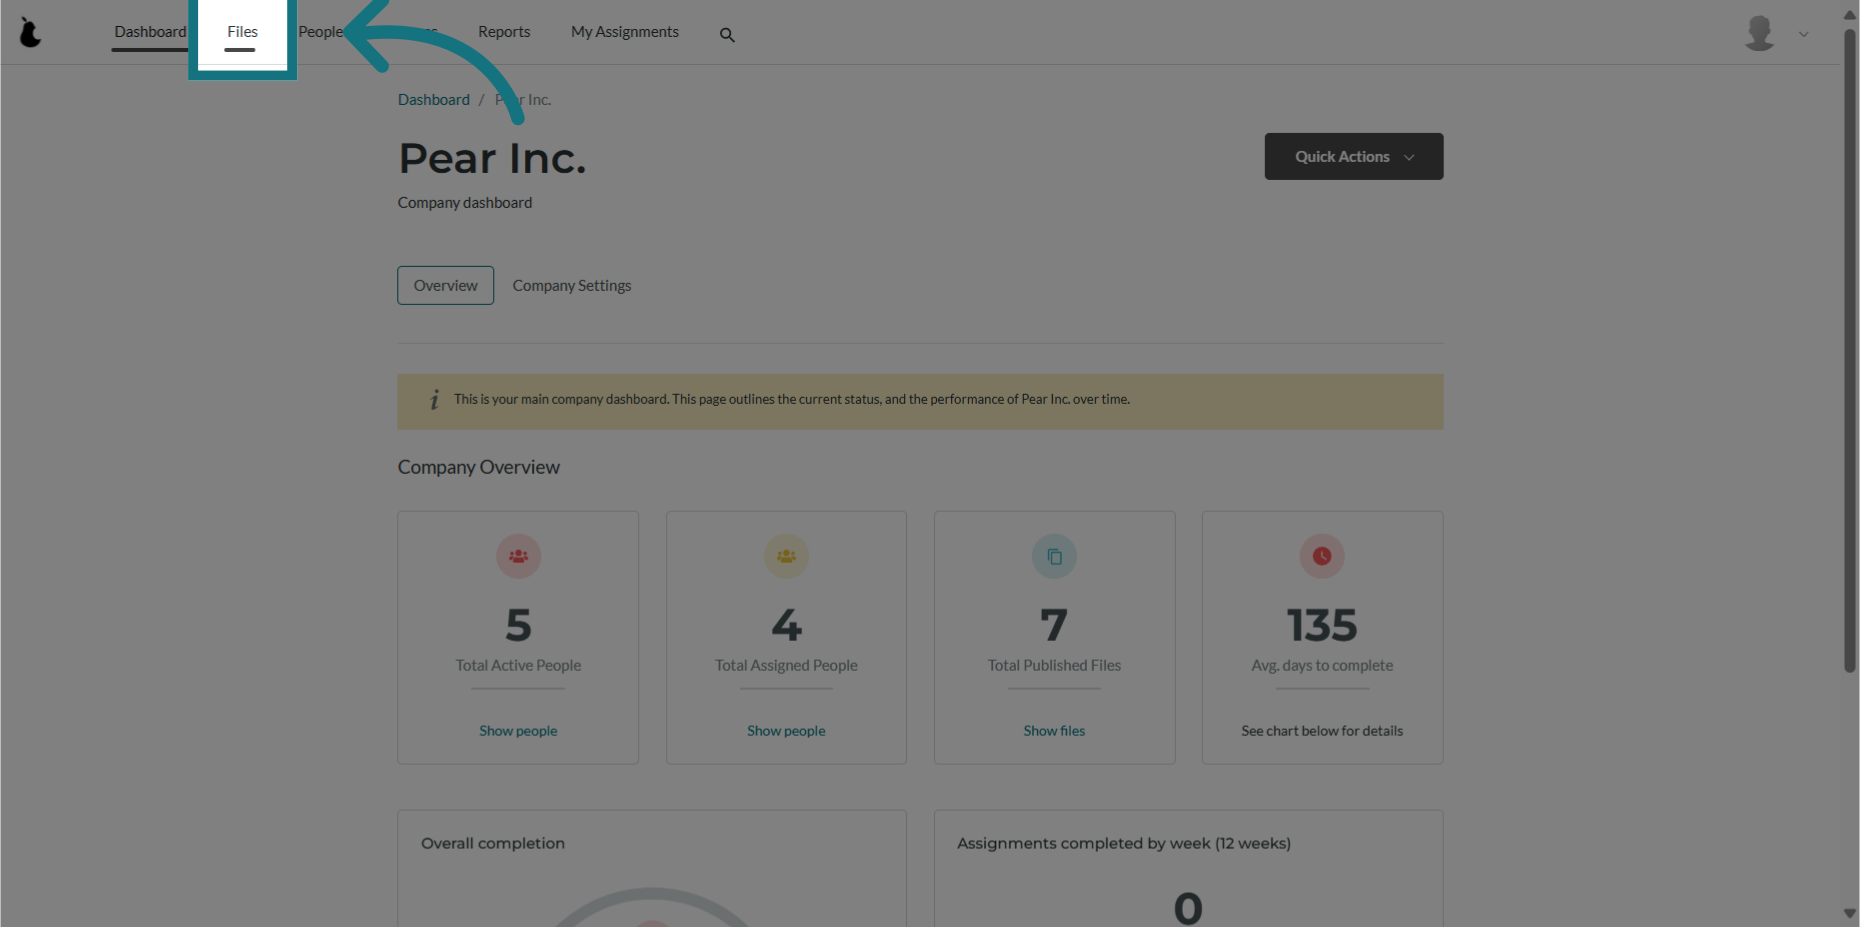
3. Click "Files"
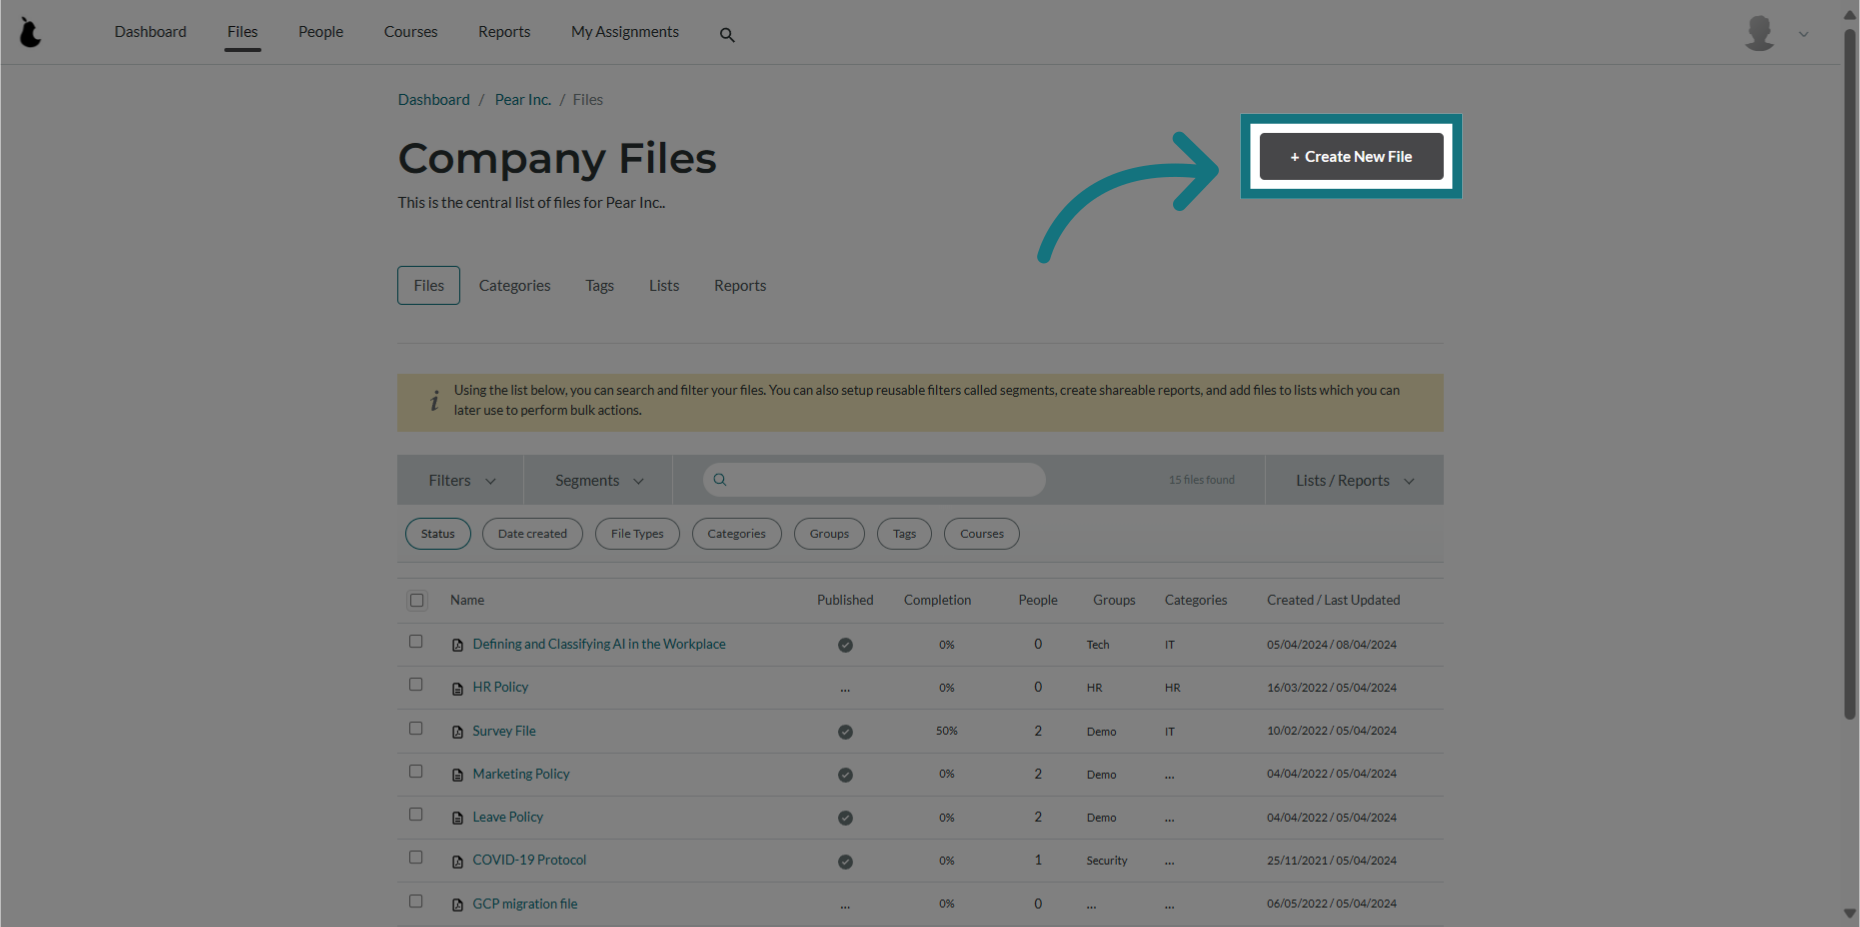
4. Click "+ Create New File"
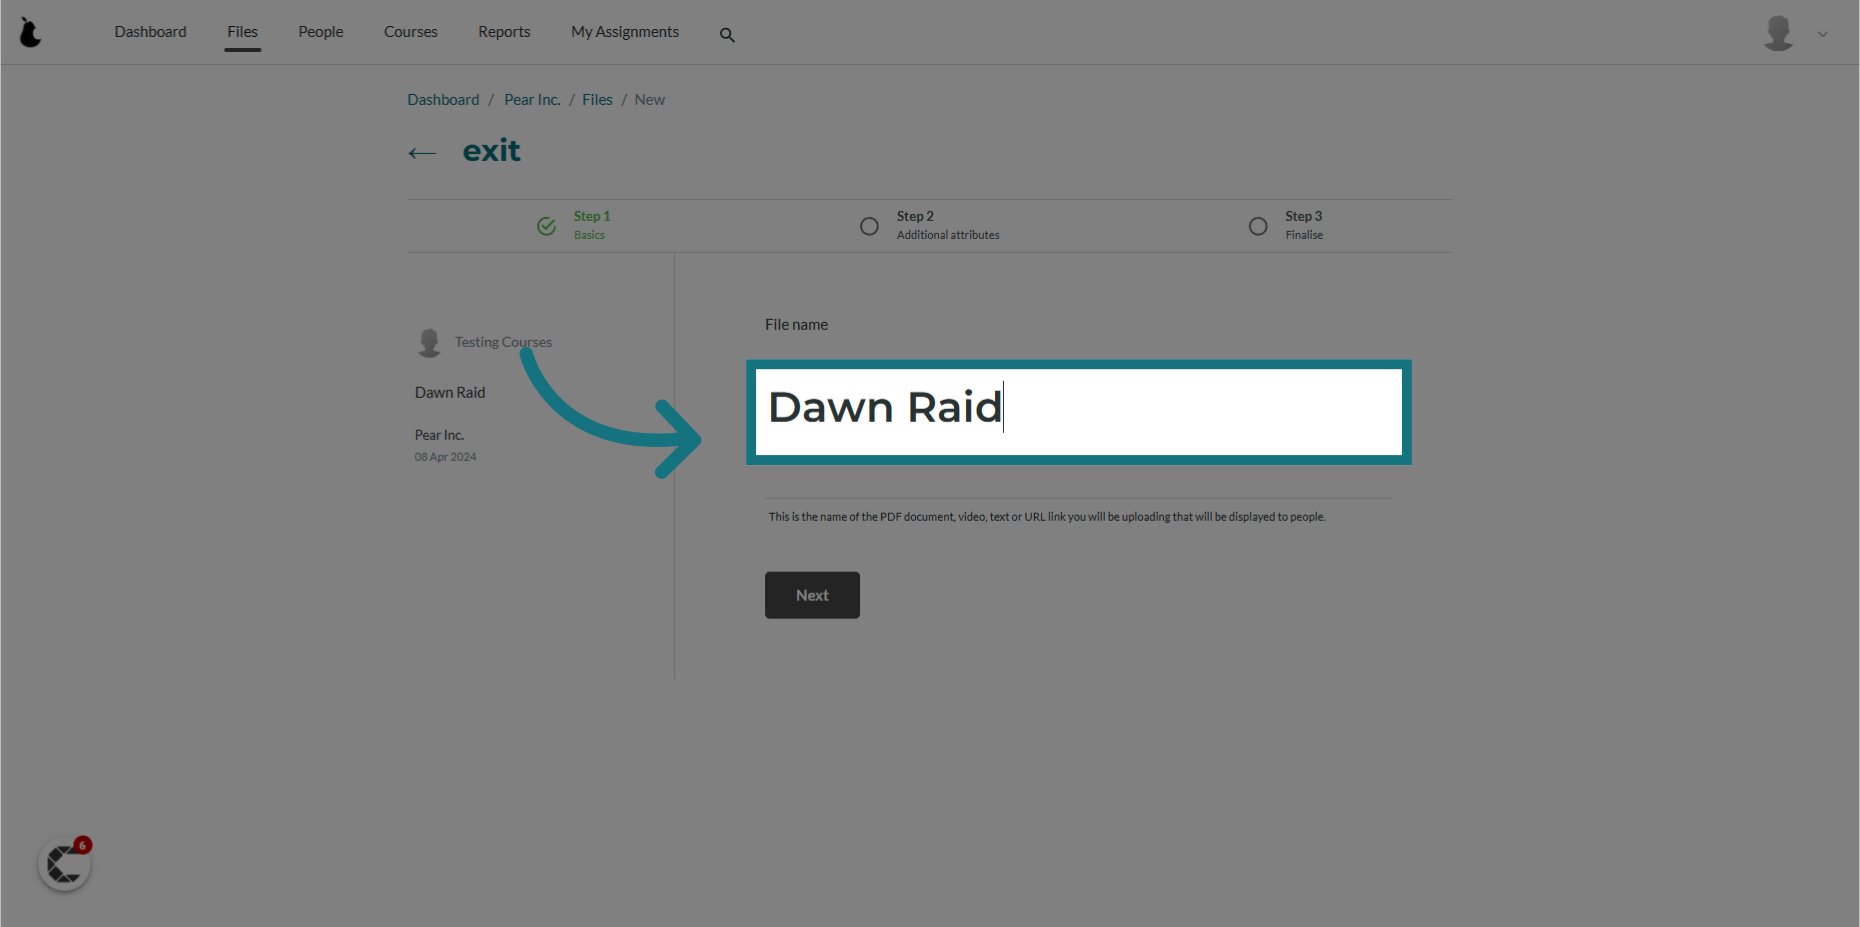
5. Click "Give this file a name..."
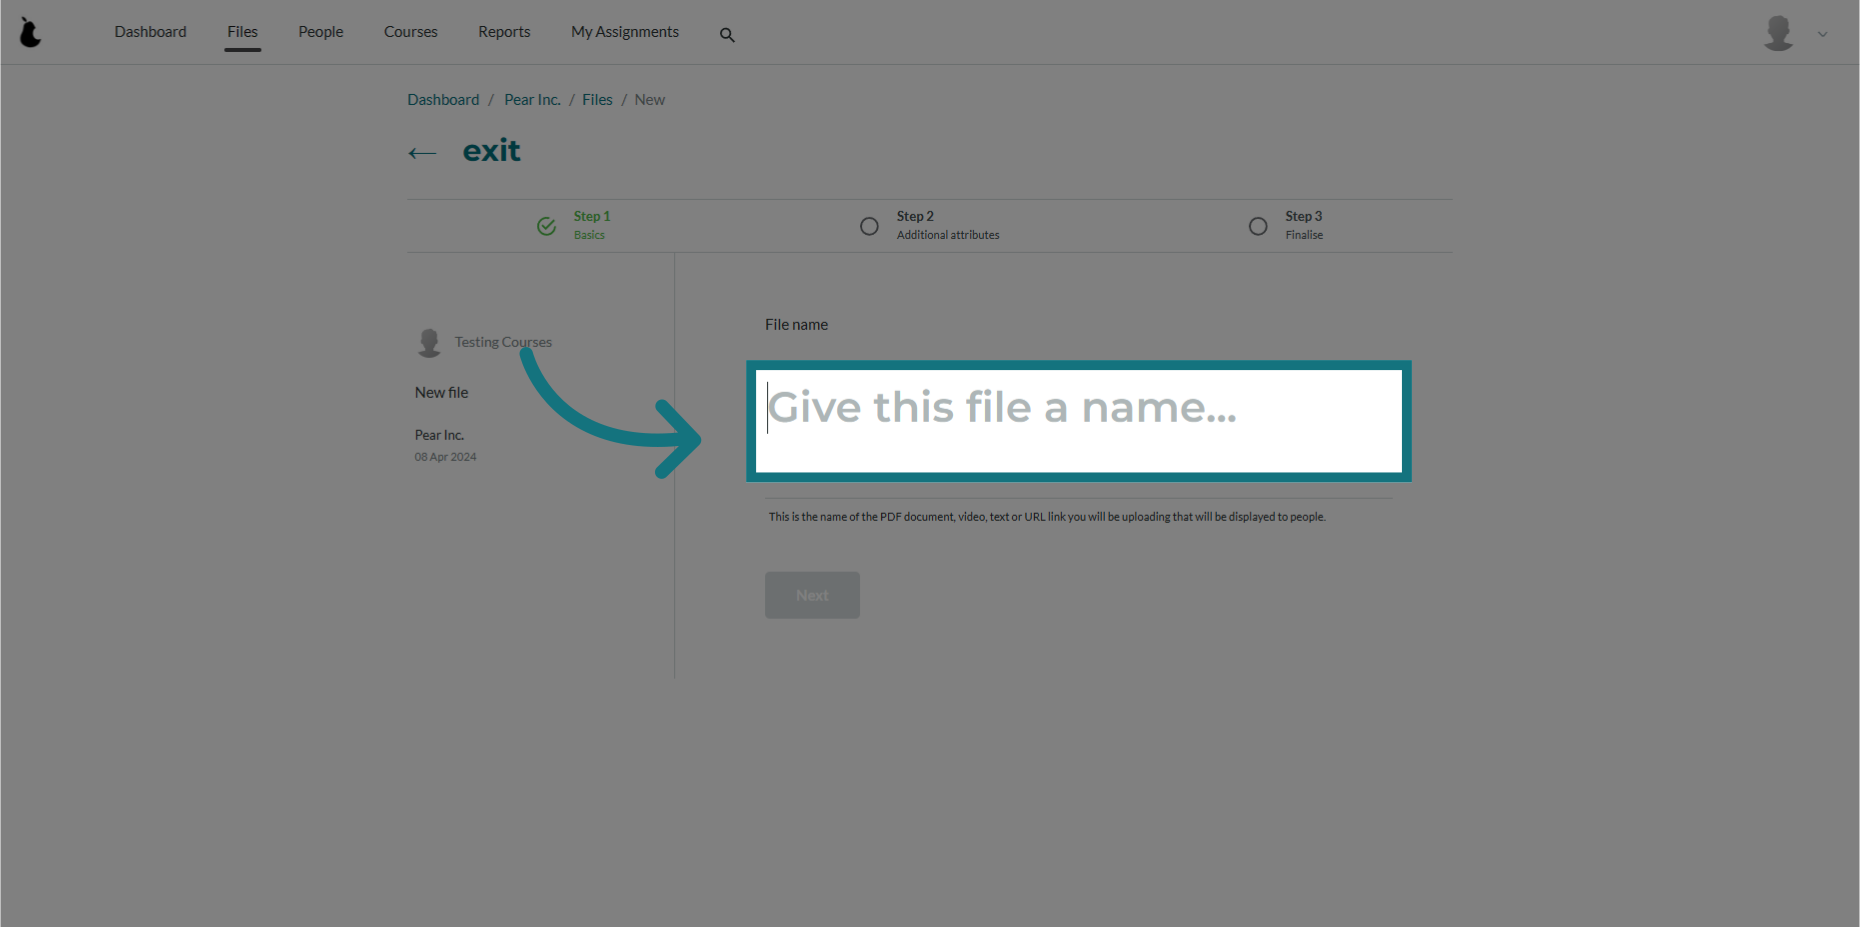
6. Provide a name for your file
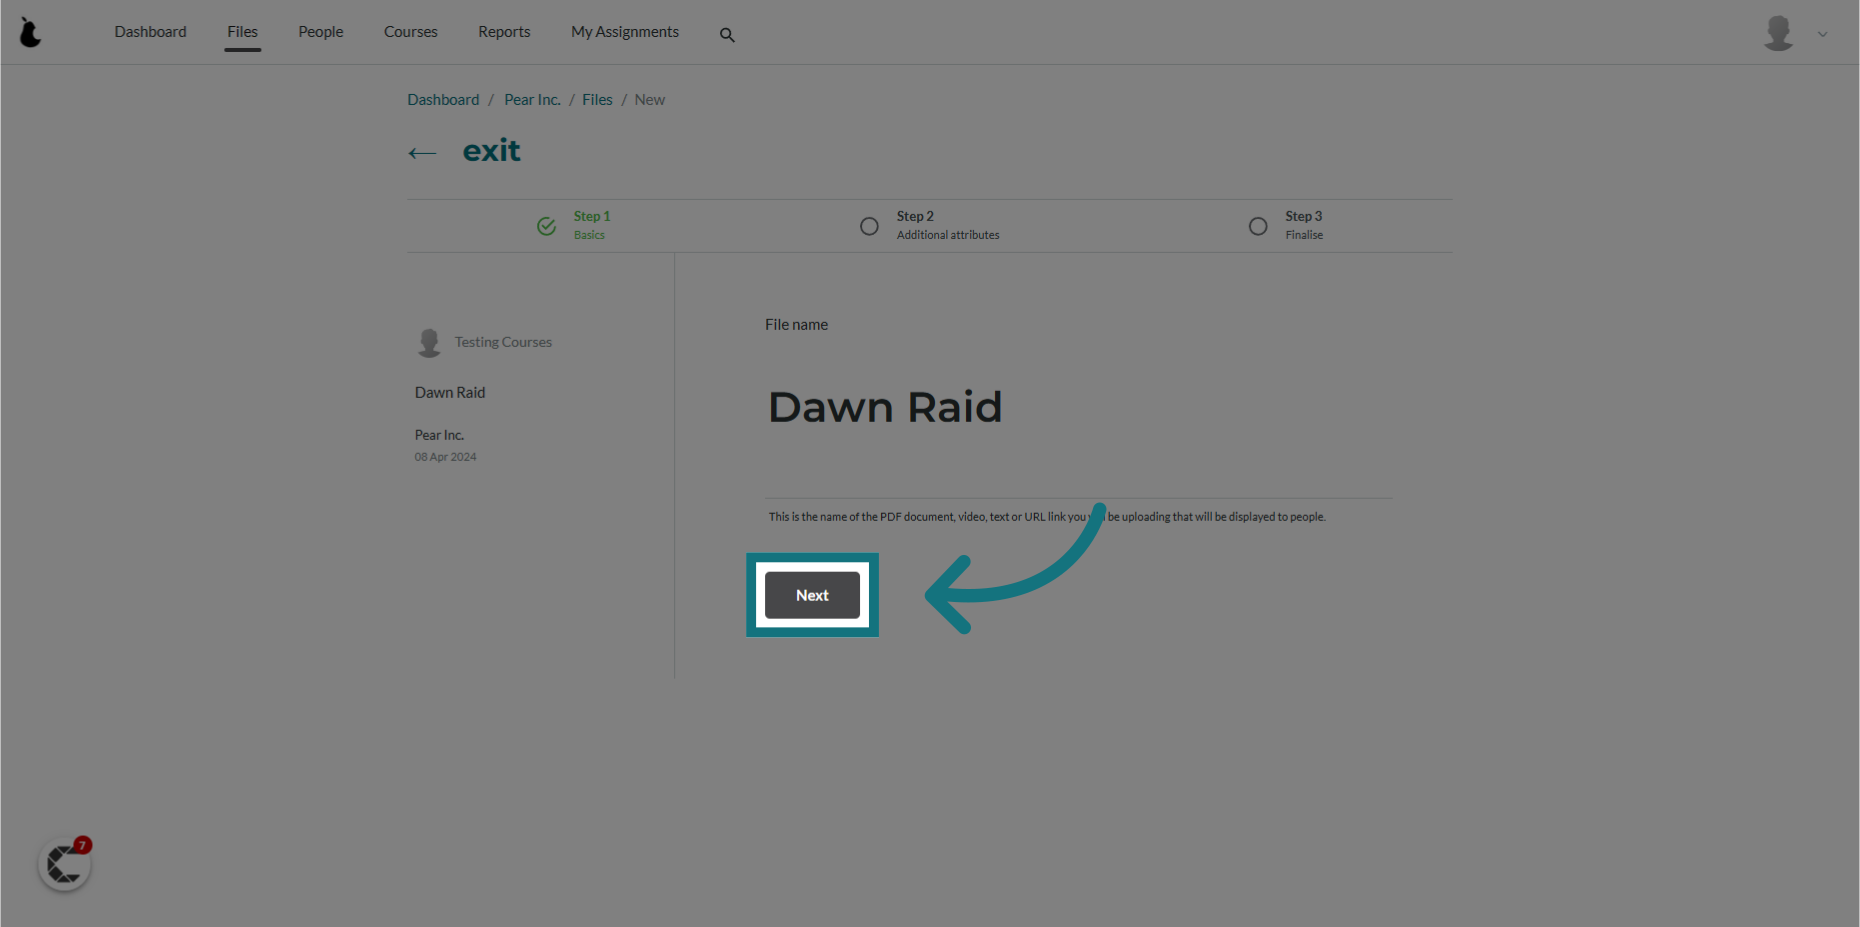
7. Click "Next"
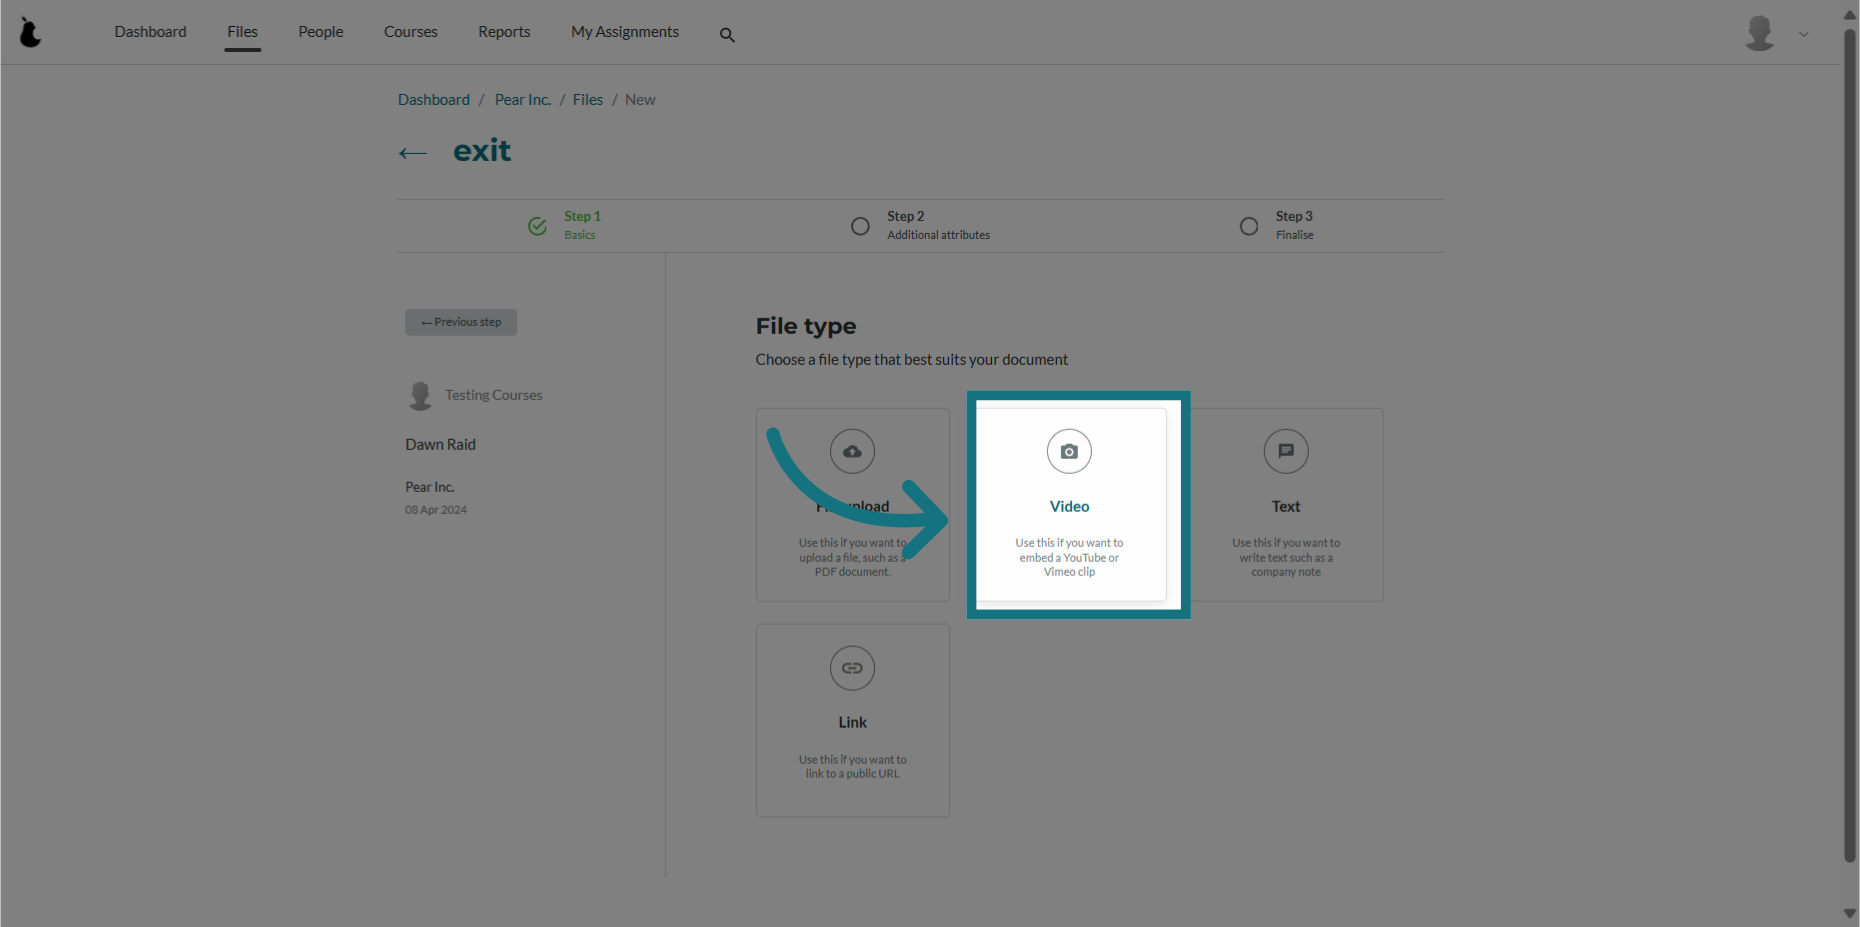
8. Click "Video"
9. Choose the platform where your video is hosted (YouTube or Vimeo)
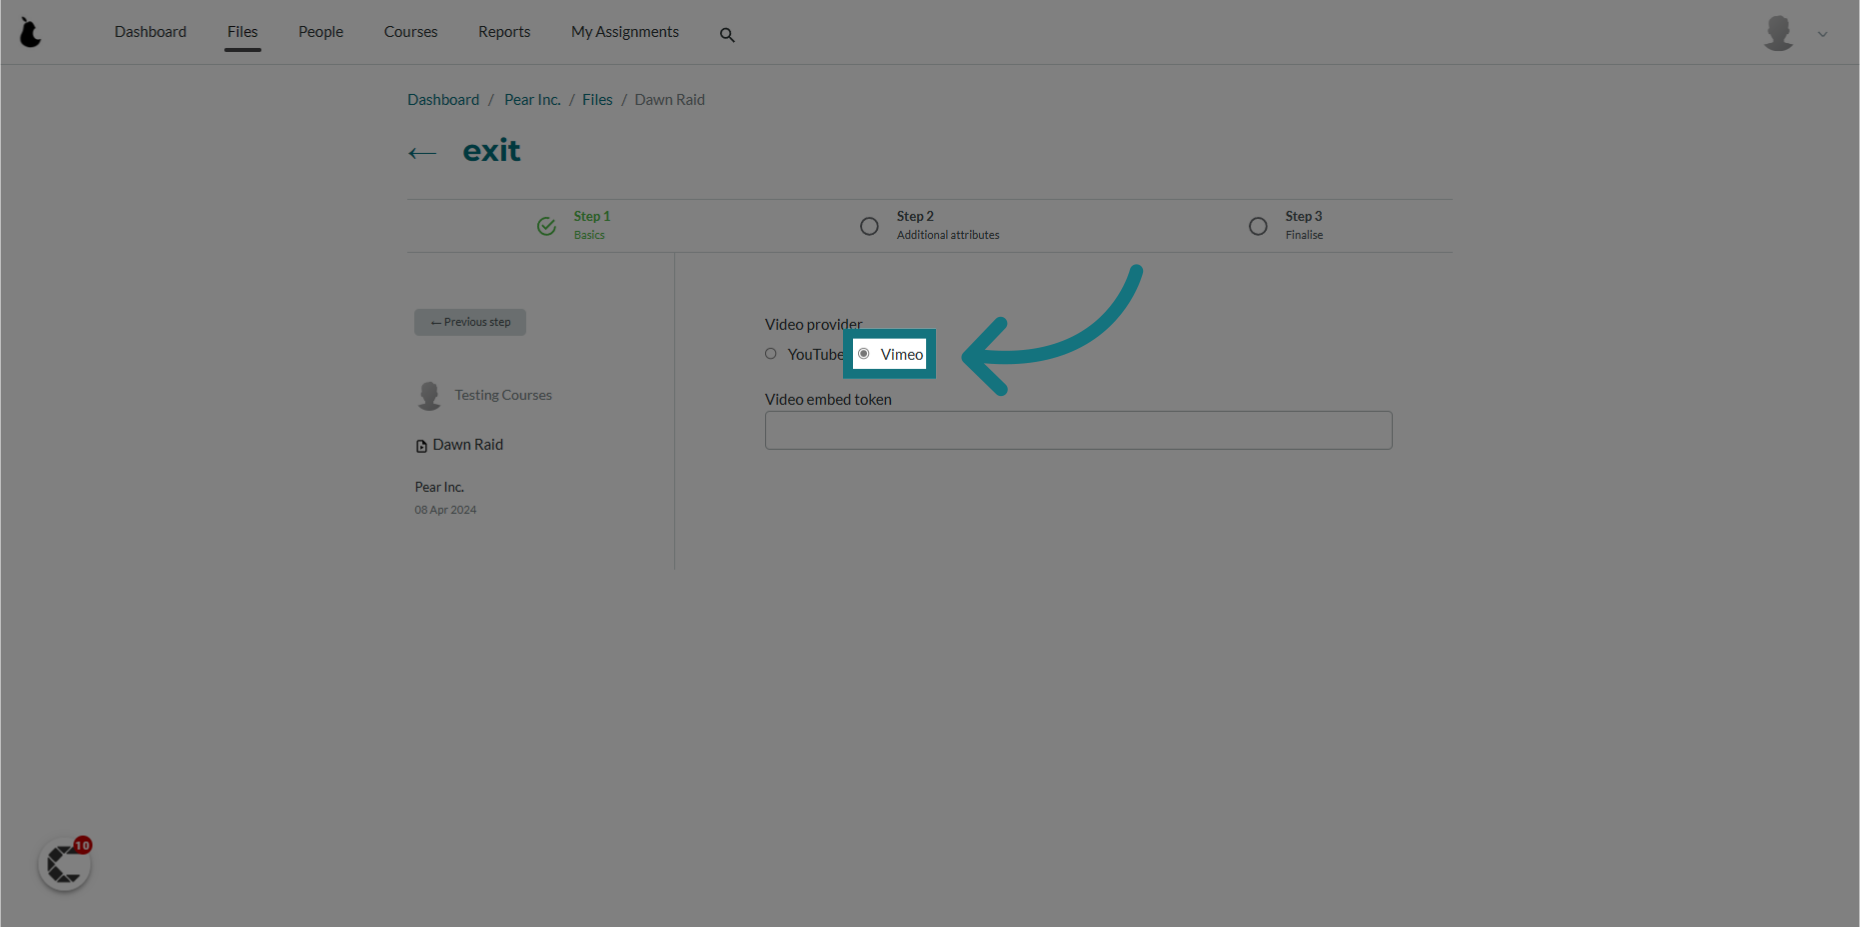
10. Click "Video embed token"
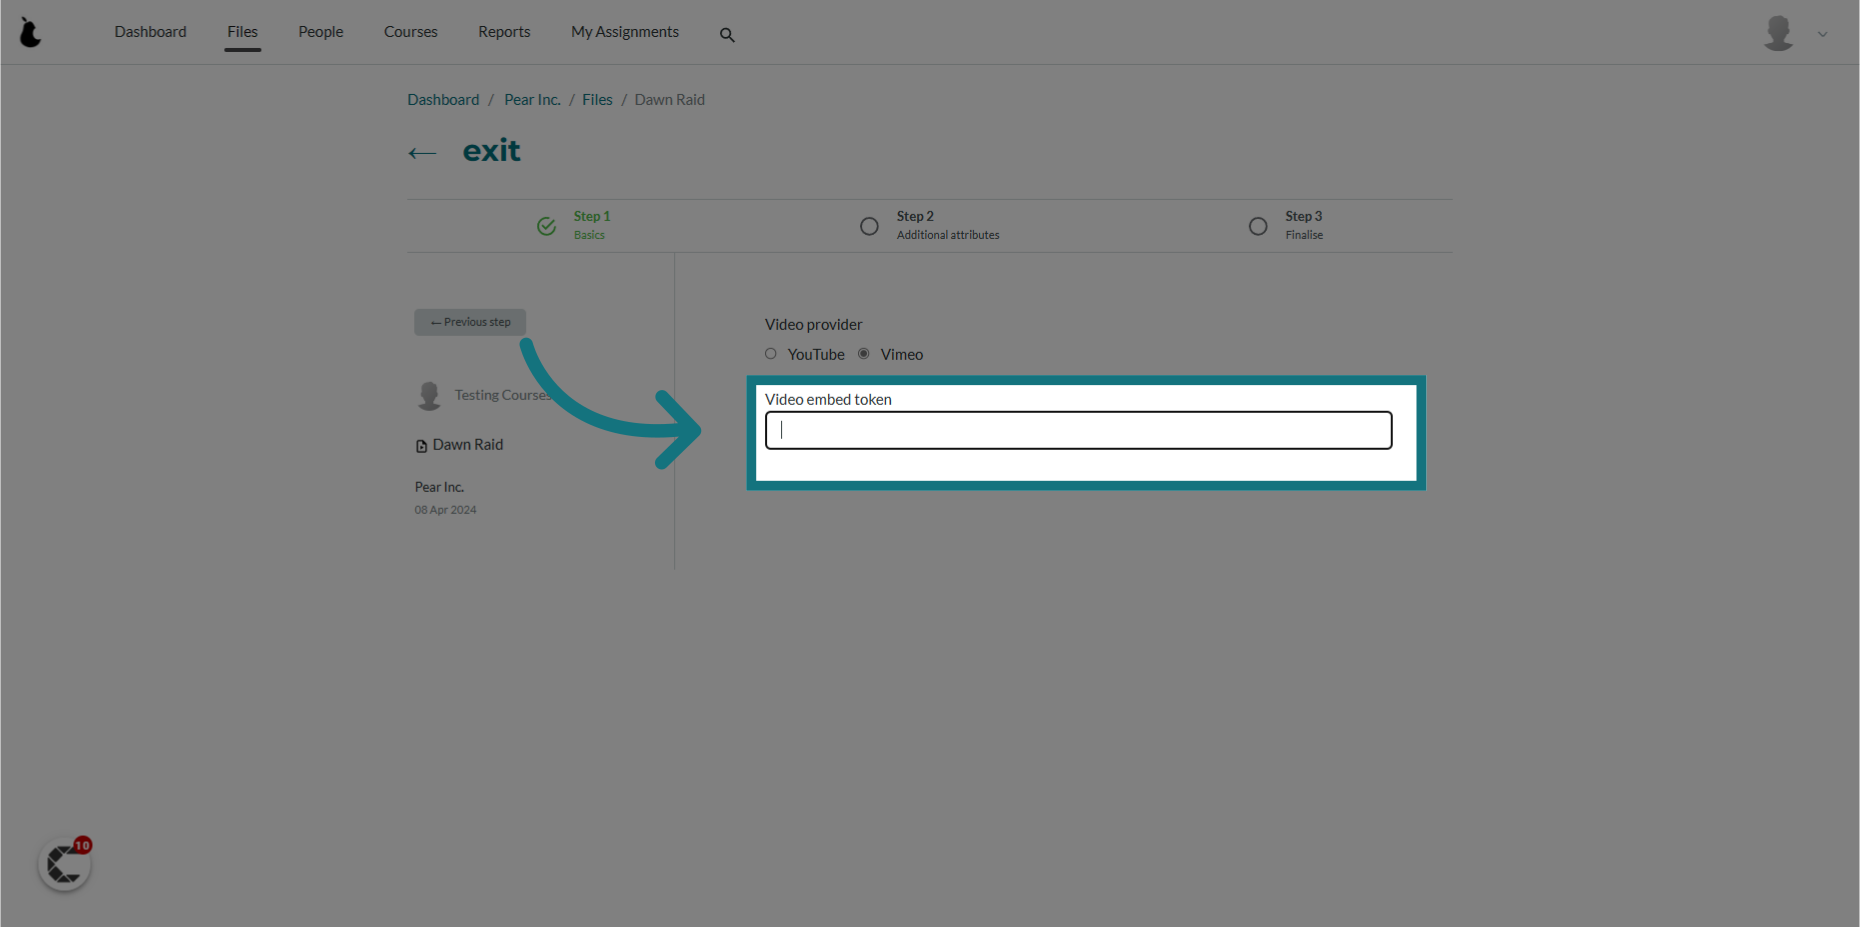
11. Type in your video ID/token
- You can find your video ID/token on this help page: How do I find my Vimeo or YouTube video ID?

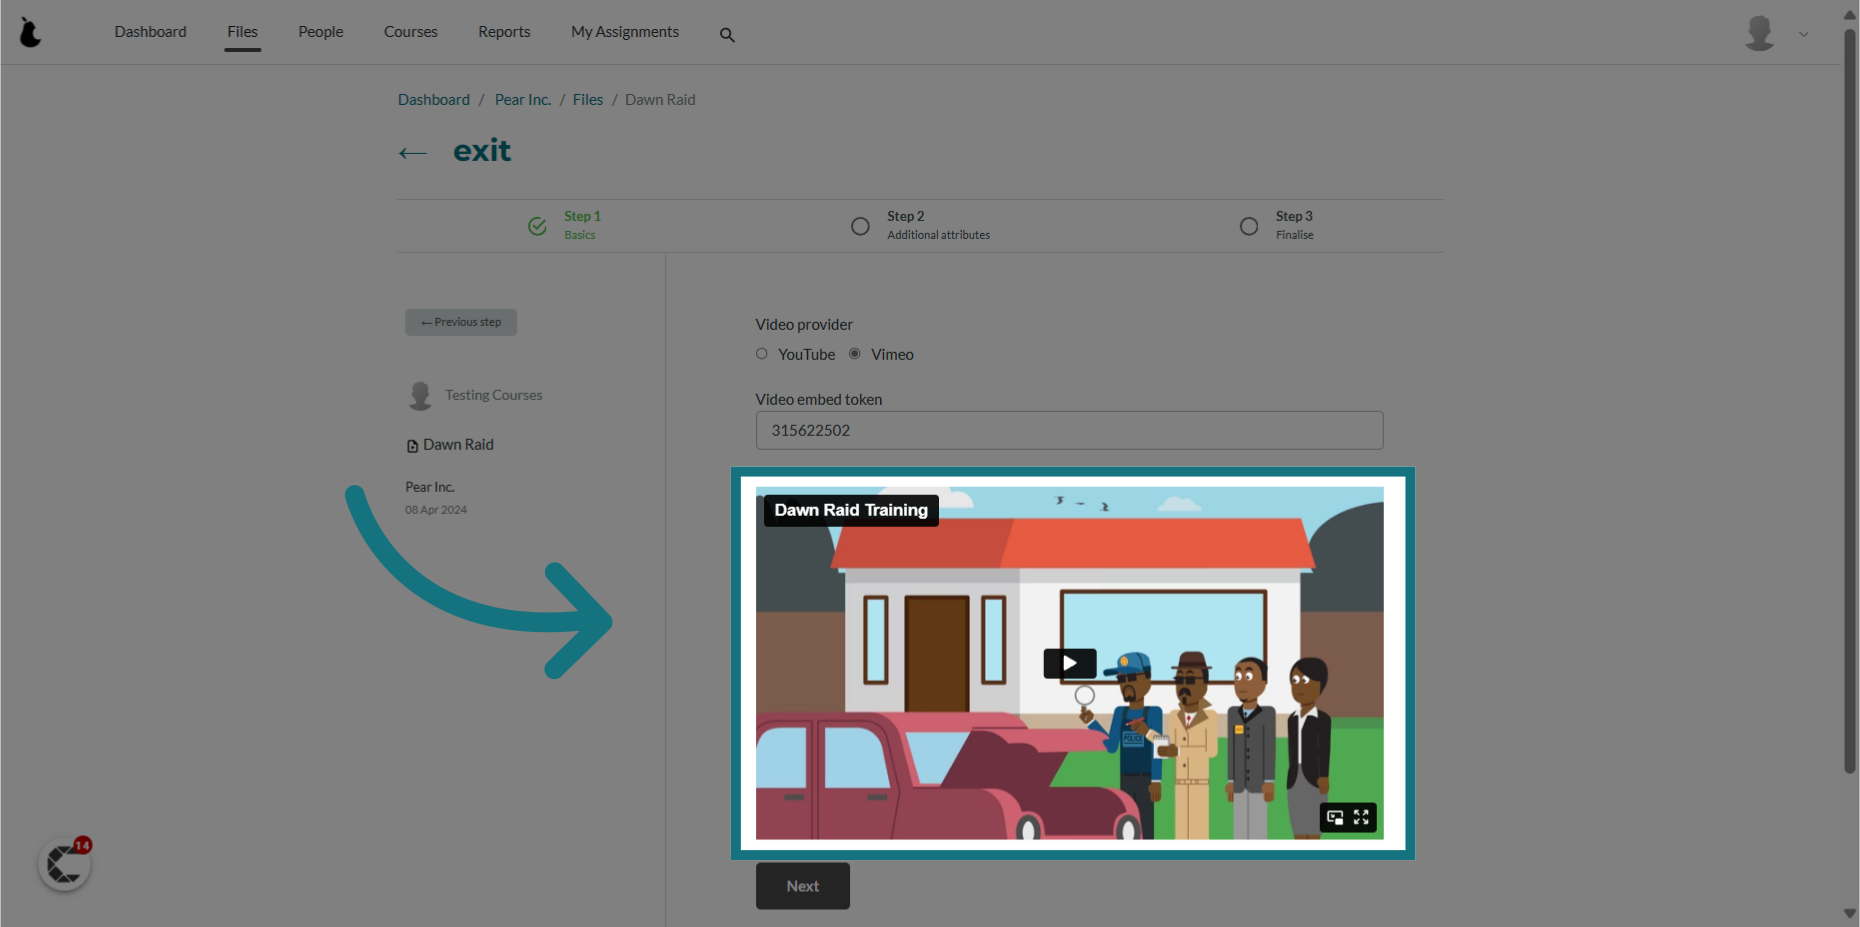
12. Wait for the video to appear on the screen
- If your video does not appear on the screen, please double check that you've selected the correct video provider and entered the right video ID/token.
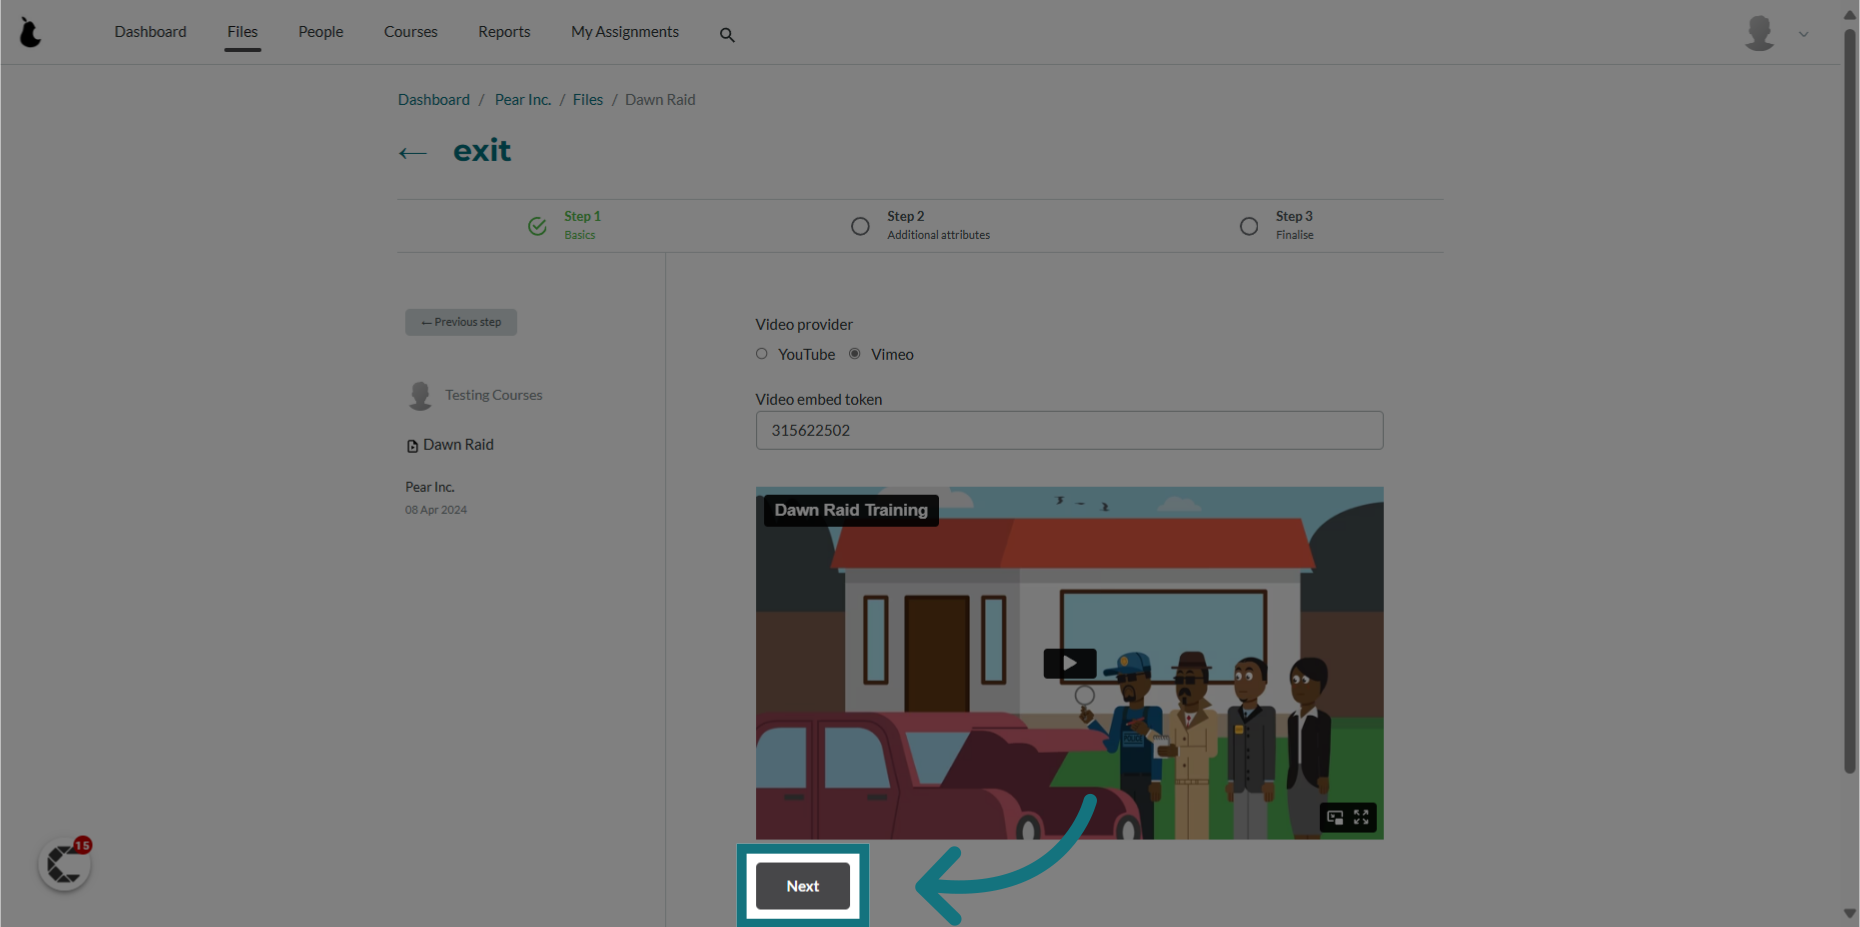
13. Click "Next"
14. Click "File version" and provide a version number for the file
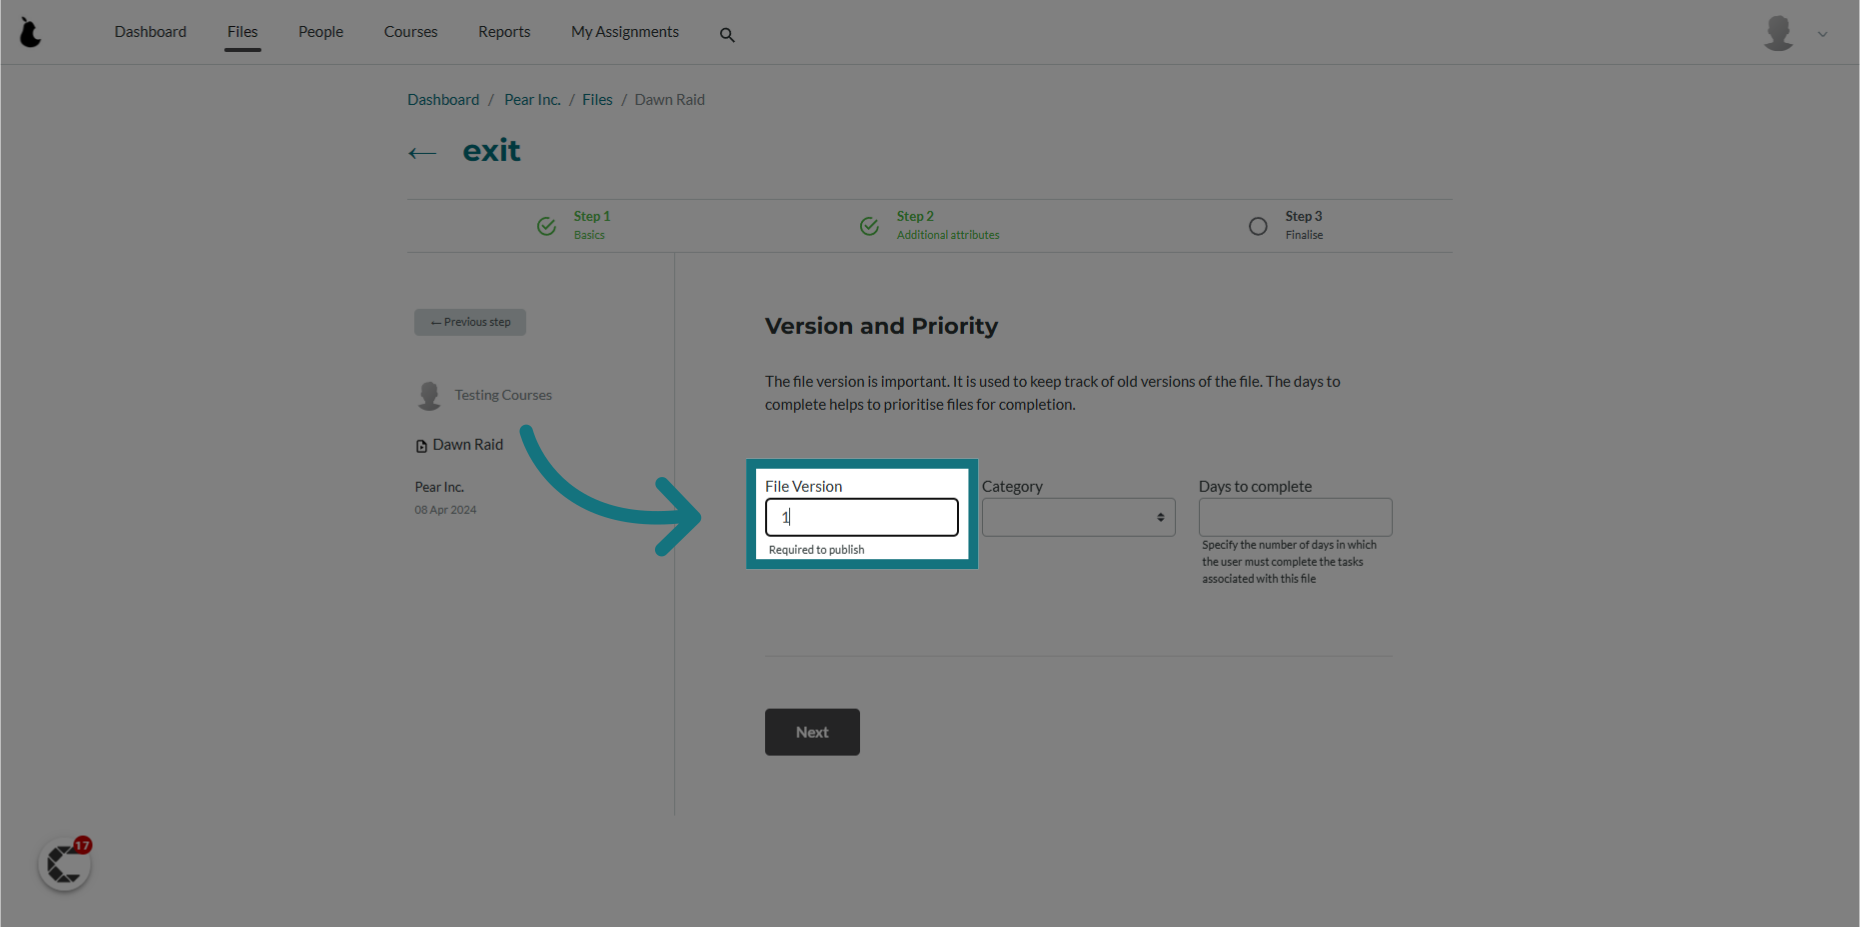
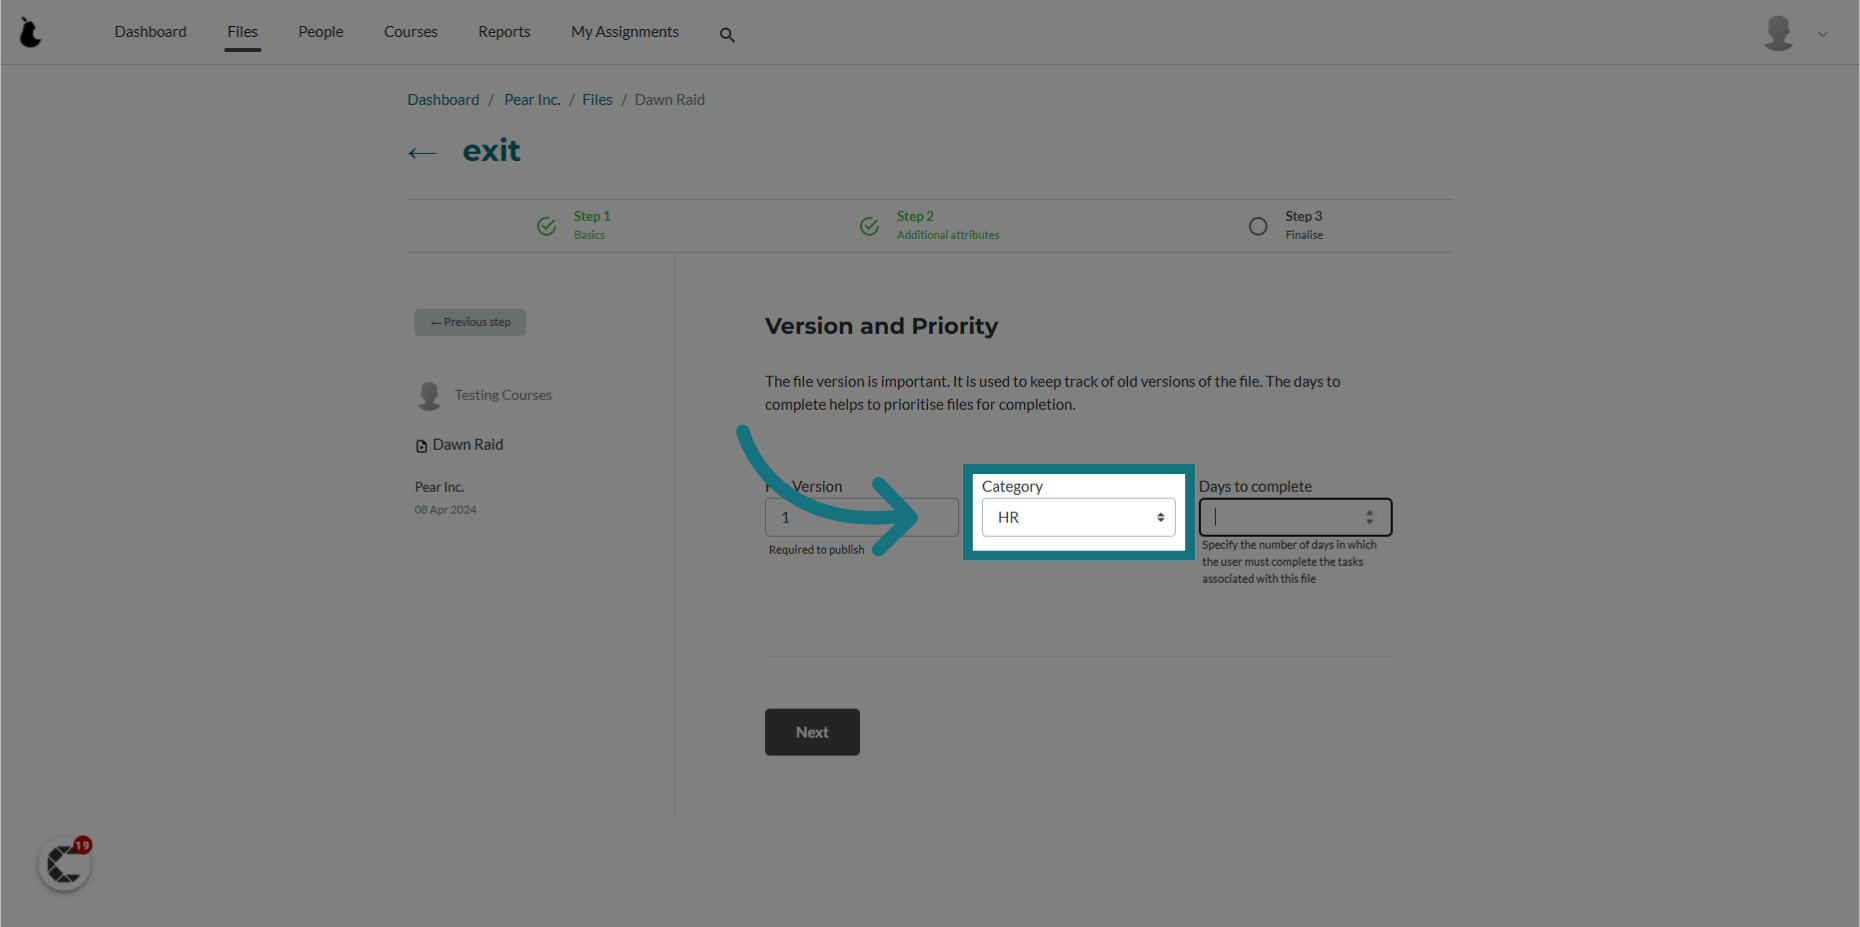
15. Assign the file to a category
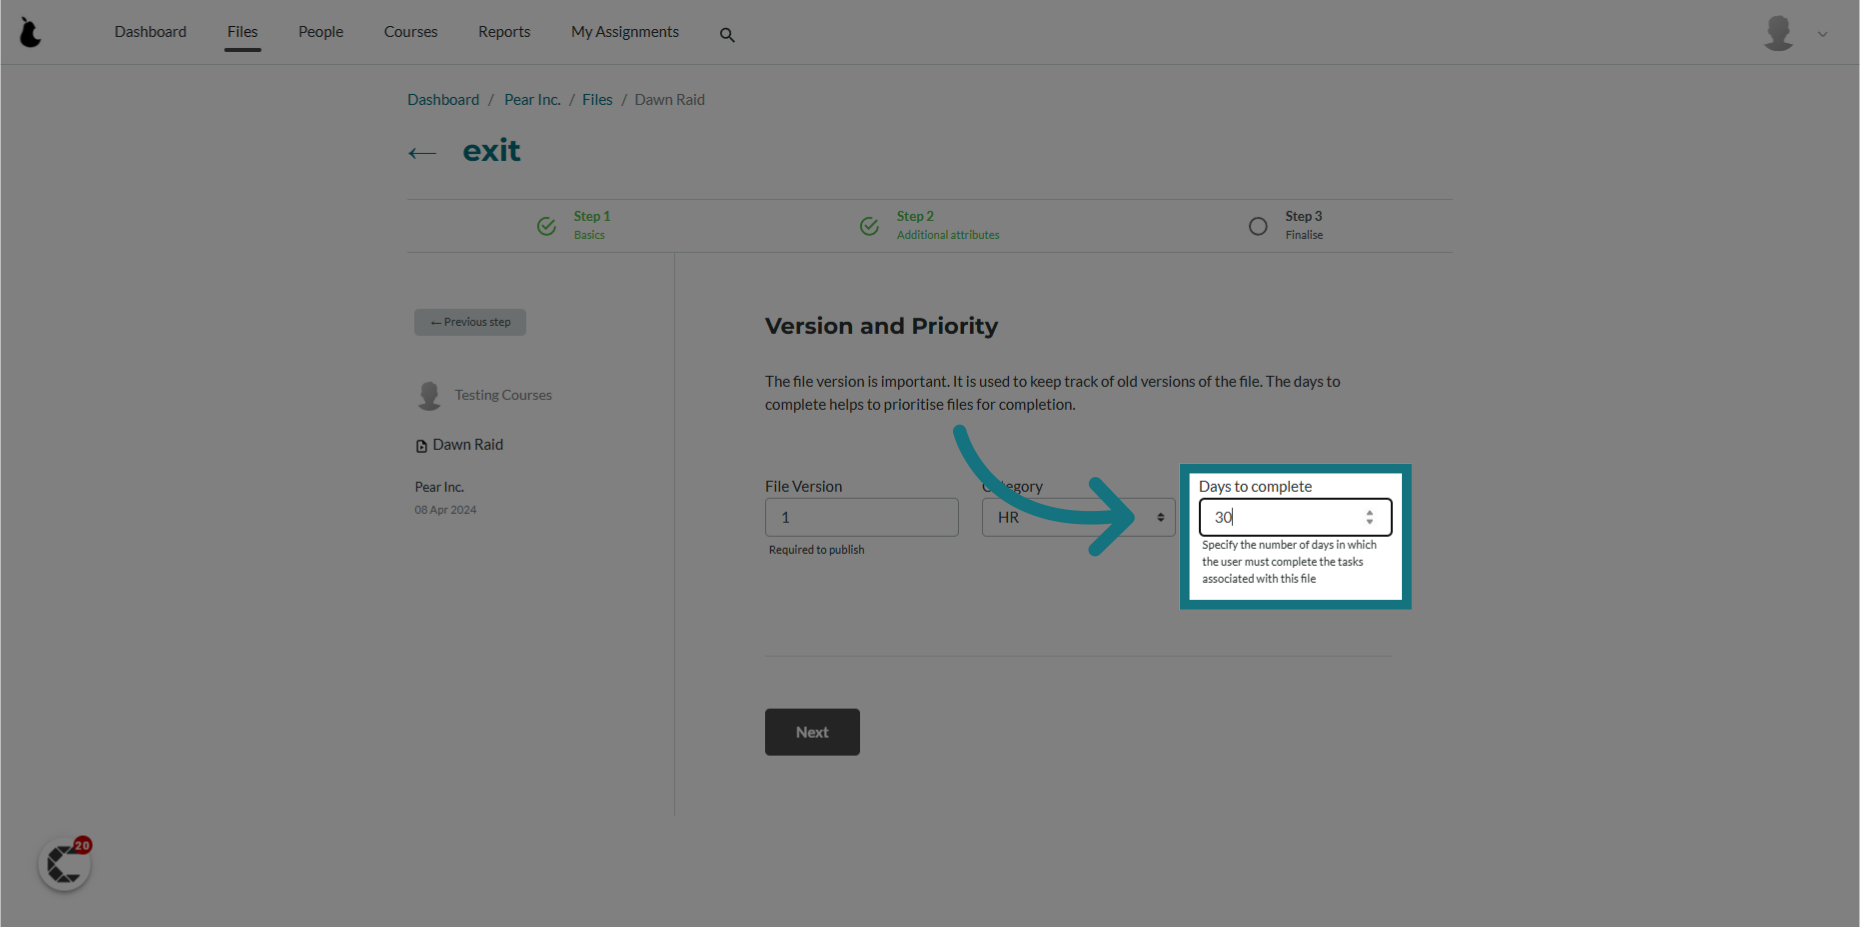
16. Optionally, you can specify the number of days needed to complete the file
- This setting is useful when you want your employees to complete the file within a specified time frame.
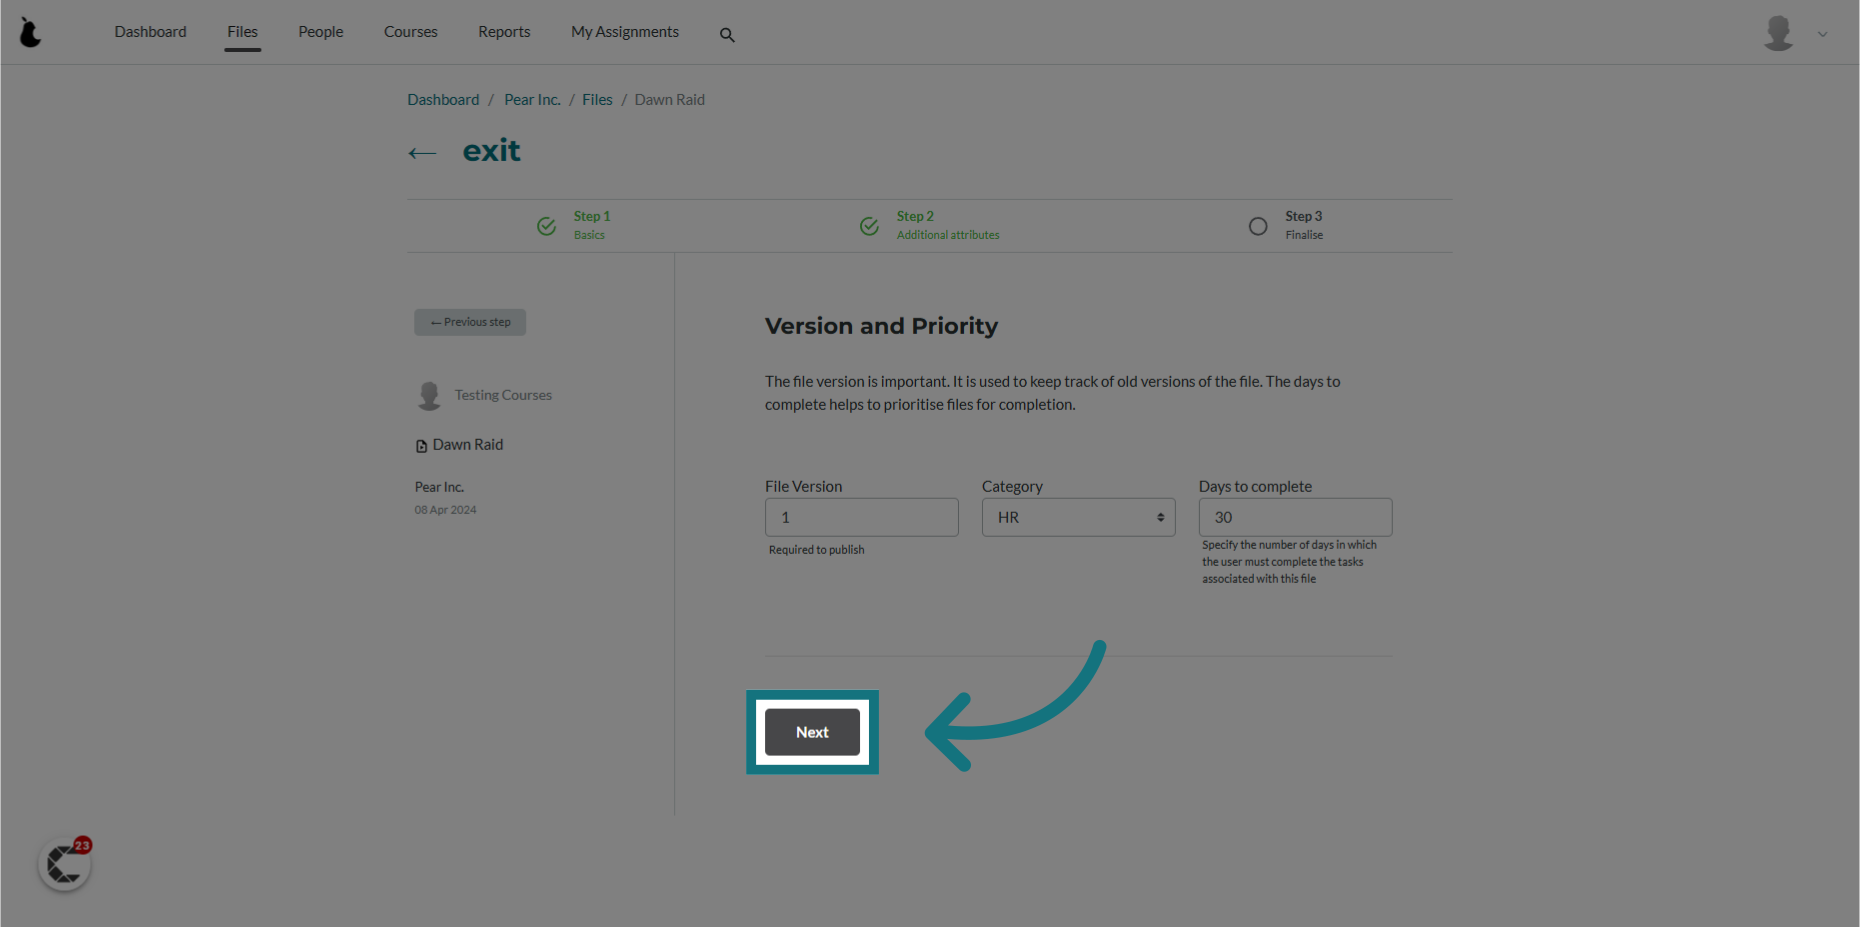
17. Click "Next"
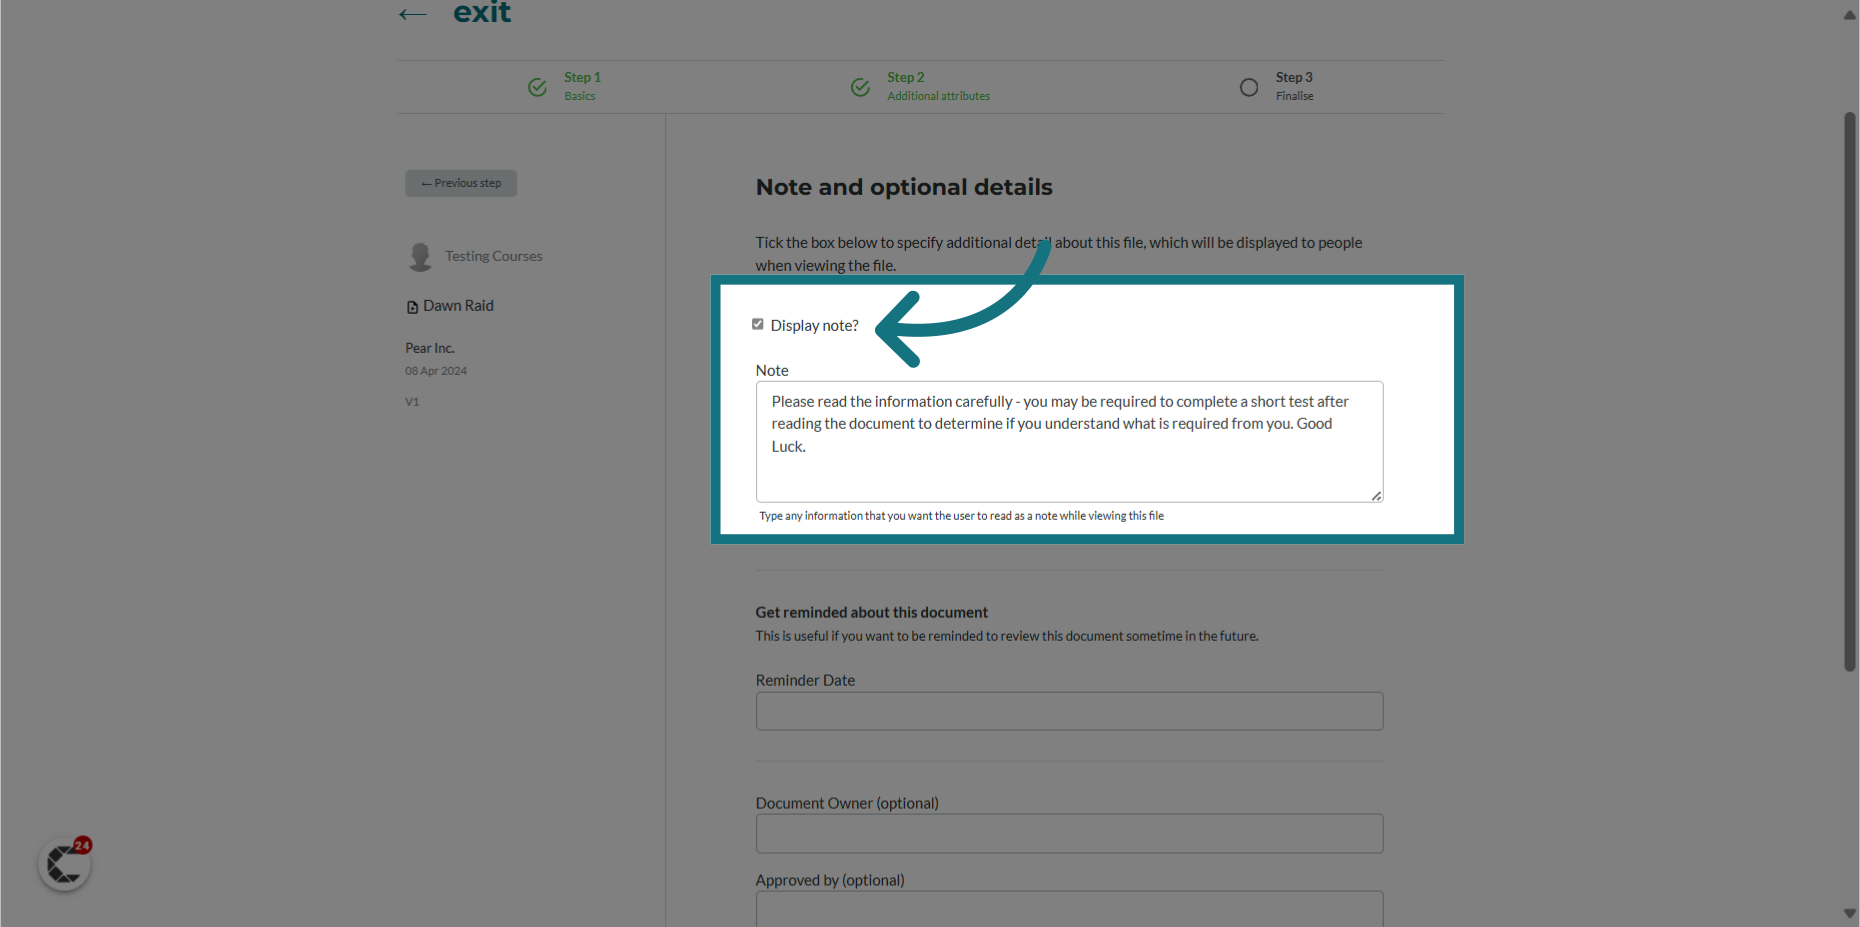
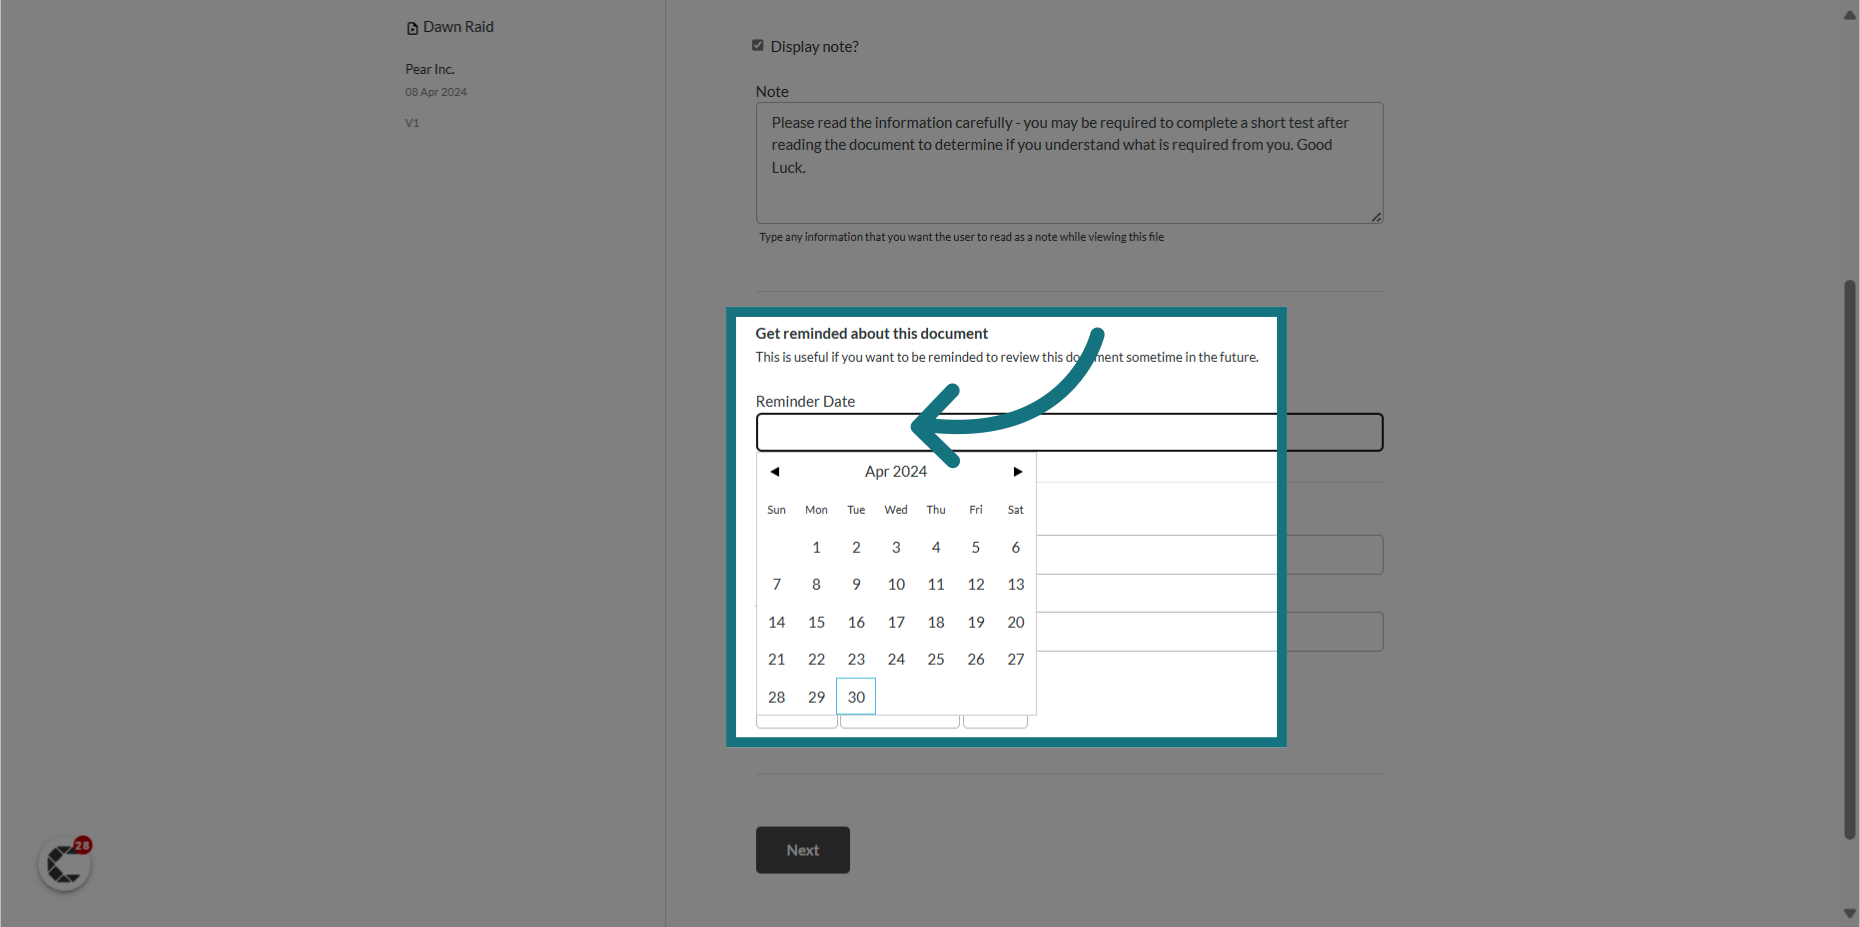
18. Optionally, provide a display note
- This setting is useful if you want to provide any additional details about the file.
19. Optionally, click "Reminder Date" and choose a date
- This is useful if you want to be reminded to review the file sometime in the future to update it.
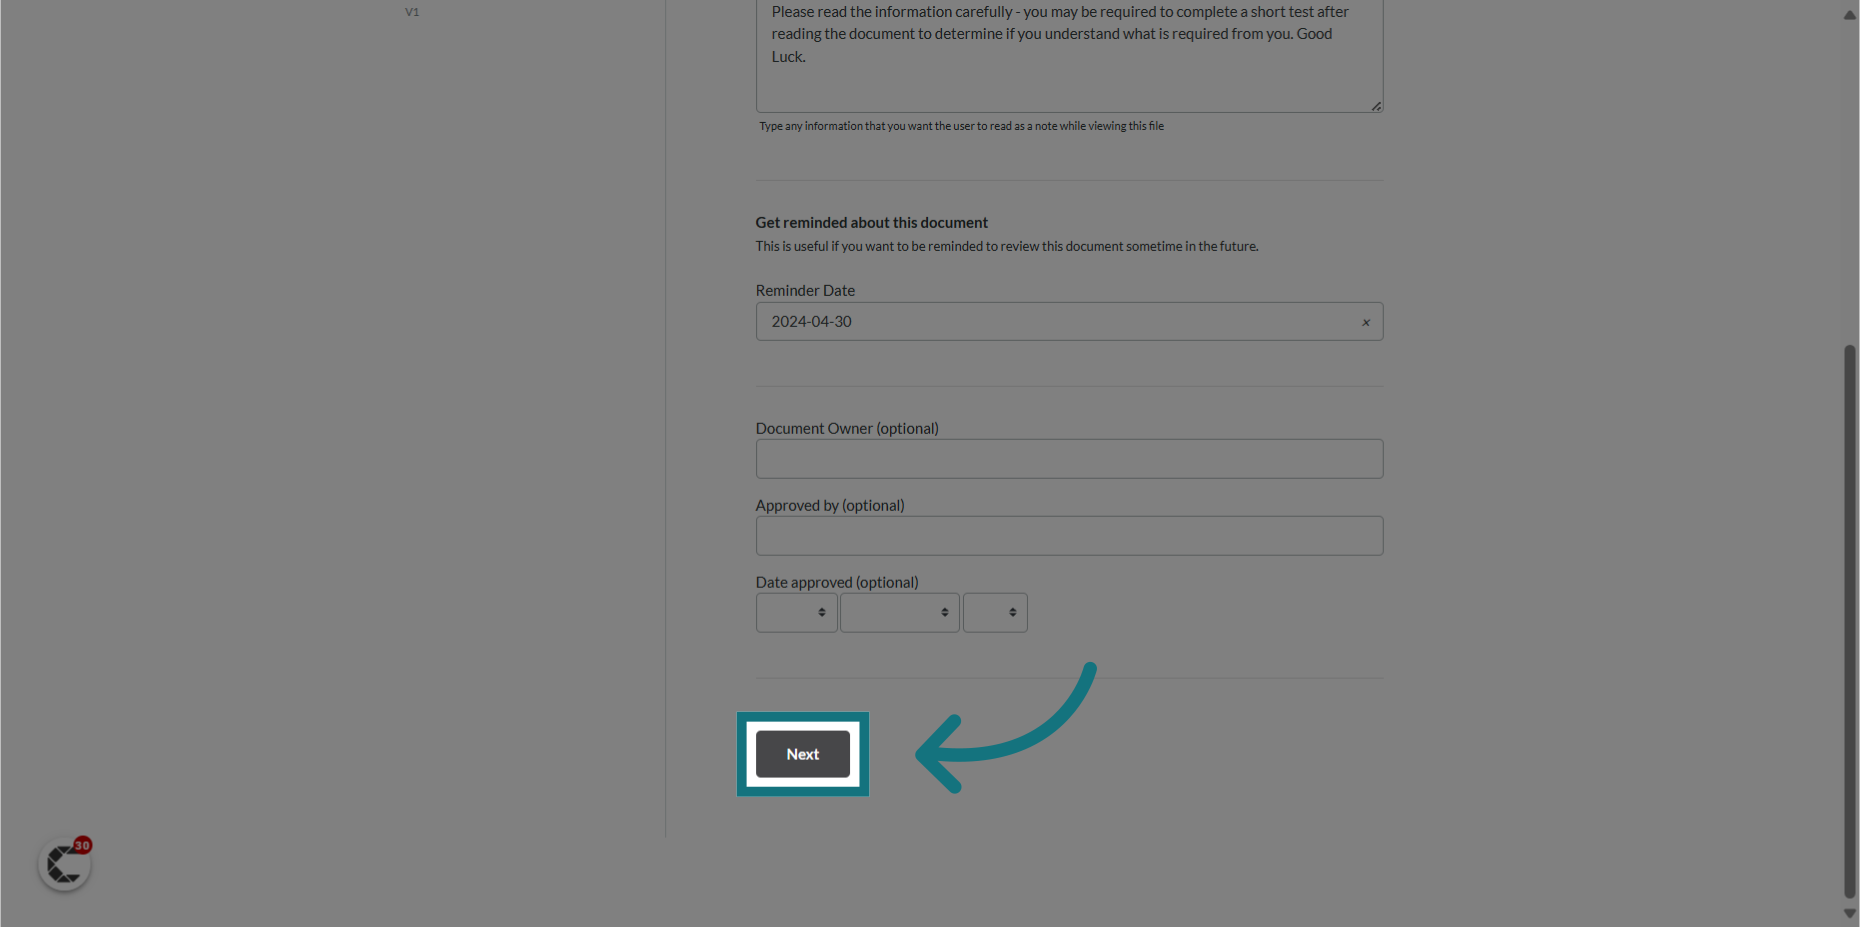
20. Click "Next"
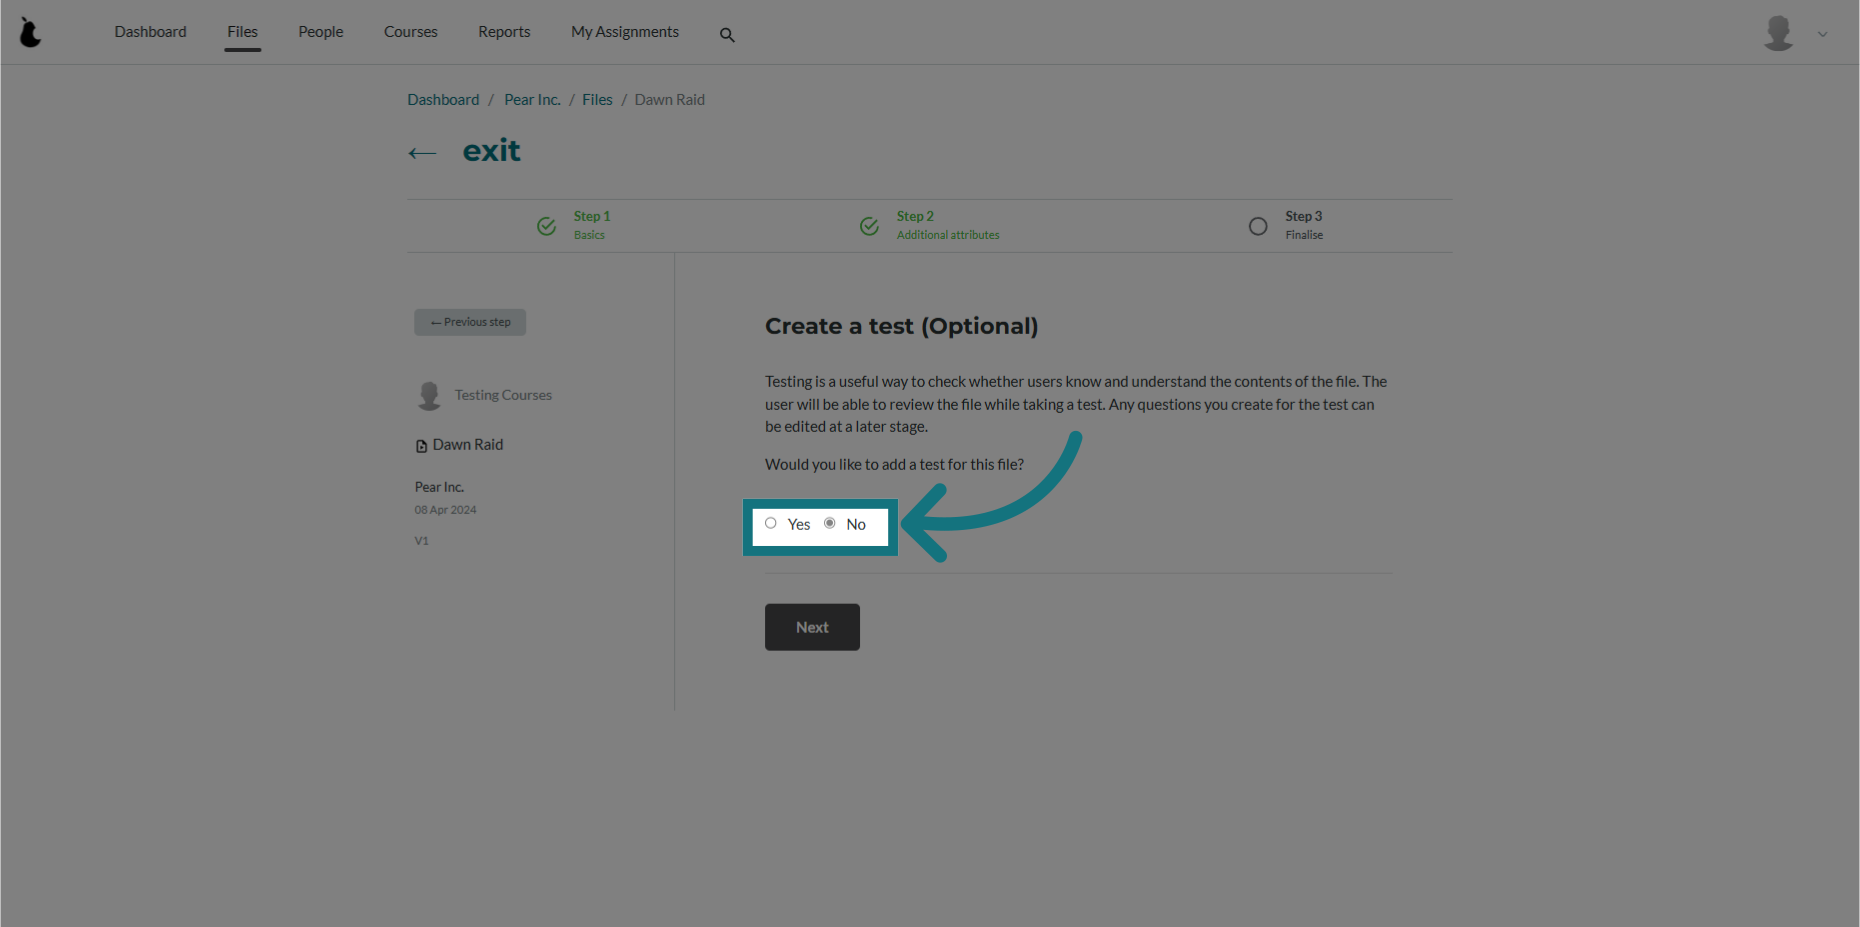
21. Optionally, create a test for your file
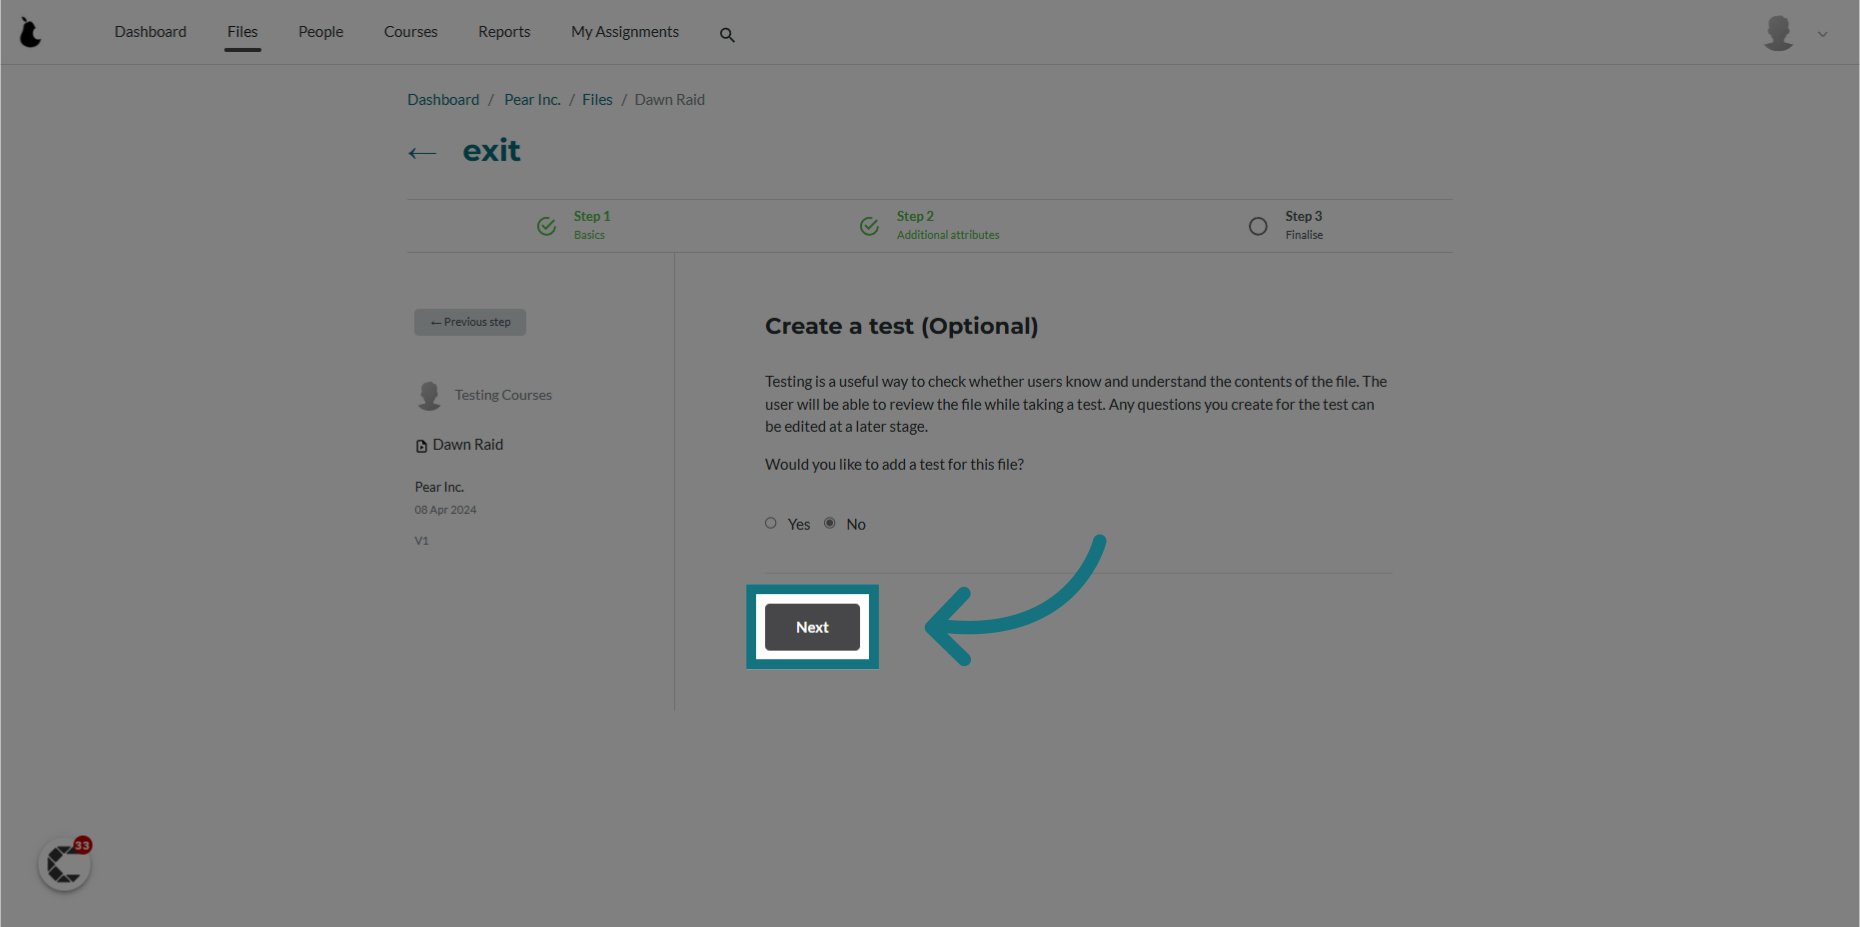
22. Click "Next"
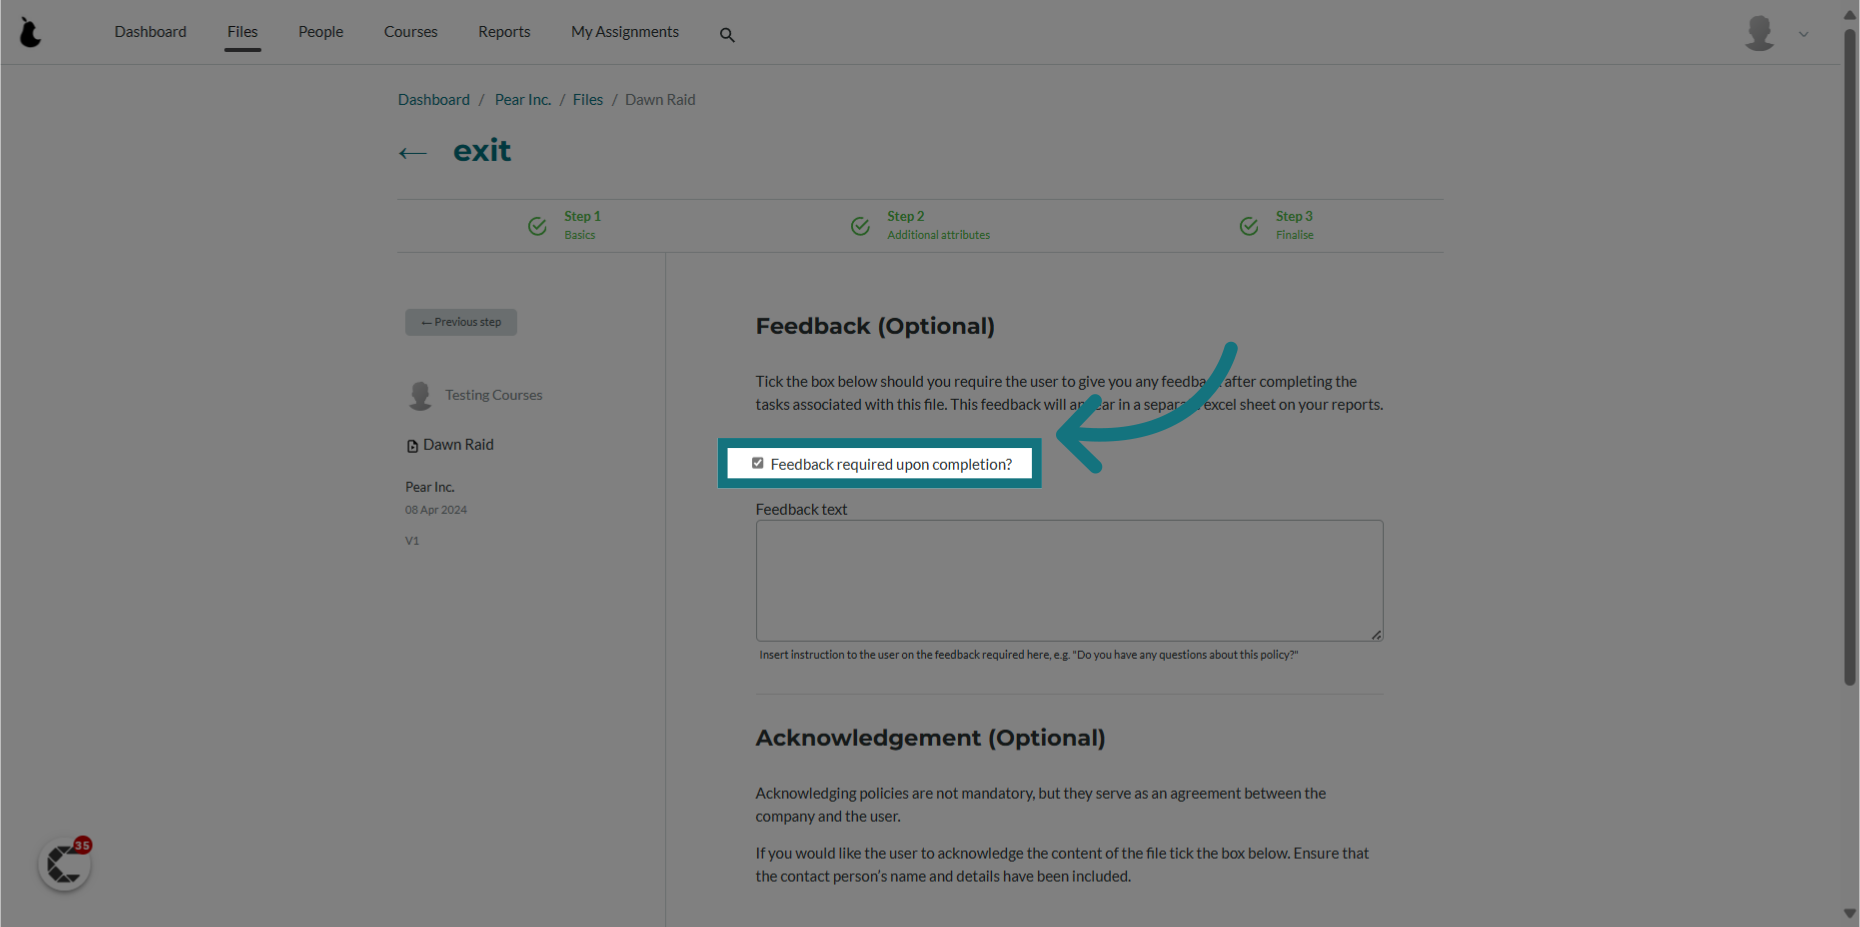
23. Optionally, enable employees to provide feedback on the file
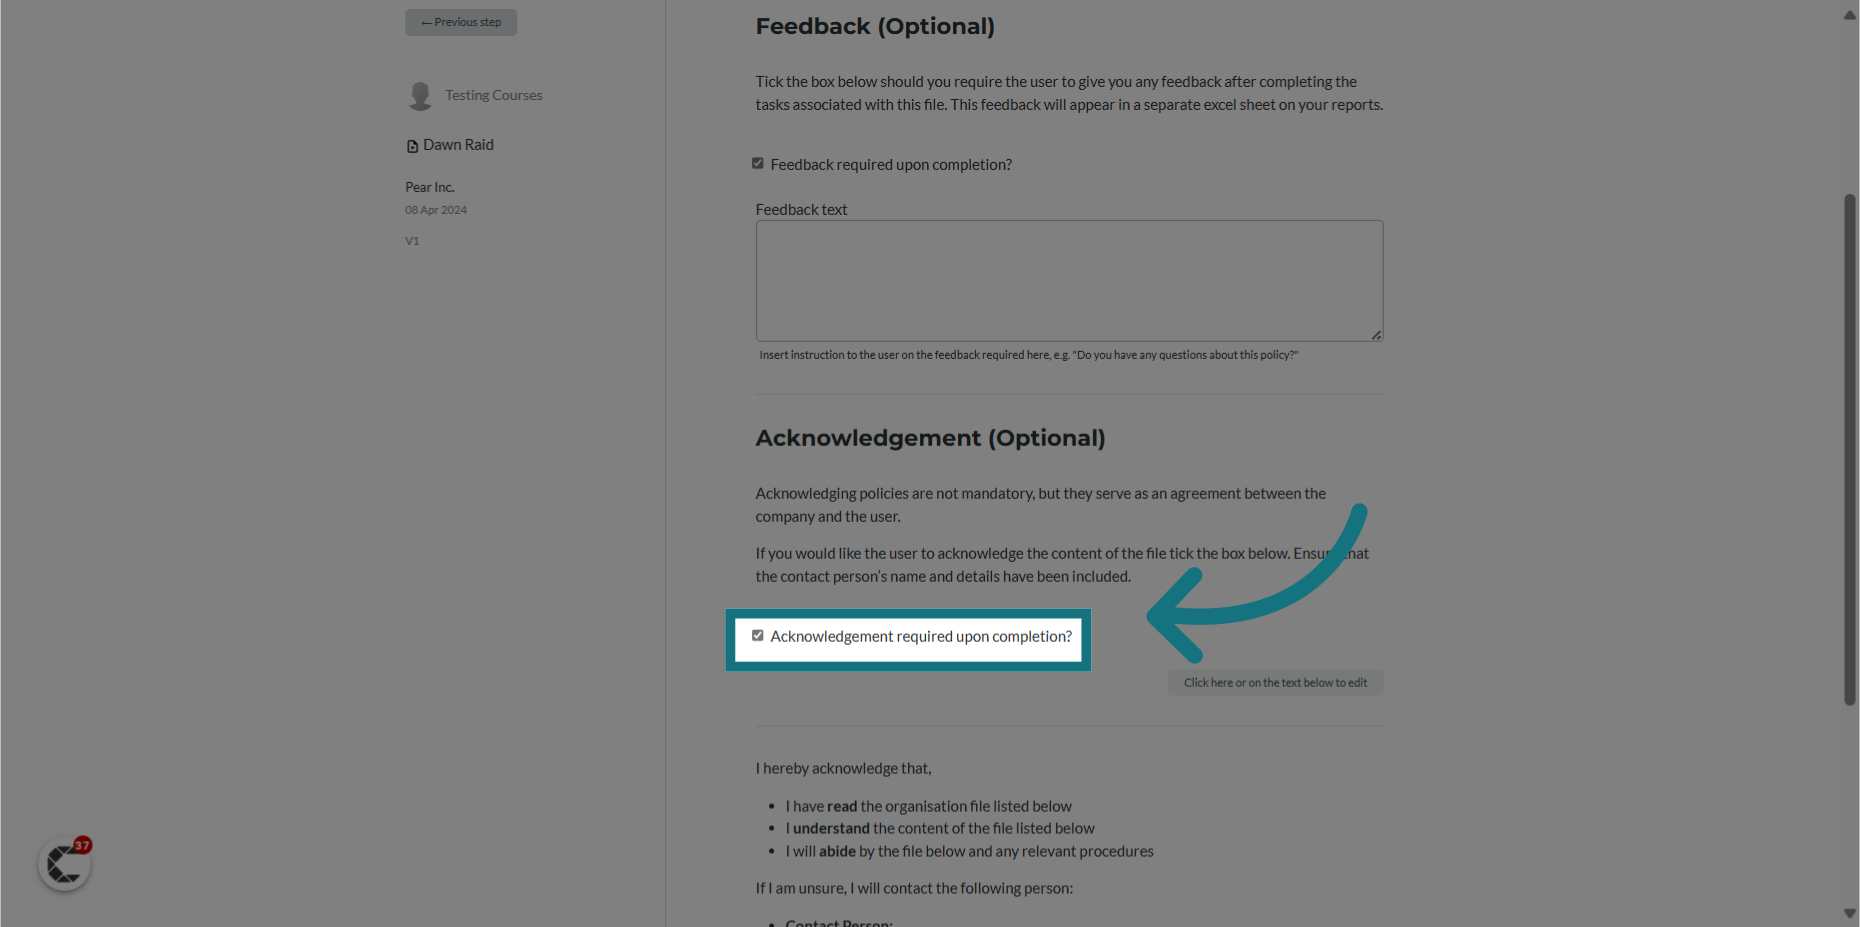
24. Optionally, add an acknowledgement to the file
25. Click "Next"

Please Note:
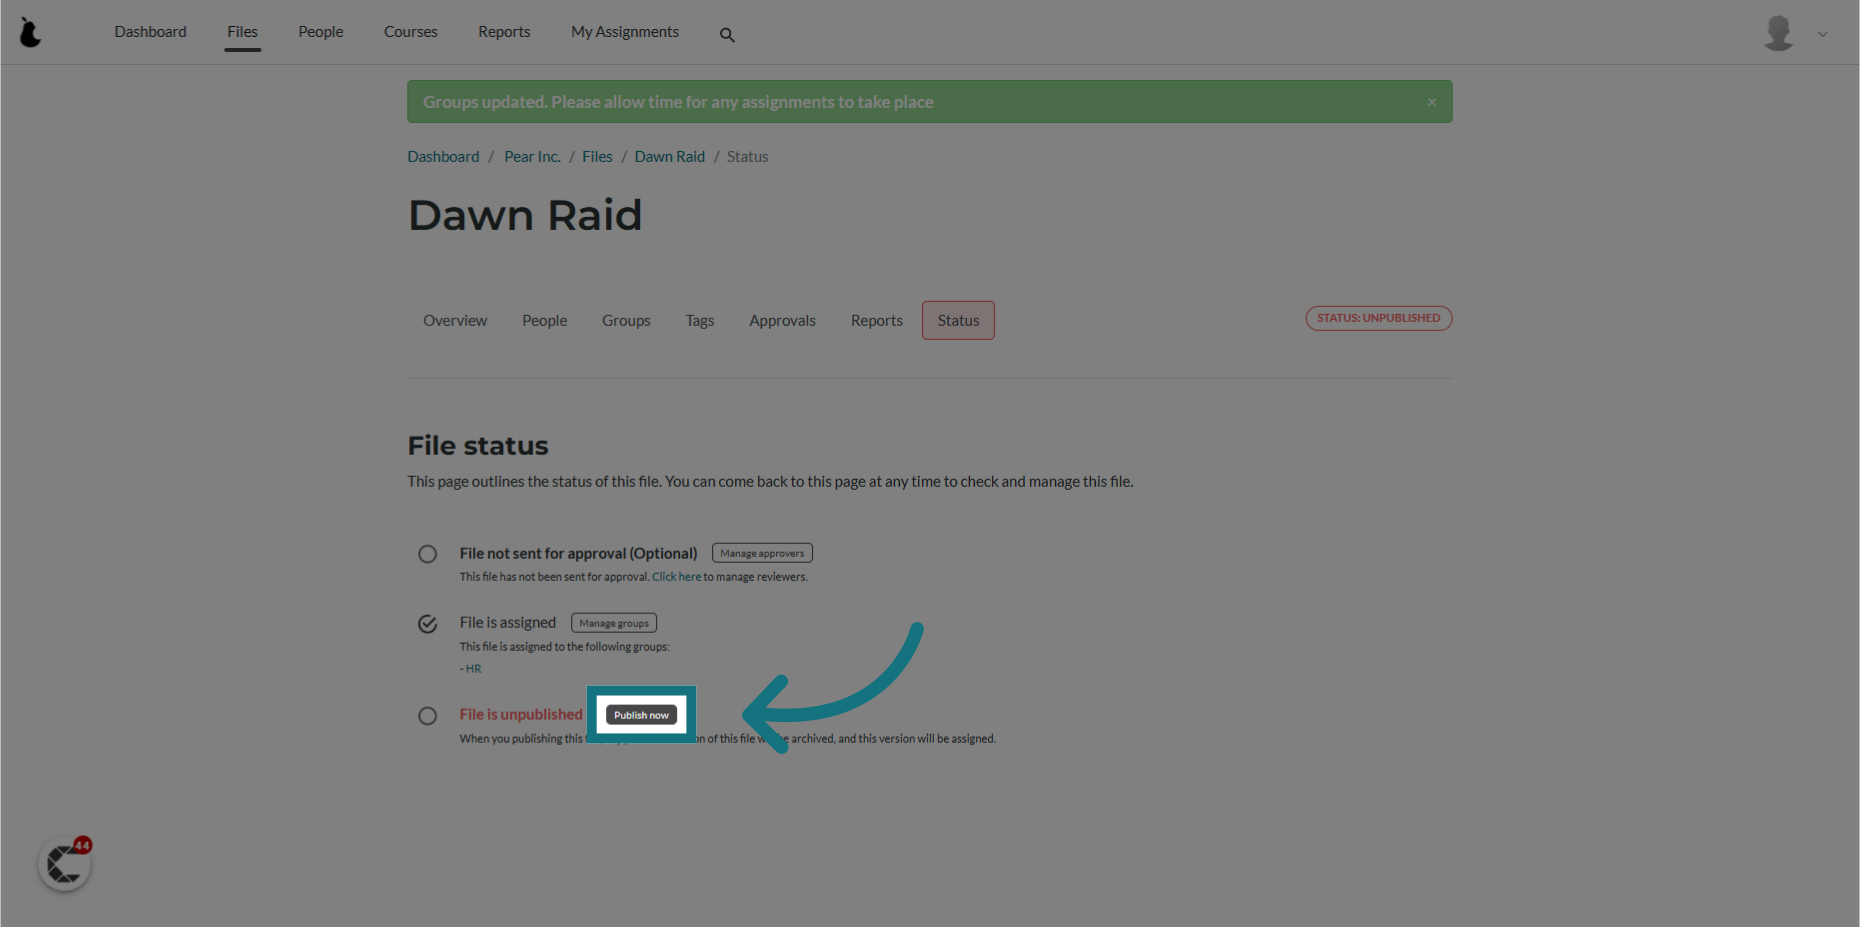
After creating a file, it is automatically set to 'unpublished.' To make the file visible to users, you'll need to assign and publish it by following the steps outlined below.
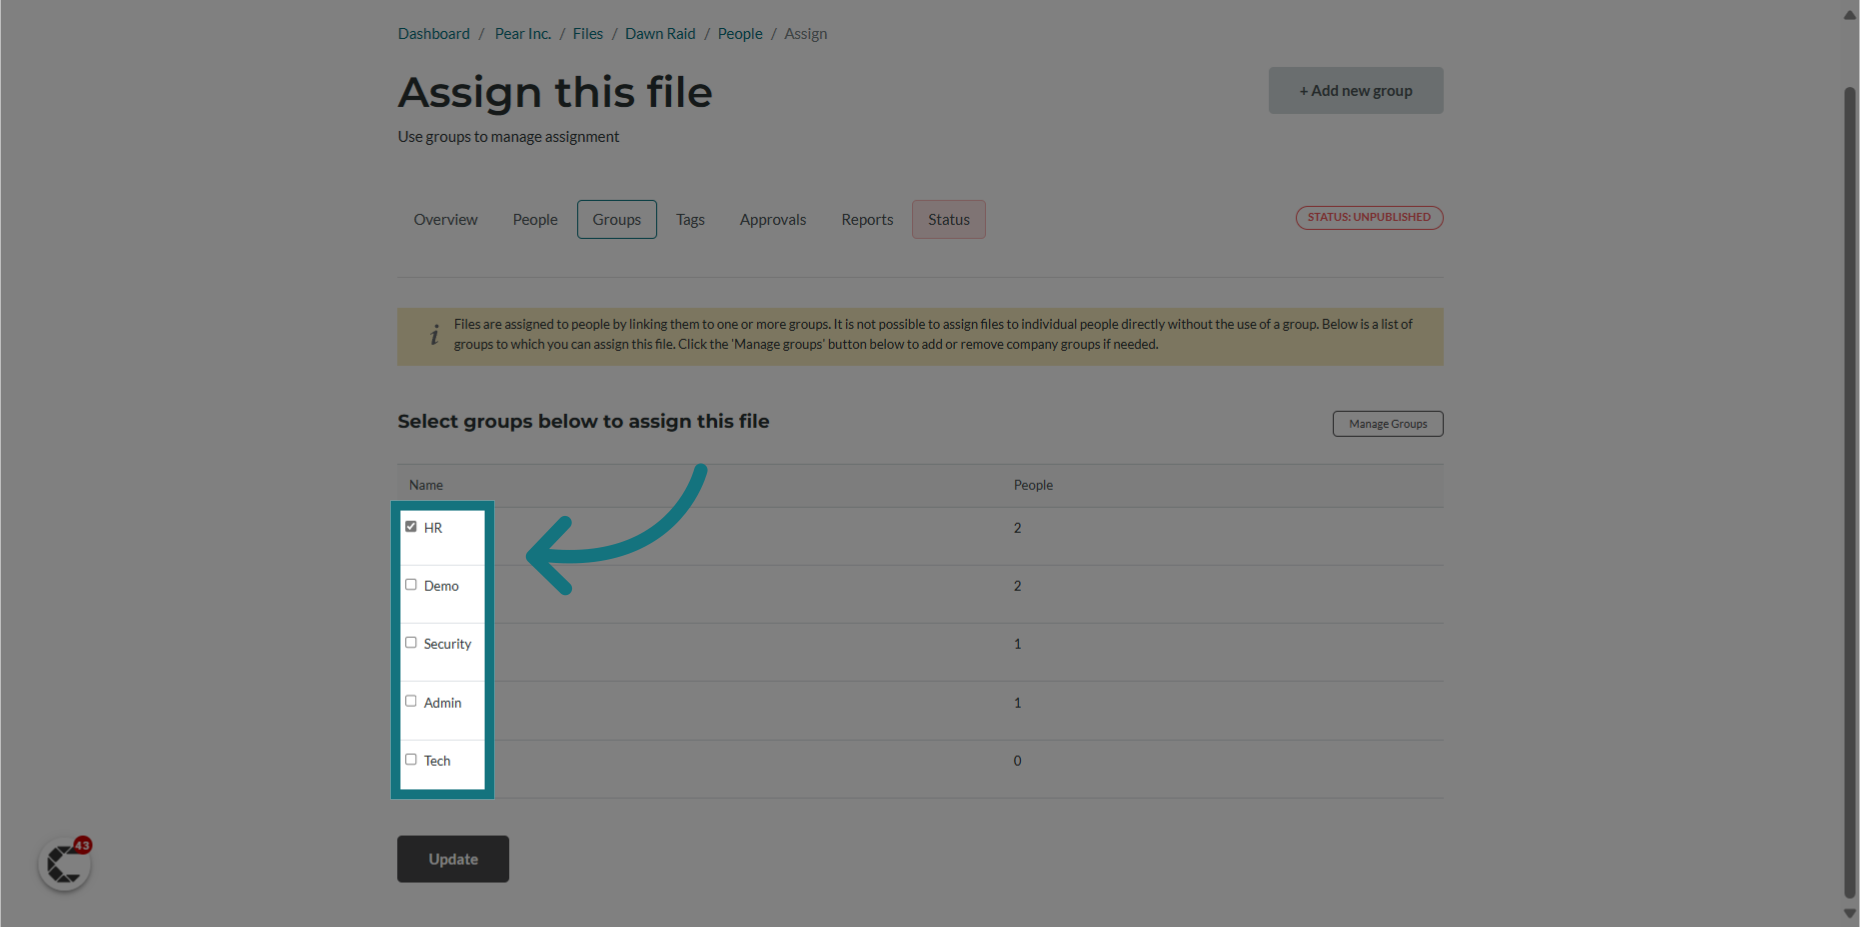
26. Click "Manage groups"

27. Choose which group(s) to assign the file to
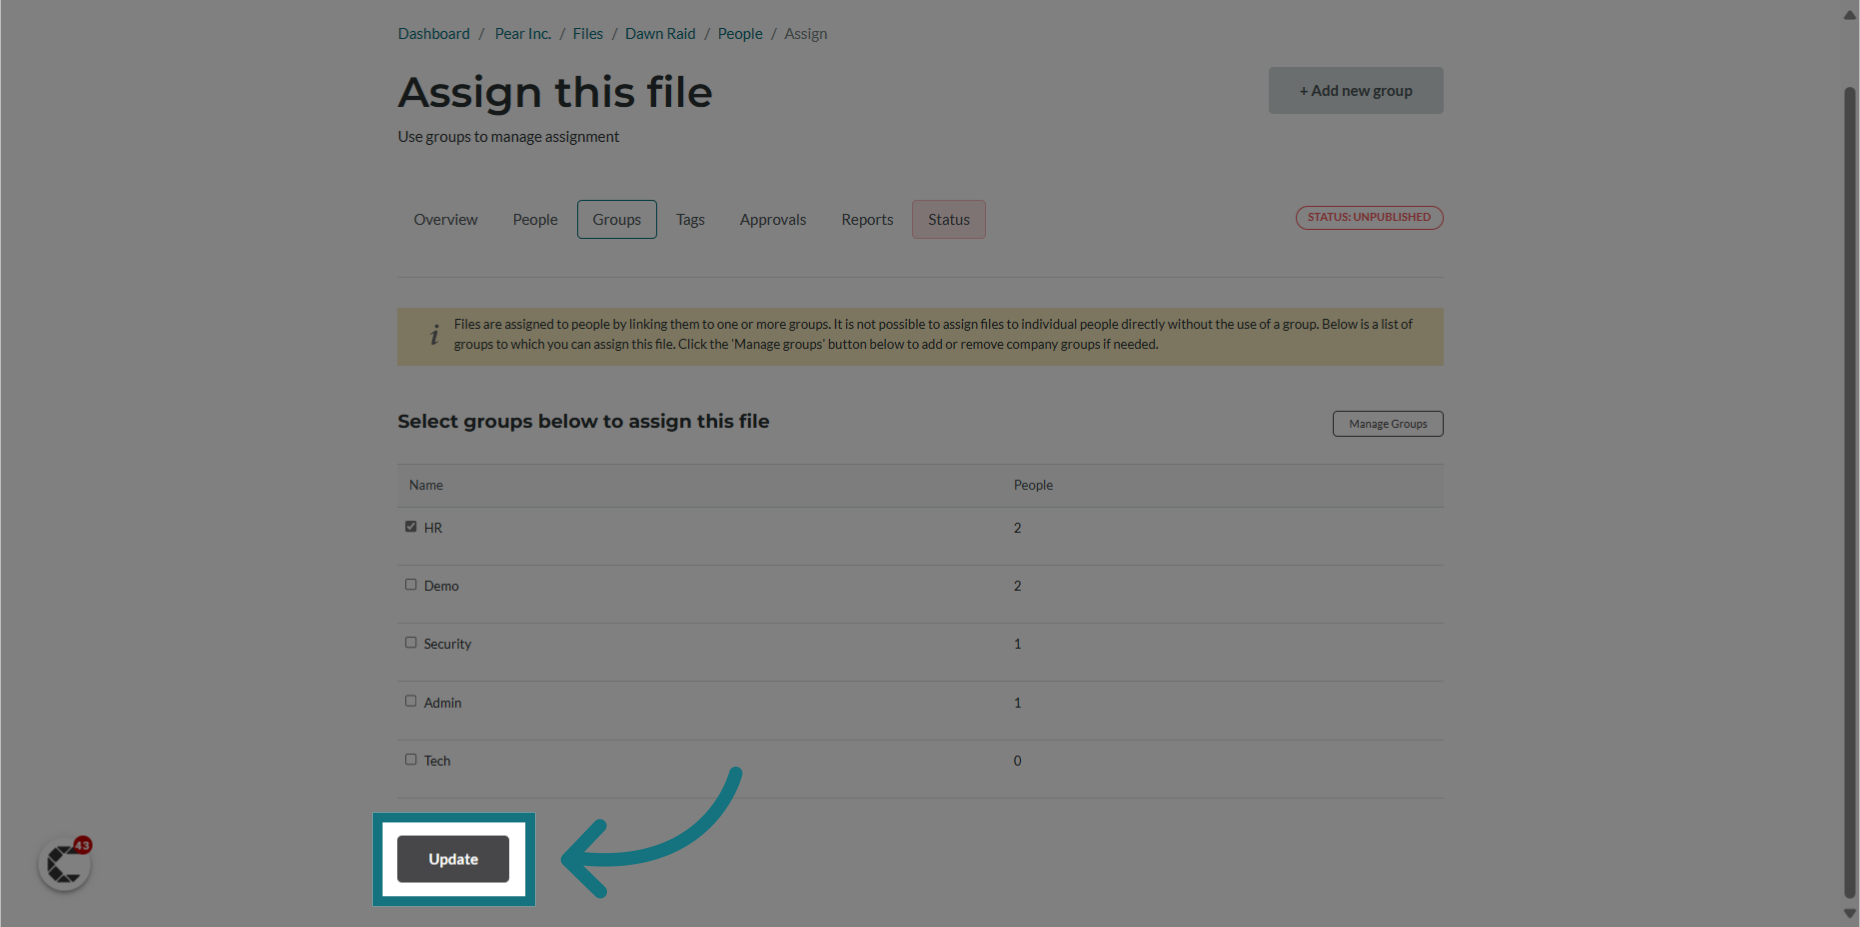
28. Click "Update"
29. Click "Publish now"
Was this article helpful?
That’s Great!
Thank you for your feedback
Sorry! We couldn't be helpful
Thank you for your feedback
Feedback sent
We appreciate your effort and will try to fix the article